Tiller & Rigging
 June 6, 2021
A lot of tasks accomplished this week and most of the work is finished.
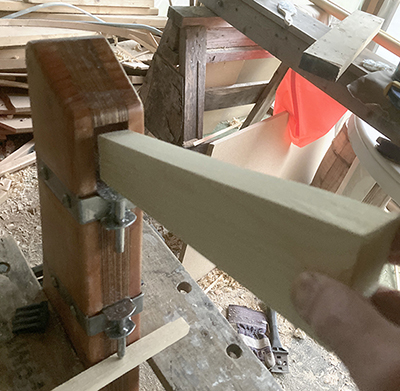
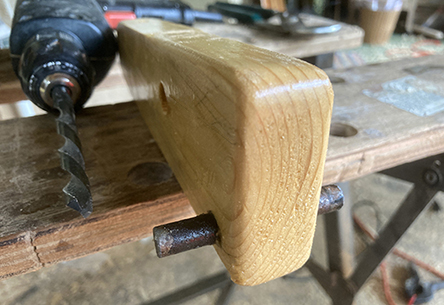
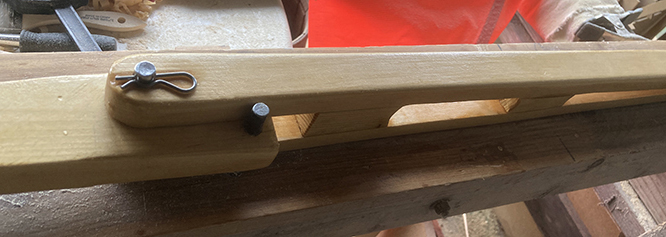
Starting on the tiller, I first made the wedge that slips into the centerboard case. I made it a standalone component because I'm going to try to make a tiller that folds up to be out of the way when not needed.

With the remaining pieces clamped in place, I'm trying do determine a good angle, although I may not fix the angle permanently until I have chance to use it out on the water.
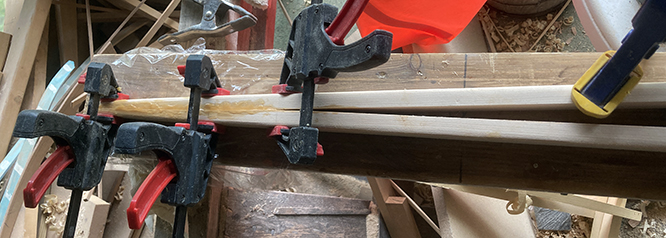
Starting in with some epoxy assembly.
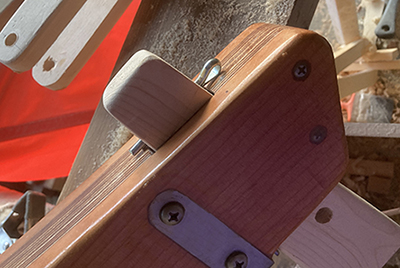
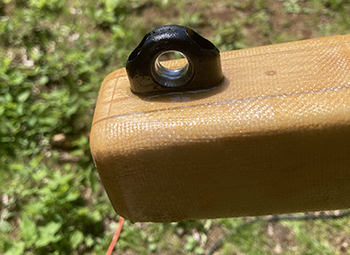
A cotter pin will be used to keep the wedge in place, with a line threaded through the eye and attached to the housing to keep it handy.
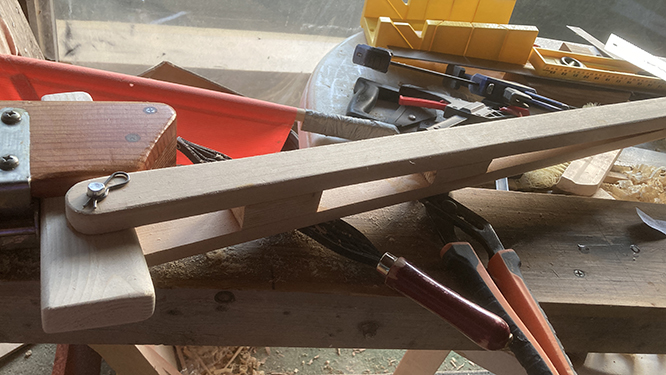
A clevis pin with spring cotter allows the tiller to rotate. Here it's in the up position.
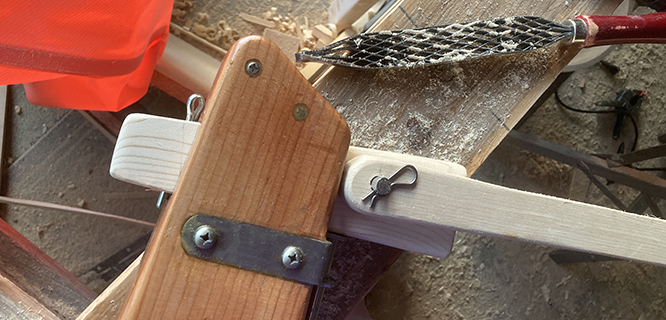
When I've determined the desired tiller angle, I'll put a stopper of some kind under the arm where it will rest when in the down position.
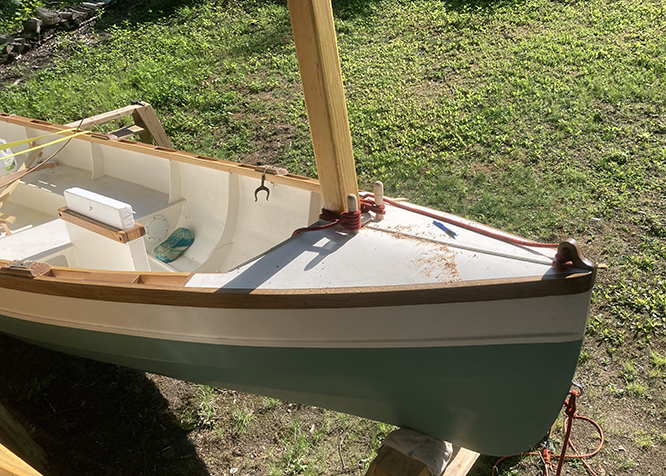
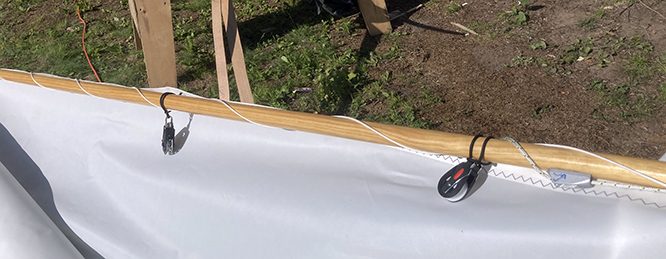
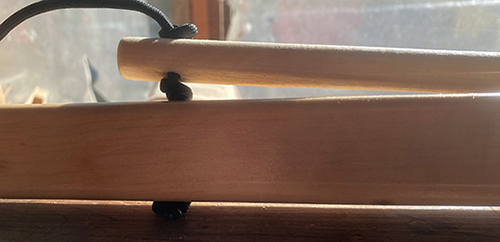
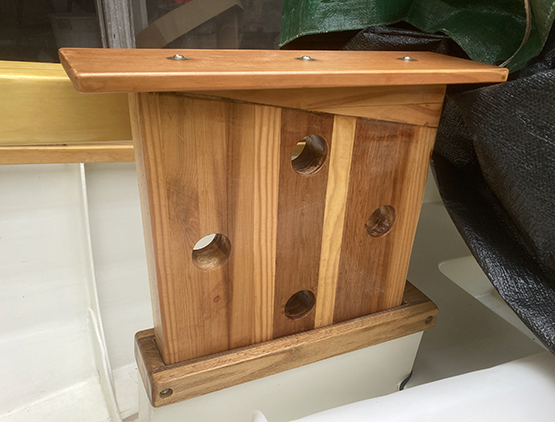
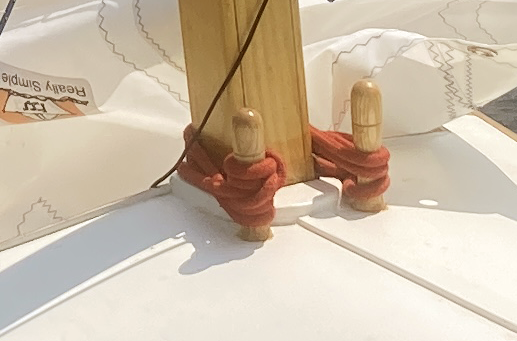
I've installed 2 belaying pins through the deck.
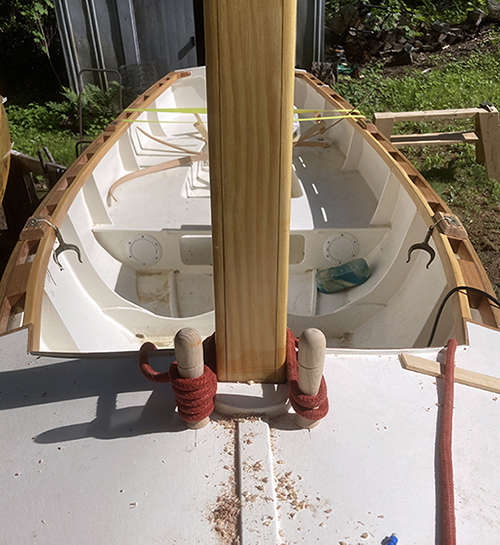
They'll be used to secure the mast in the open mast partner.
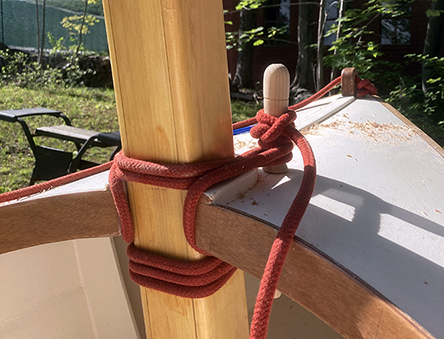
They extend about the same distance under the deck allowing this type of lashing.
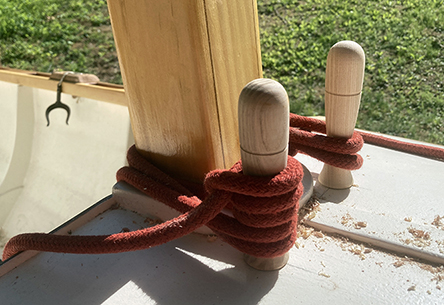
I'll probably come up with a better lashing pattern but as is, it's holding tight.
Here's the halyard attachment at the top of the mast.
And back at the base, trying to locate the halyard position. I had to make a couple attempts to locate one of the internal braces for something solid to screw into.
Then on to attaching the sail to the spars...
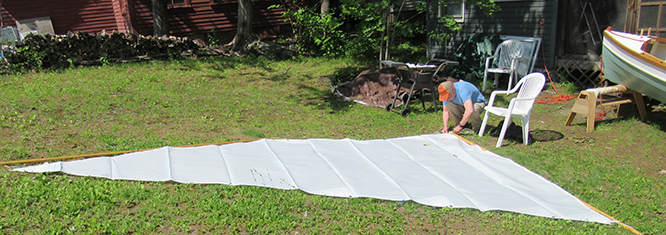
...had to deal with four lashing points.
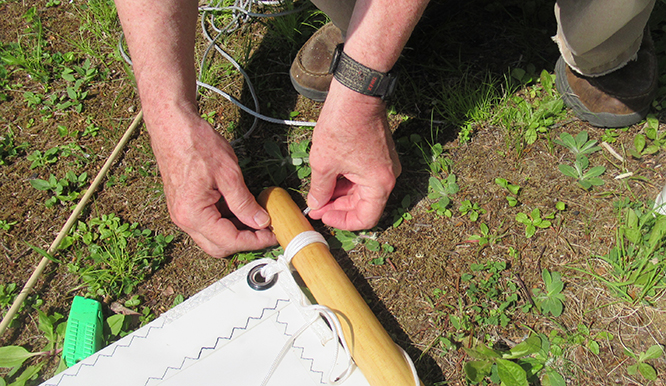
A few times around the spar...
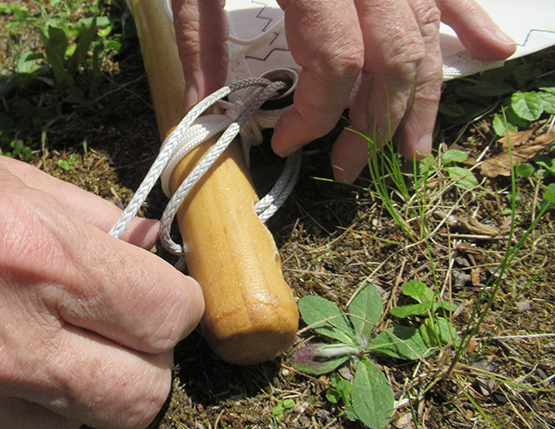
...then an angled attachment through the hole in the spar.
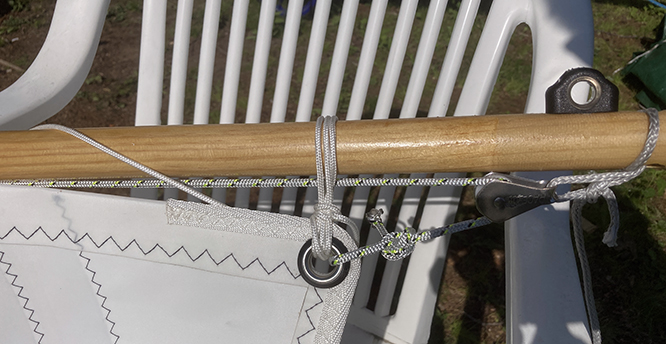
The aft end of the boom has a small block to adjust sail tension.
The mainsheet blocks attached.
And the downhaul almost completes the setup. Just a few more minor task and she'll be ready to sail. Although it may not be next weekend — I have some unrelated activities scheduled and have to get the boat back on the trailer (also rainy weather predicted).
June 13, 2021Without much available time this week, I was able to take care of a few more details.
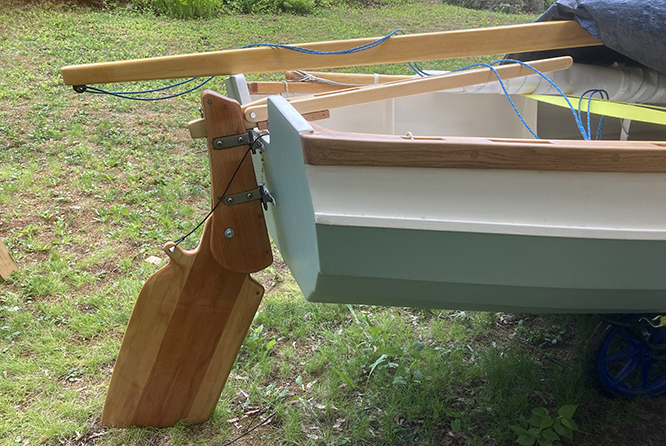
The rudder assembly was completed.

This spring lock was added to keep the rudder from slipping out. In retrospect, it should have been positioned lower to catch on the lower portion.
I decided on a tiller angle (slightly more horizontal than photo above) and installed and epoxied this support bar.
Here'she tiller resting in place on the bar.
I also added a tiller extension fastened with rope and a few figure eight knots.
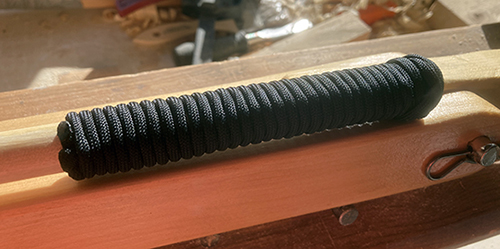
A paracord wrap at the end.
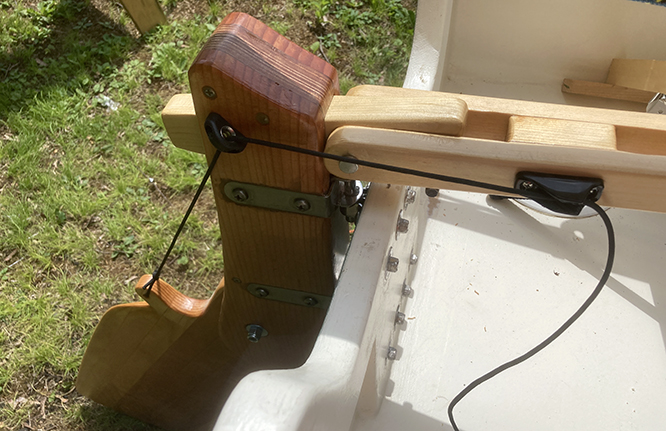
The rudder uphaul is attached. I'm still working on the downhaul. It may be stretch cord that would allow the rudder to pivot if it hits an obstruction.
The daggerboard is inserted into the slot as far at it will go before hitting the ground. I was going to paint a strip of black directly under the top plate to cover the diagonal error, but the look has been growing on me. I think I'll leave it exposed and consider it a unique design element! The front of the boat is to the left in the photo, so the angle forms a kind of forward-pointing arrow.
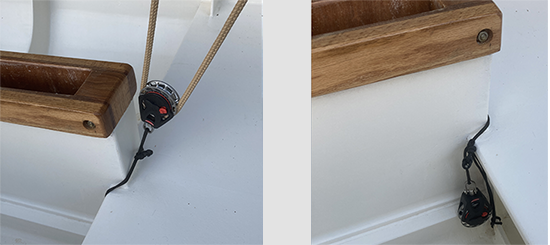
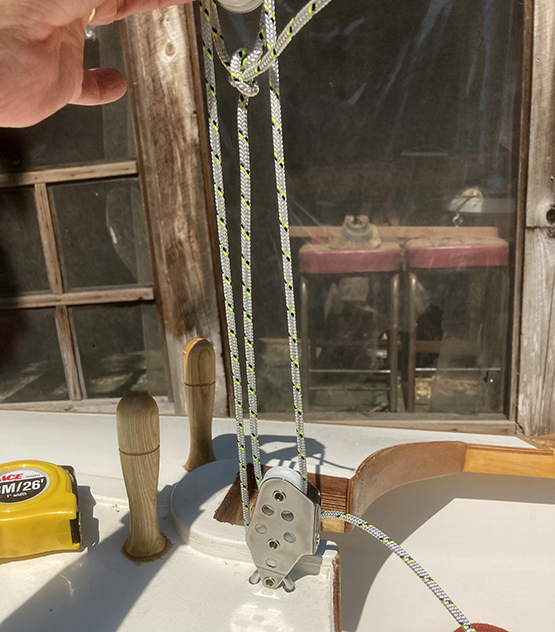
The back of the daggerboard housing seemed like a perfect location for the ratchet block but it would in the way when rowing, so I'm going to try this setup: a line attached through the limber holes on each side at the base of the housing running up and over the seat. The block is attached with a spectra cord loop. The photo shows it in use on the left and out of way on the right.
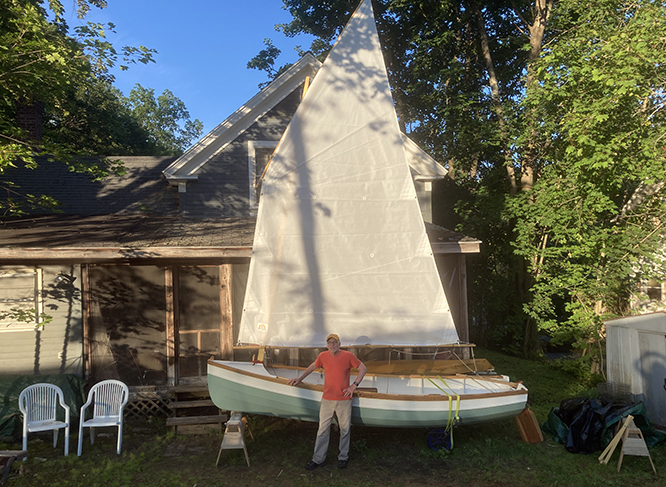
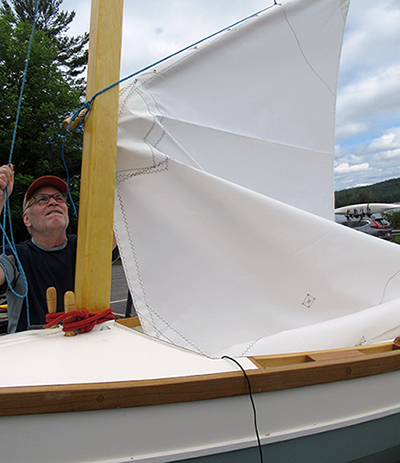
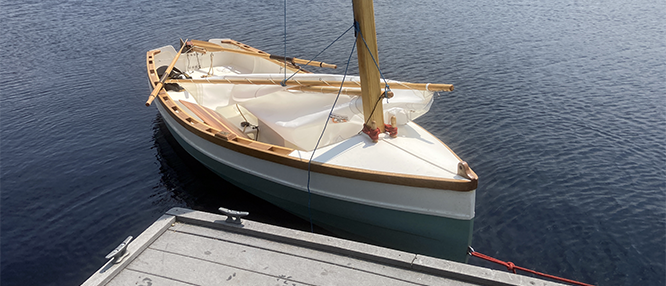
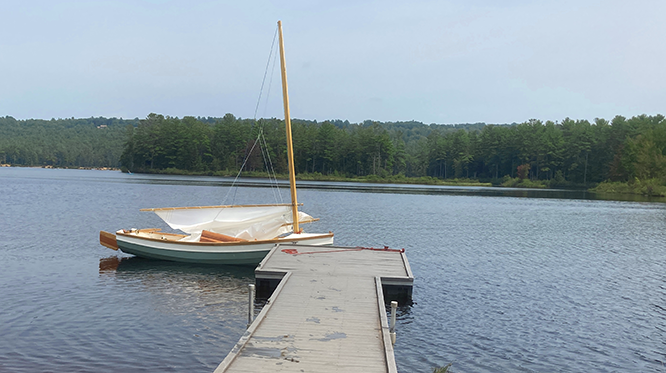
Finally, on a calm evening I hoisted the sail. Of course there are still adjustments to be made but it's basically ready to go.
One discovery when all was set up: there is not enough space between the boom and deck for the downhaul. I'll have to run it down to the front seat.
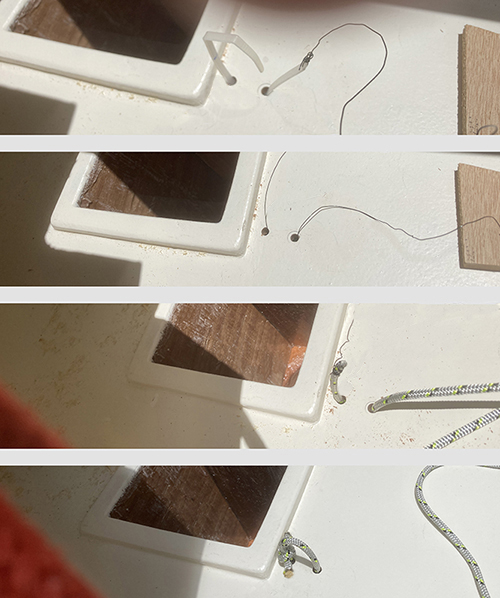
There was no way to reach the underside of the seat to bolt hardware in, so I'm using a loop of spectra as the connection point. After several failed methods, here's how I finally made a loop through the two holes with no access to the underside. If it's not clear in the photos, I put two carefully placed bends in a large zip tie, then inserted it into one hole a segment at a time, rotating to keep the bends in place. When positioned properly and pulled upward, the other end popped up through the second hole. Once I could grab that end, I pulled it through a little more, then attached a wire to the other end and pulled that through. Finally I attached the wire to the spectra line, pulled it through and tied it into a loop with a reef knot.
Next weekend I'll get the boat back on the trailer but probably not on the water until hopefully, the following weeked.
 June 28, 2021
Just a quick update. Yes, the Rogue is ready to sail but due to previous commitments, scheduling and weather conditions things just aren't synching up to get out on the water.

I did squeeze in a couple quick canoe outings and spotted this heron along the local river.
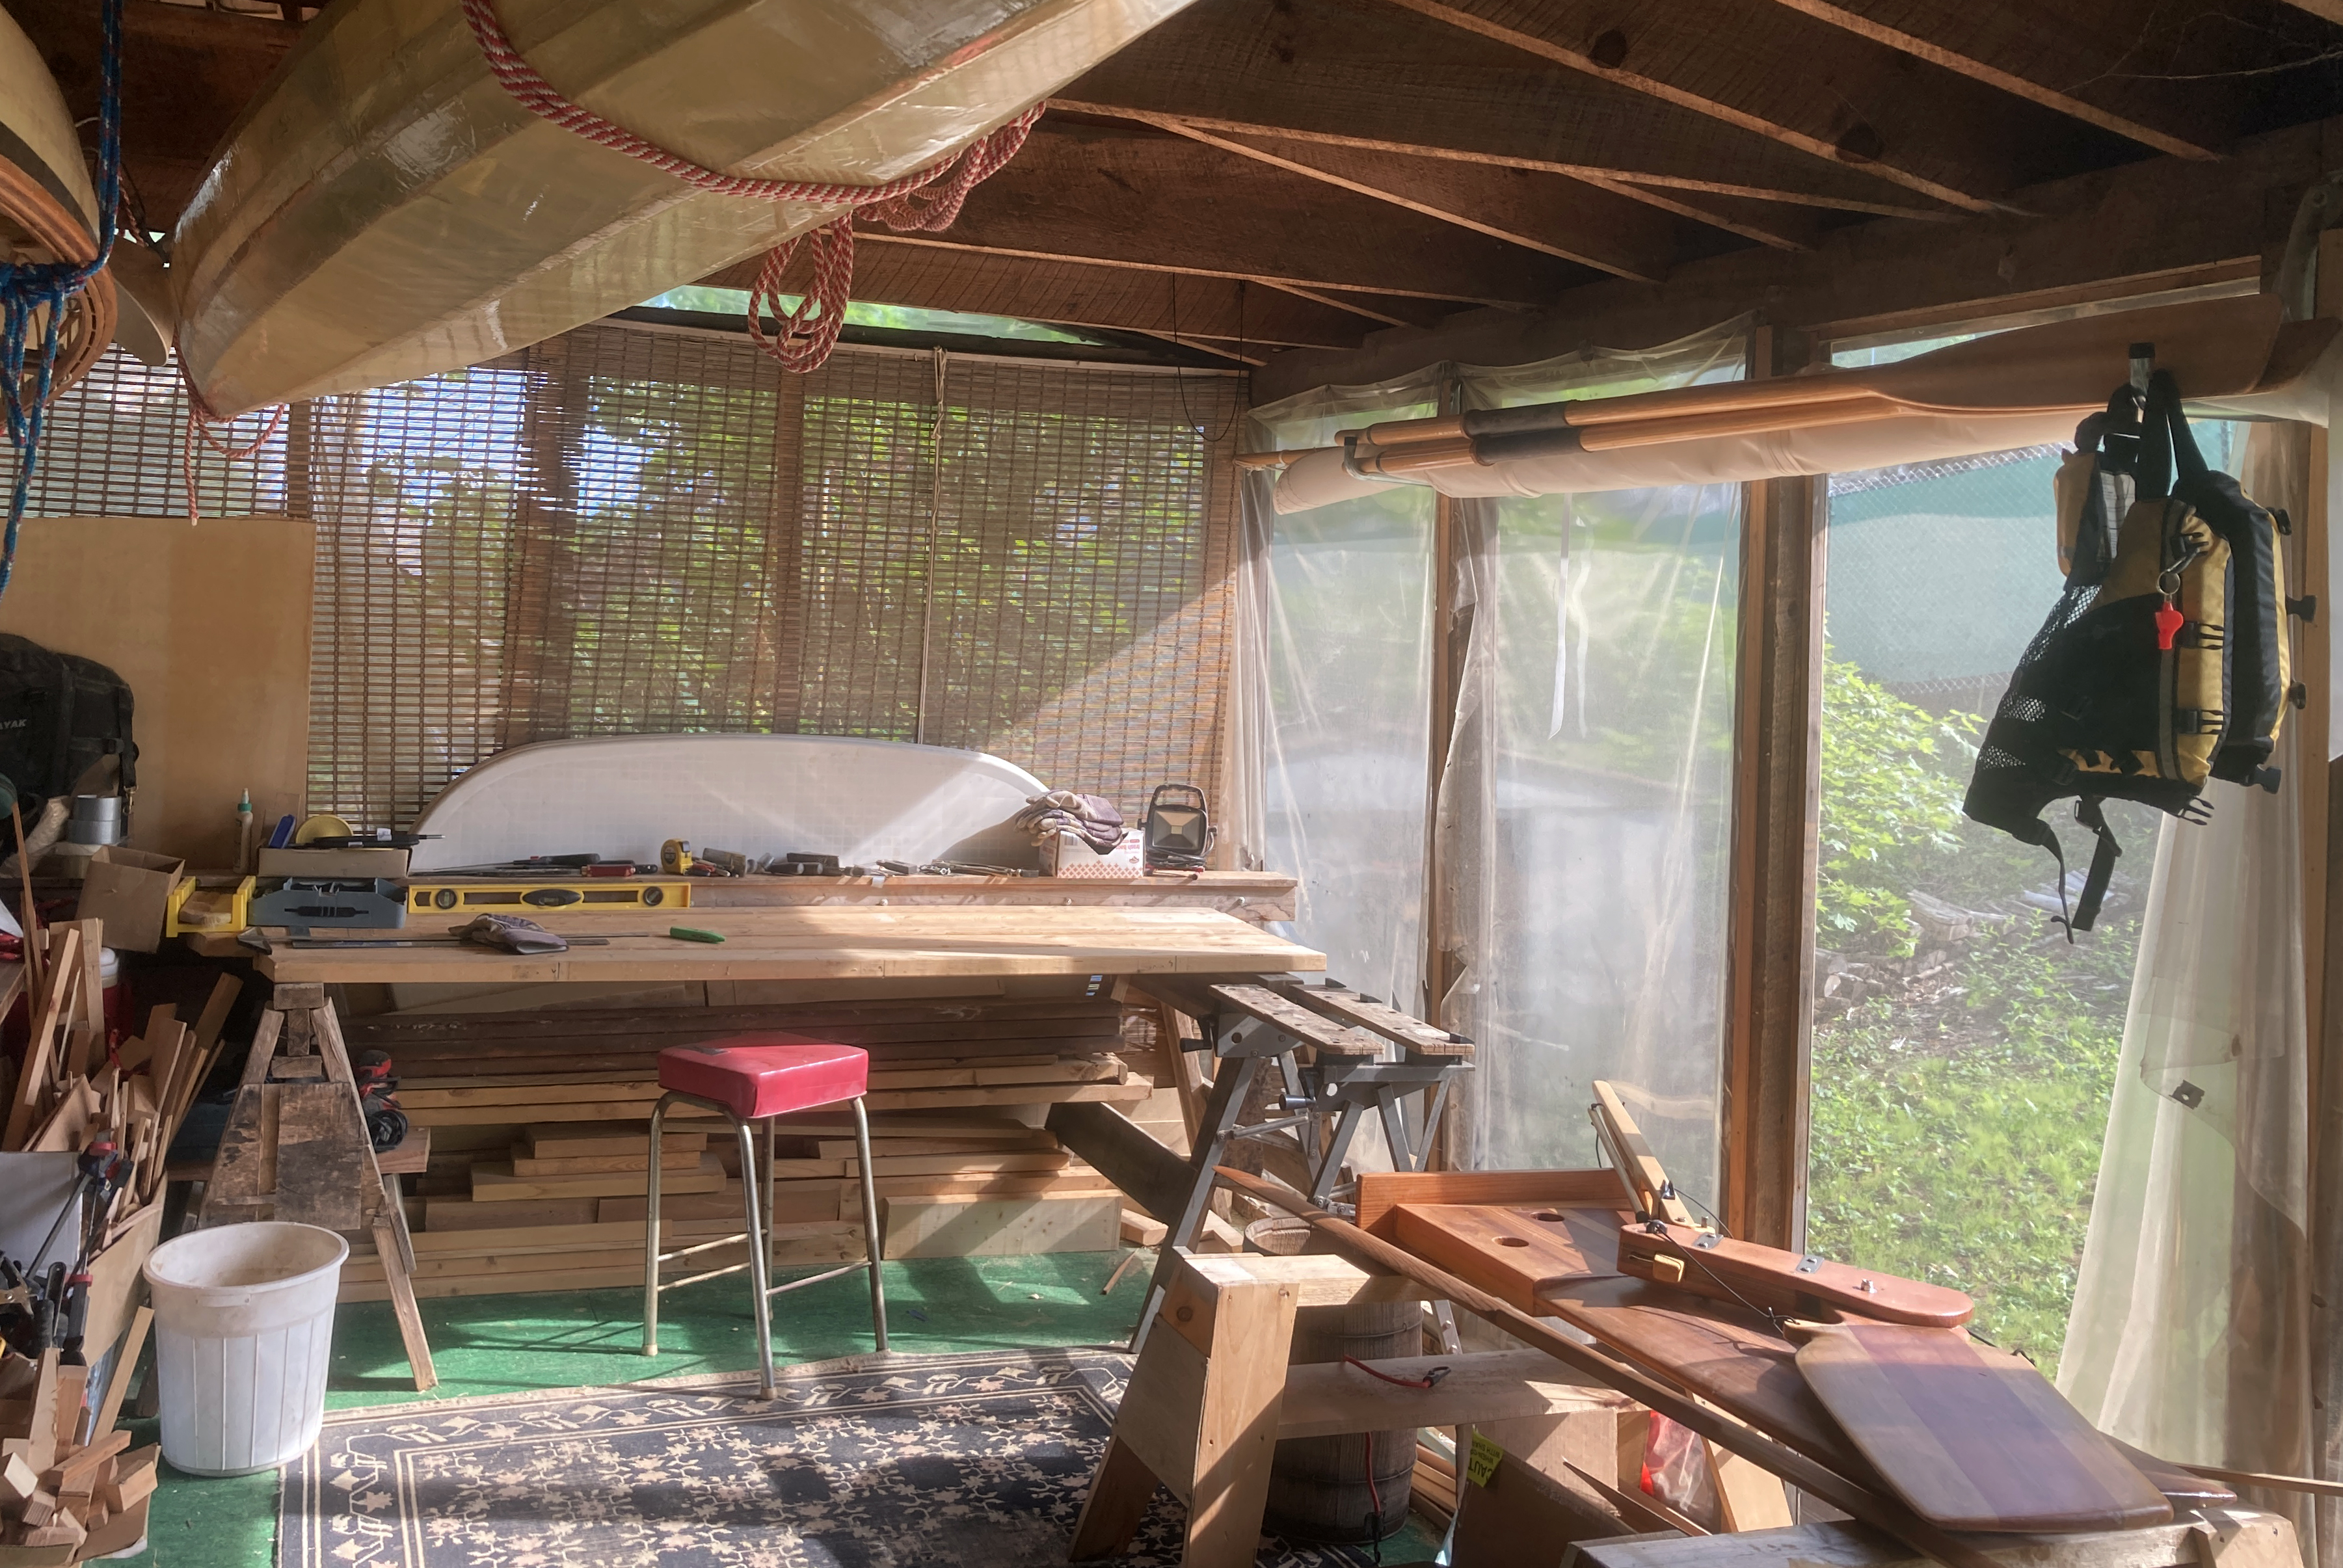
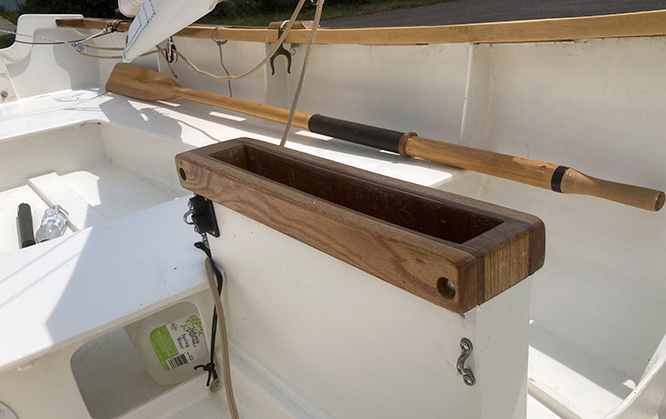
And reorganized and cleaned up the porch a bit. Made a rack to store the sail, spars and oars along the back wall and used some of the extra wood to make a new workbench. There are still a lot of wood leftovers to sort and store.
Maybe we'll get out next weekend but the best day for me, Friday, has thunderstorms predicted for all day.
July 5, 2021Finally everything came together and we made it out on the water sailing!
It was a shakedown outing to see how all the rigging decisions would work out and to see what still needed to be done.
A perfect day, with temperatures in the low 80s and wind averaging
around 10 knots.
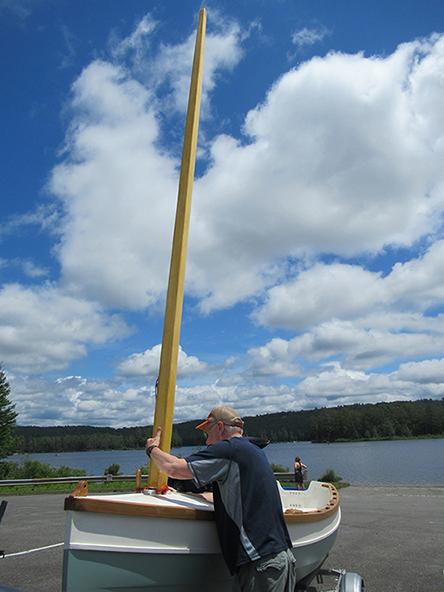
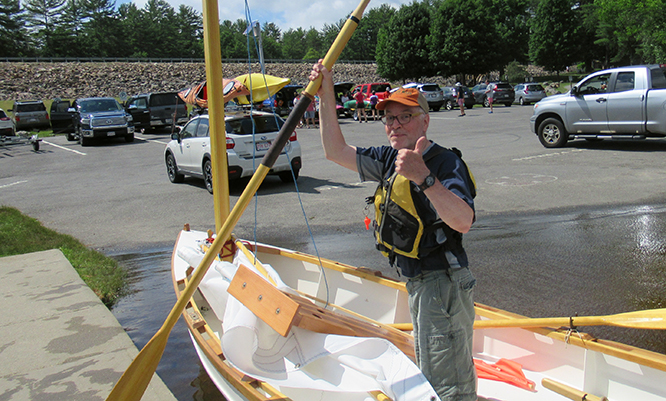
With the the slotted mast step I could easily raise the mast while
standing on the ground.
The sail was hoisted a bit while still on the trailer to help with the lines setup, but the wind would have blown the boom right into the car next to me if I had hoisted all the way.
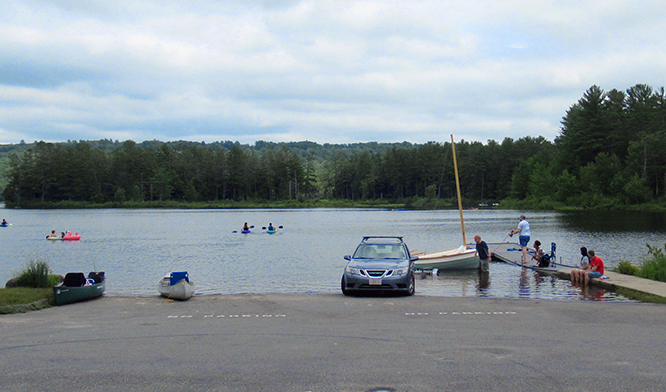
A friendly spectator lended a hand while my wife guarded our parking spot — the last available one.
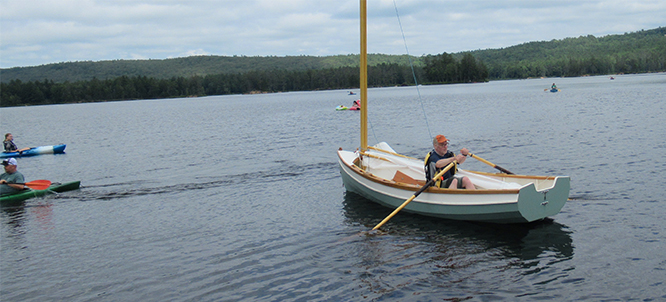
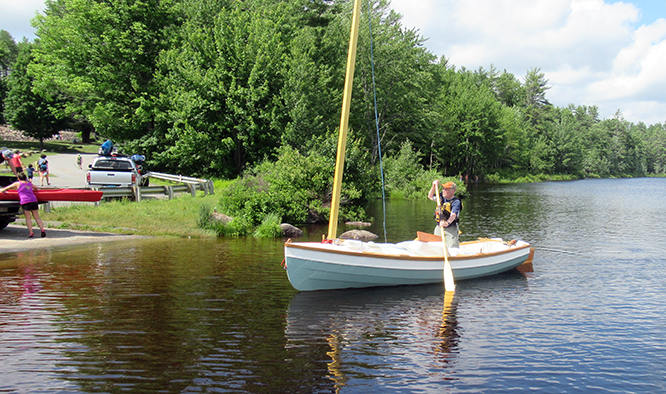
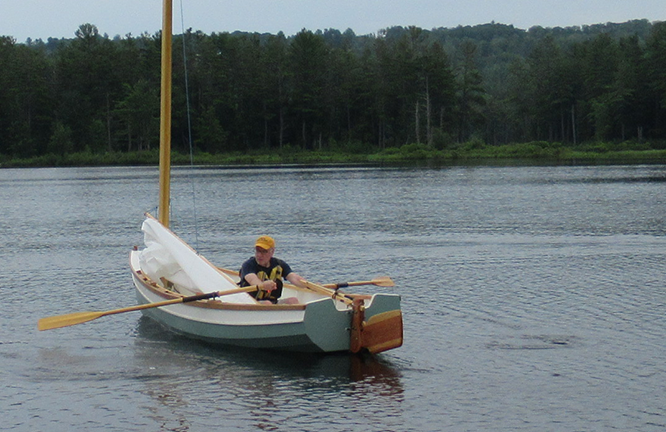
I played it very cautiously on this first outing, rowing down wind
to a better location before lowering the daggerboard and hoisting
the sail. I even put a single reef in, since the wind was gusting
heavily at times.
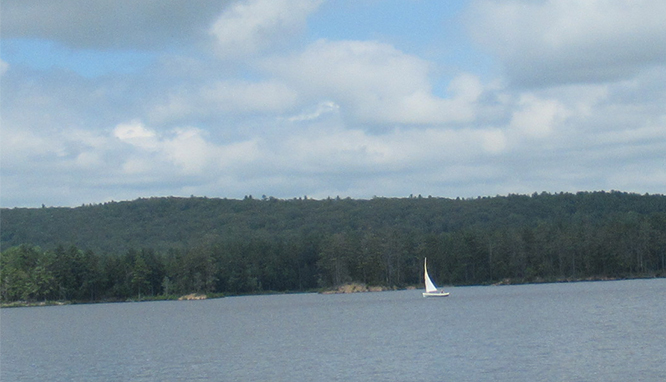
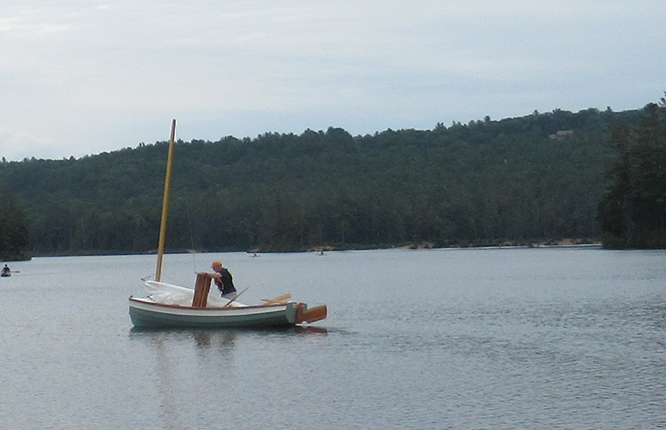
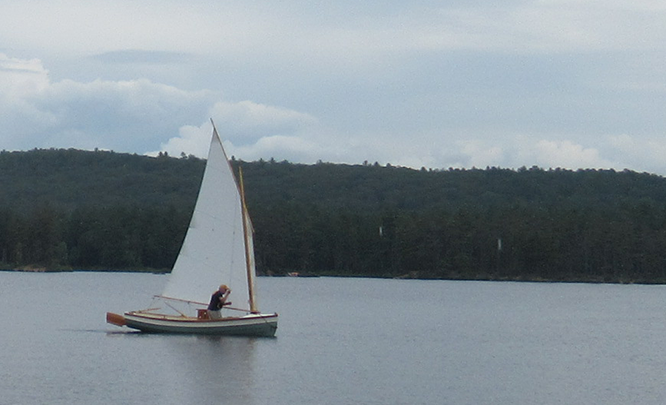
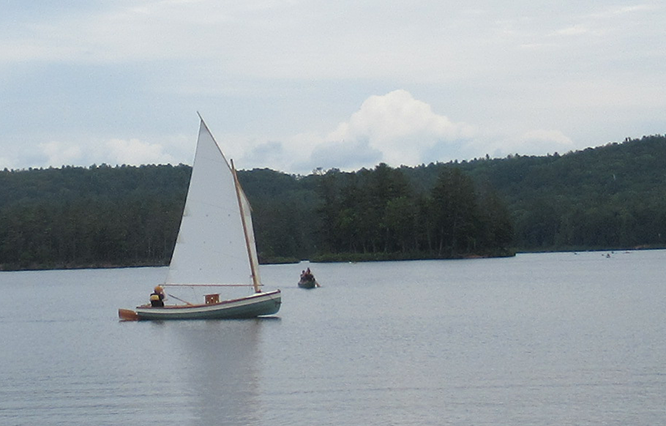
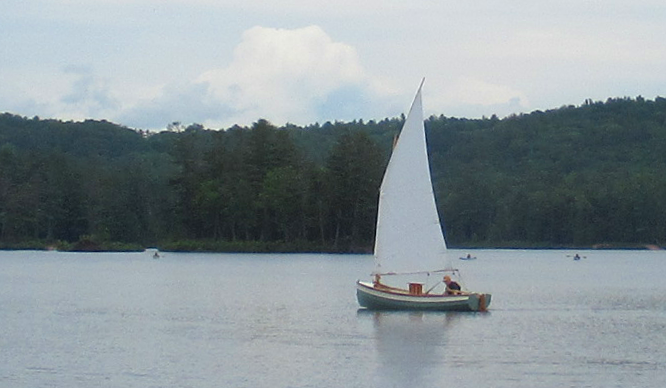
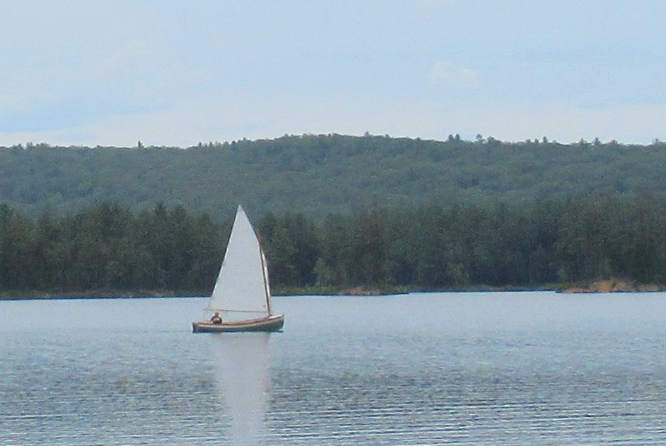
Here are a couple long-distance pics as I tacked my way up wind.
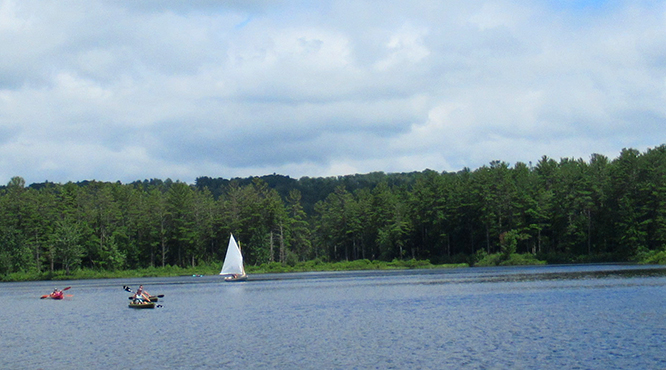
The sail was dropped a few minutes after this shot...
...and I paddled back to shore.
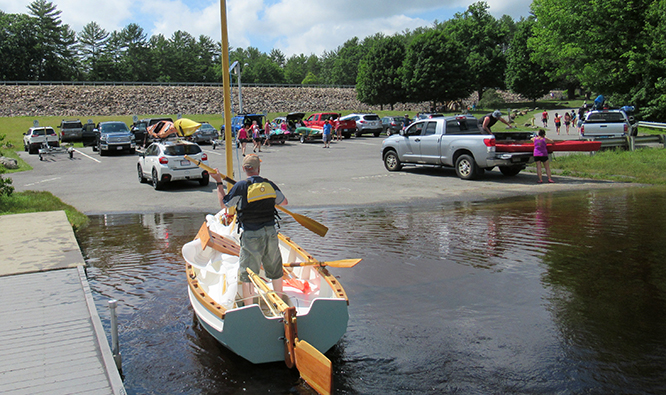
The ramp and lake were crowded on this 4th of July weekend.
A good first outing — learned a lot and made a lot of notes.
The daggerboard was easier to handle than I had anticipated as water pressure makes it feel light when in the slot. I need to add a way to park the tiller extension when not in use. And I'm going to set up some kind of tiller tender since I have not extended the halyard or downhaul controls to the cockpit area and need to leave the helm to make adjustments.
I'll be more confident on the next outing after making a few changes and at some point, we'll try to get some close-up sailing photos.
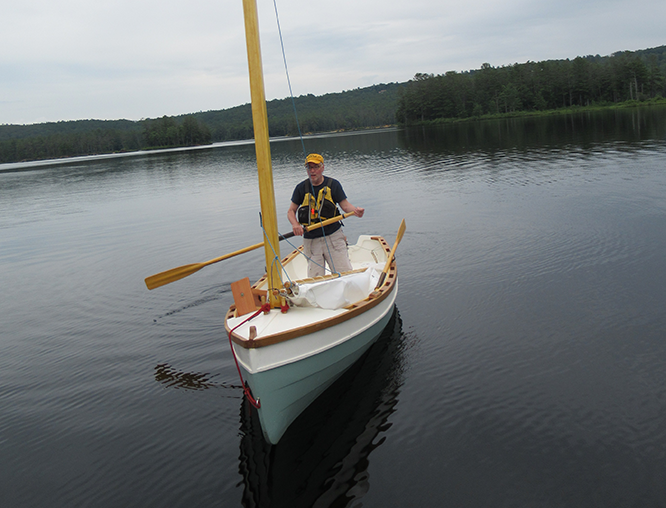
July 11, 2021Just quick outing this week with a threat of rain and little wind.
Again I rowed out a bit before setting sail.
Lowering the centerboard in deeper water.
Hoisting the sail.
More small adjustments.
Rudder dropped and we're off and running.
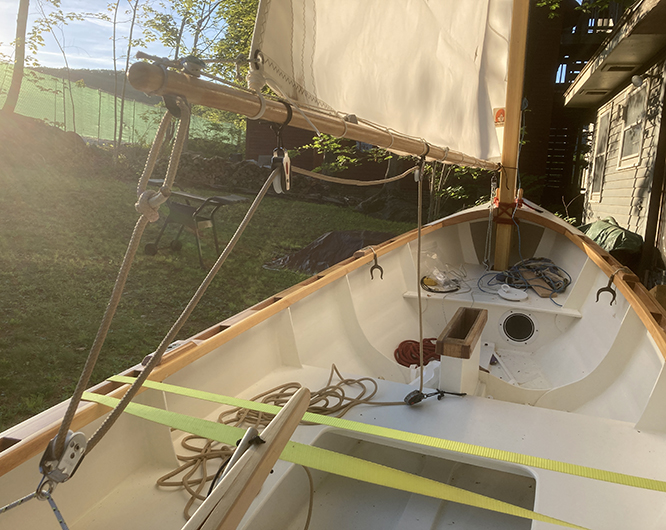
A nice look at how the Goat Island Skiff sail sits on the Rogue.
Paddling in, hoping for more wind next time.
July 18, 2021More sailing this week with a minor setback.
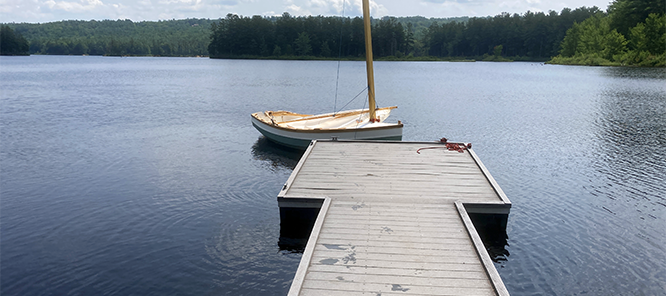
I was prepared for a long day of sailing...
...still trying to work things out, but haven't yet been able to master a smooth setup and launch directly from the dock.
Once up and running I was able to shoot the brief video posted below. But first, notice this mast setup at the start of the day.
Perhaps you noticed only one the belaying pins that support the mast was present in the video. At one point while sailing, I moved up front to adjust the downhaul only to see the port pin had broken off. I'm not sure when it happened and don't recall any unusual circumstance that would have caused it. Fortunately I was able to continue sailing by wrapping the line around the remaining pin and the under-deck portion of the broken one (I did this right after the video was taken).
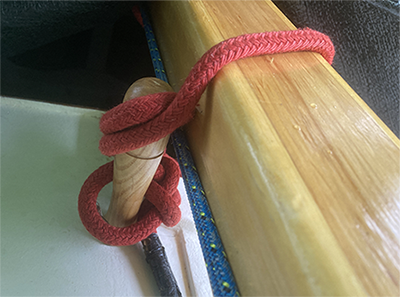
The day was cut a little short as I didn't feel completely secure with that set up. With the boat back on the trailer, here's a shot of the "hero".
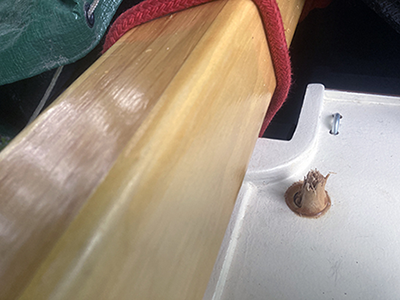
And here's the broken one.
So, I guess it's back to the drawing board. At this point I'm thinking of re-gluing the broken pin and in the future, using the pins for their intended purpose — holding coiled lines. To support the mast, I'll probably devise some kind of mast gate.
August 28, 2021I've been out sailing maybe 3 or 4 times since the last update — just local outings still working out details. The synchronization of clear weather, available time and wind has not been very frequent. But in the downtime I've been able to complete a couple ugrades.
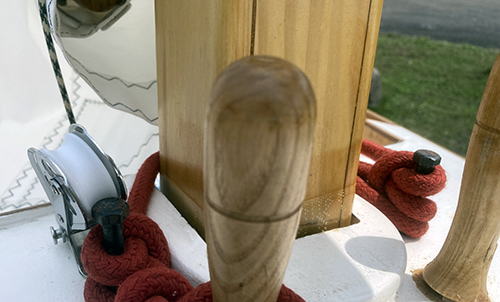
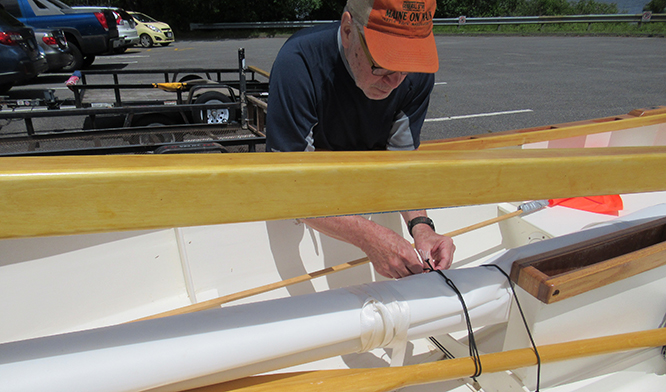
The first was restoring the broken belaying pin and adding 2 bolts to handle the mast securing duties.

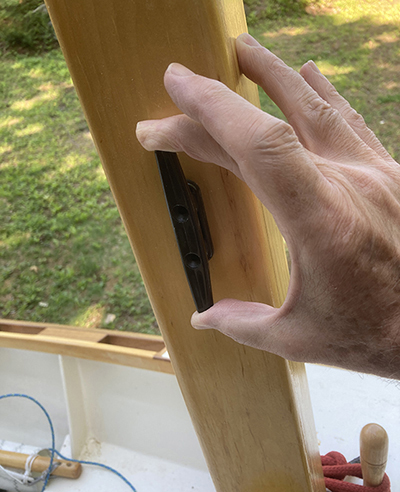
I've also extended the main halyard to be accessible from the cockpit — rather than being tied off on the mast cleat, it now runs through this block on the deck...
...then through a pad eye and cam cleat mounted on the daggerboard trunk (sorry I didn't get a shot with the halyard in place). It's been a welcome improvement especially the ability to instantly lower the sail when needed.
Next was the addition of some lazy jacks. You can see them here holding up the sail, boom and yard. They've made the rigging setup process, and the raising and lowering of the sail much more manageable. The sail, boom and yard can be raised even higher to provide plently of cockpit room for rowing and moving about.
Credit to Teo Deus for the detailed rigging info on his excellent Video Rambler YouTube series.
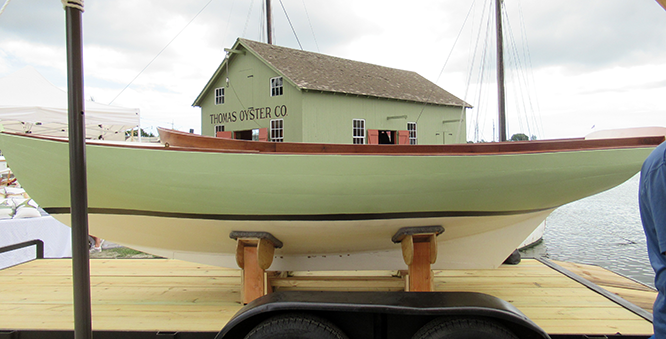
And, the Mystic Boat Show rolled around again last weekend.
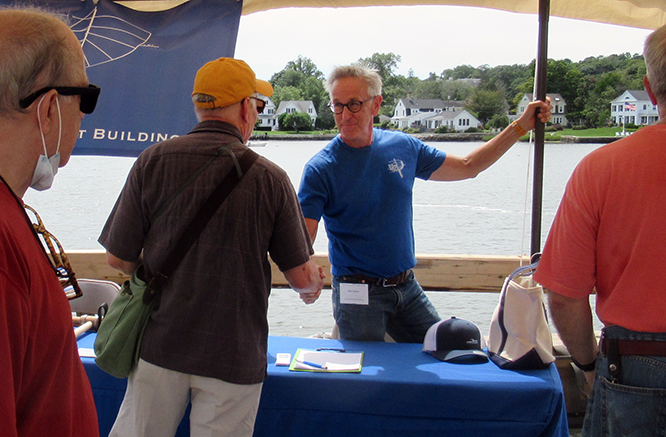
This year, along with seeing the fine array of wooden boats, I chatted with Bob Emser, builder of the Haven 12 1/2 shown above and host of his Art of Boatbuilding YouTube channel.
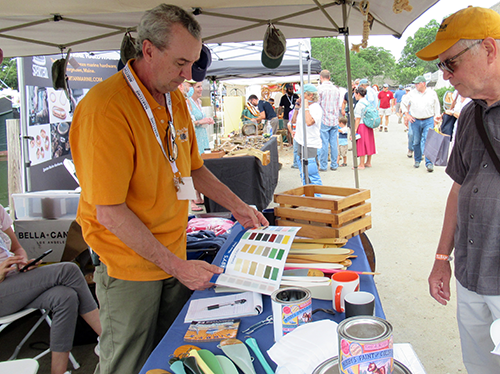
And got the chance to thank the folks at George Kirby Jr. Paint Company for their fine product and service.
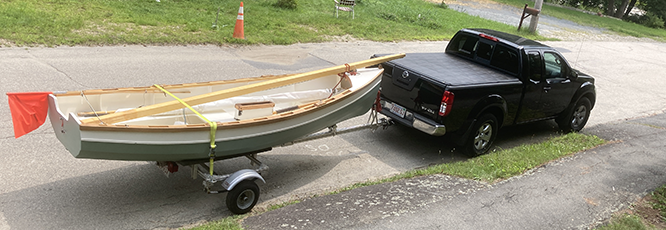
And the final update for this week: the Rogue got a new towing vehicle!