Completing Hull
 June 28, 2020
Continuing with last week's plan, I began sanding and painting the front section in prep for installing the deck. I've been going with 2 coats of primer and 2 top coats. With drying time and sanding between each coat, the time adds up and there were thunderstorms throughout the weekend slowing things down. But the end is in sight.
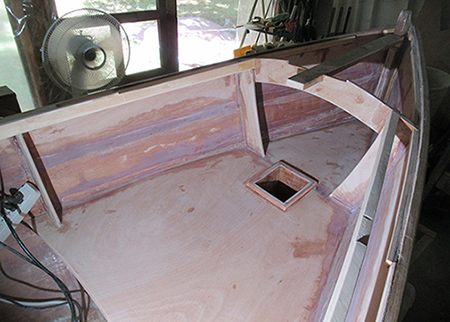
Here's the bow area sanded, filleted, faired and ready to go.
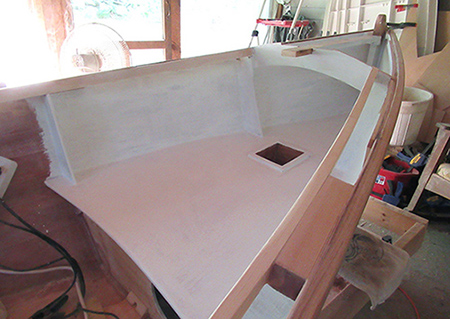
After the first coat of primer.
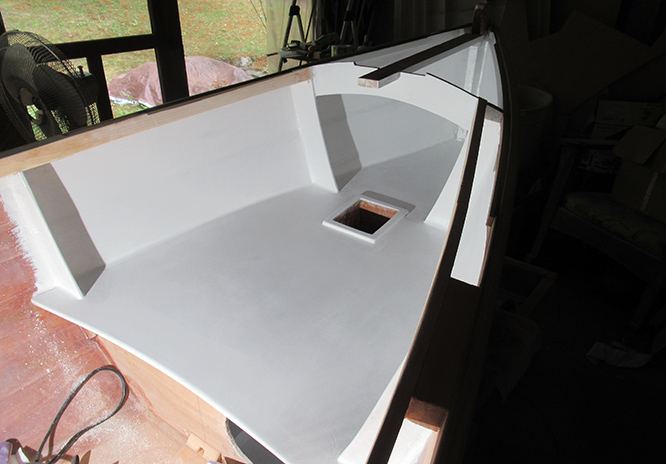
Second coat of primer applied.
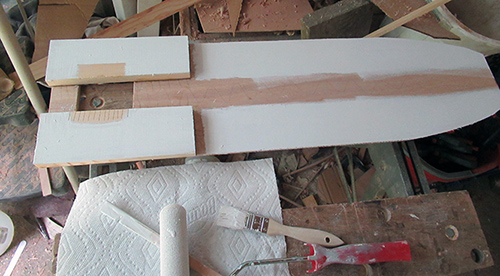
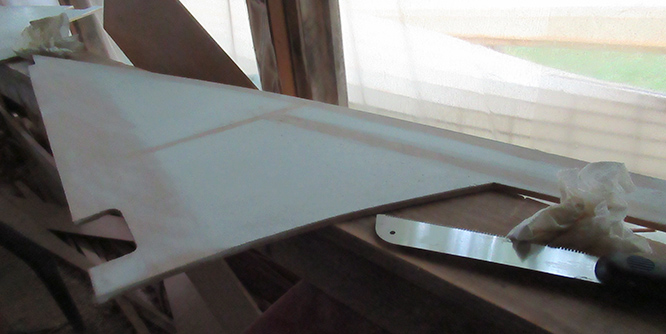
I also painted the underside of the king plank...
...under the deck pieces...
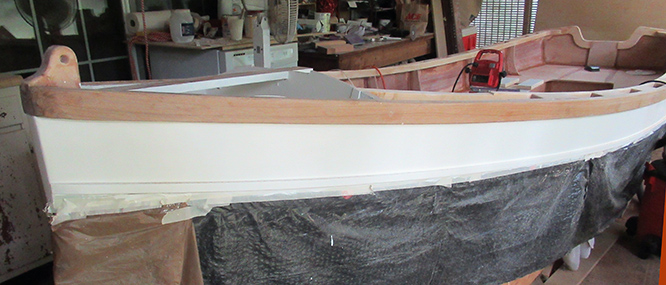
...and the first top coat of white along the outside.
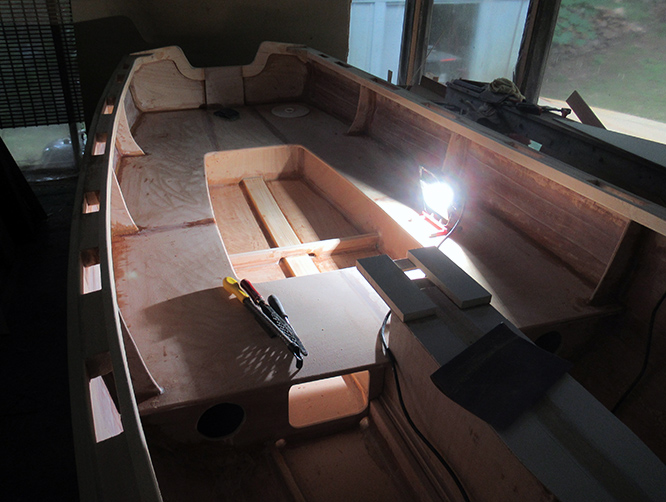
I'll be painting the rear section next, so I completed all the filleting and cleaned up a lot of details. I also spent a good amount of time sanding the gunwales in preparation for finishing.
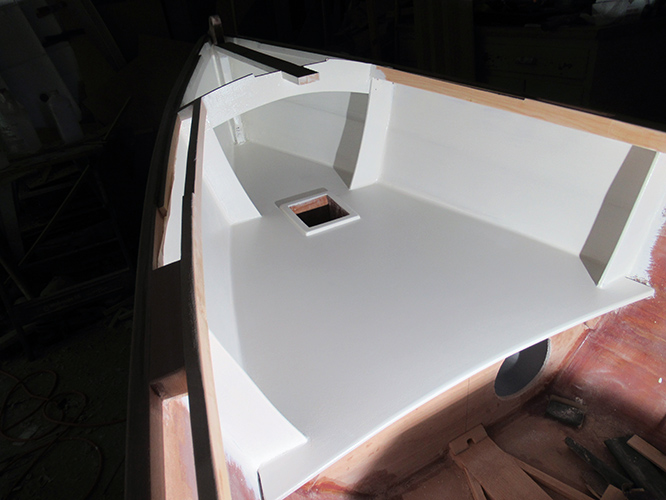
And the first coat of topside paint goes on in front. Wow, it covers a multitude of sins.
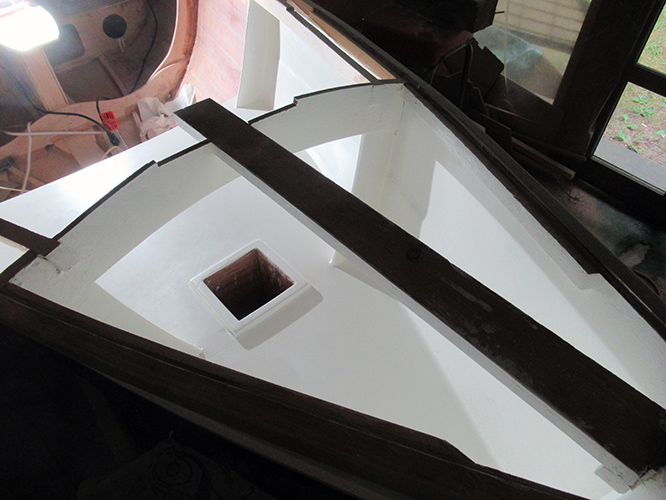
I'll get the second coat completed during the week. So it's looking like I'll be ready to start on the deck next weekend!
 July 5, 2020
More sanding — it's hard to know when to stop.

My companions this week: a dowel wrapped in sandpaper...
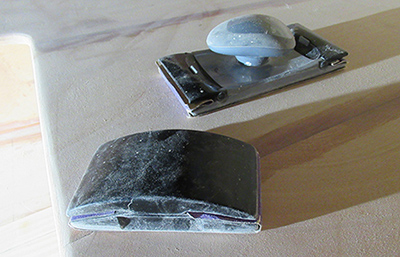
...and a couple of hand sanding tools.
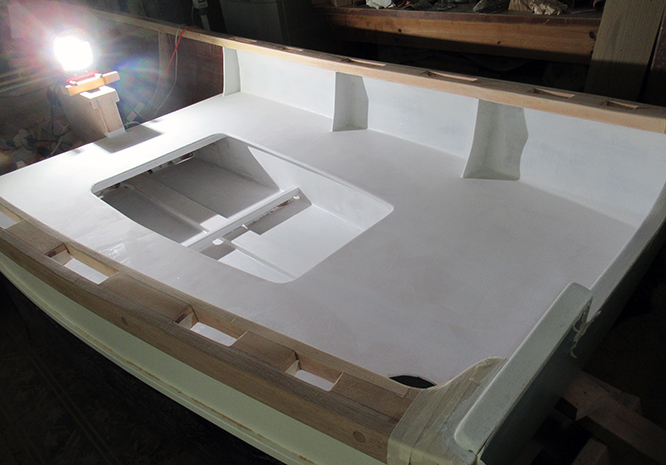
I eventually said "enough" and applied a coat of primer.
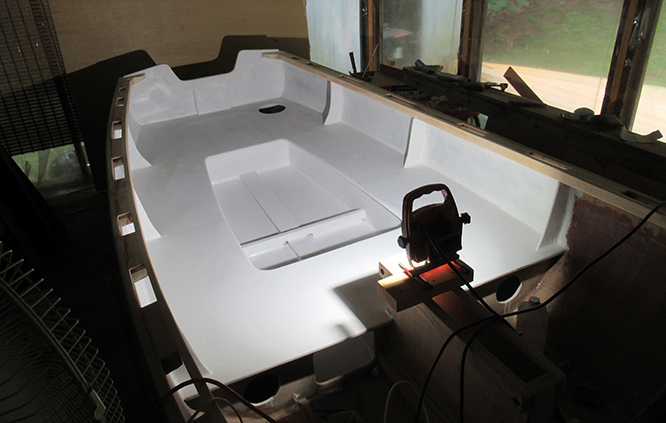
A coat of paint sure changes things!
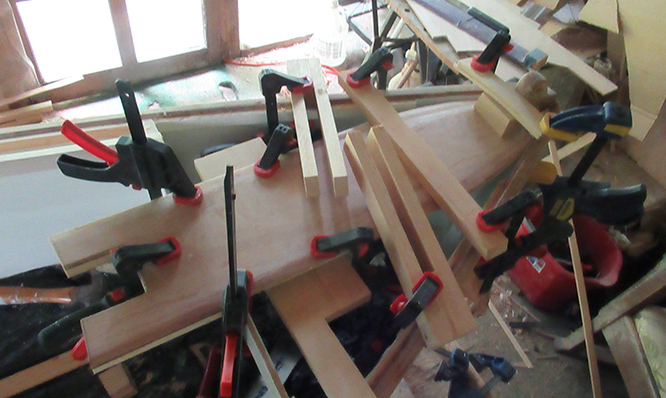
Next, the king plank was epoxied into place in preperation for installing the deck panels.
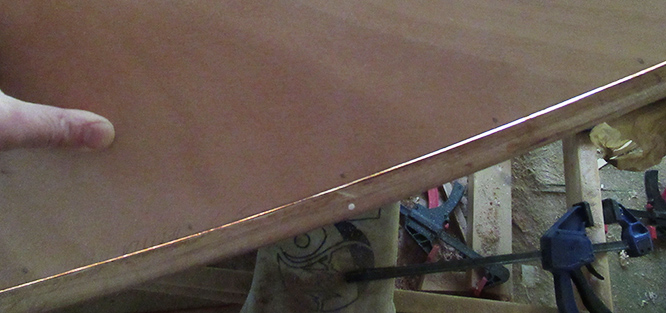
A light placed beneath the deck helps to show where final planing should happen.
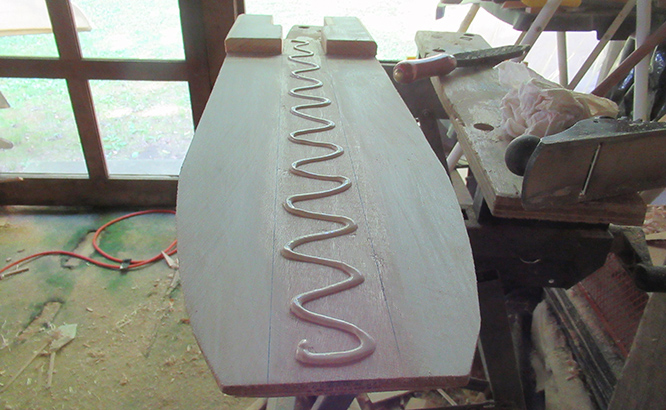
Surprise! The next morning I went to test the secure king plank only to have it lift right off. Apparently the epoxy did not set up. It was still a sticky goo, nowhere near hard. I don't know what happened, maybe I mixed incorrectly. Anyway, I scraped it all off, resanded the joining areas and decided to use Titebond 3 glue this time. The plank is located in a dry area and will be secured by screws when the deck is attached.
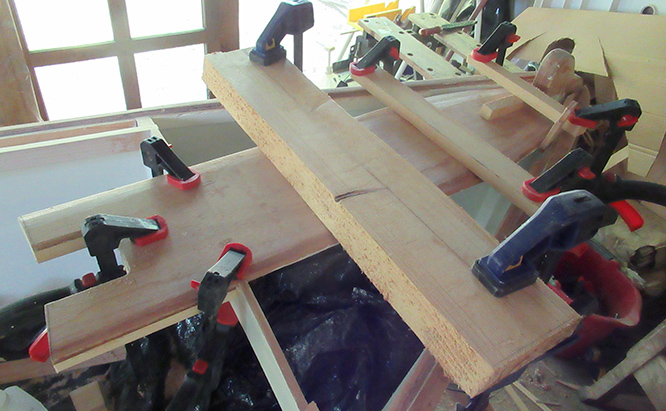
So, a half-day of work and I'm back where I was the night before.
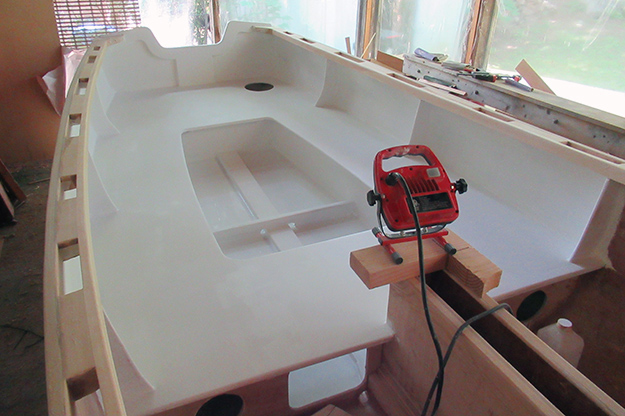
Meanwhile, the aft seating area got a second coat of primer.
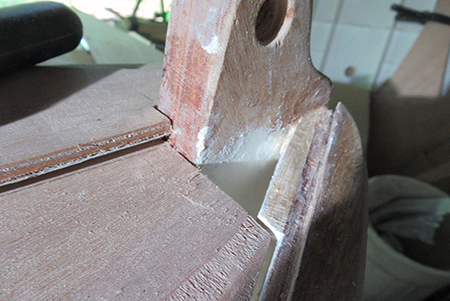
The next day I did one more round of cleaning up all of the deck's mating surfaces.
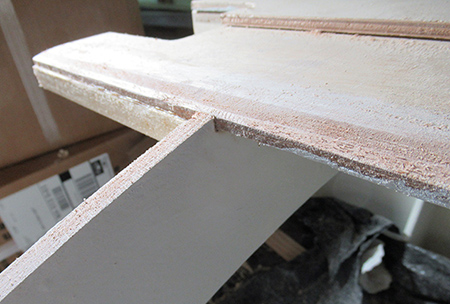
King plank transition.
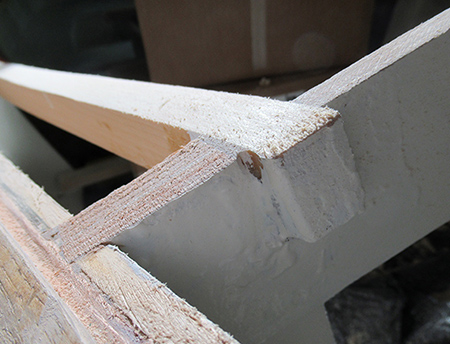
Coming off station 1.
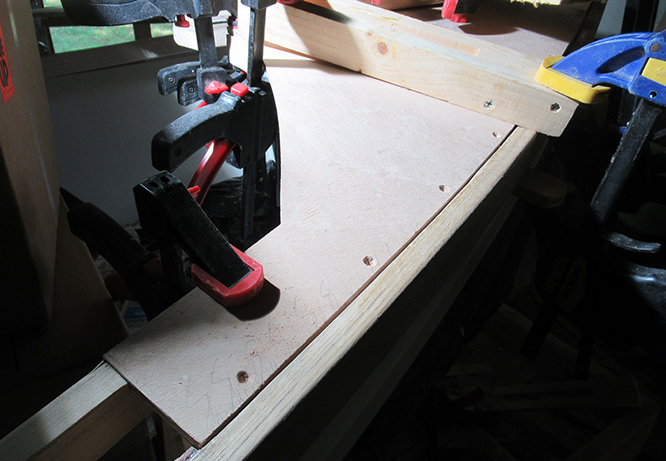
Then drilled and countersunk screw holes around the perimeter....
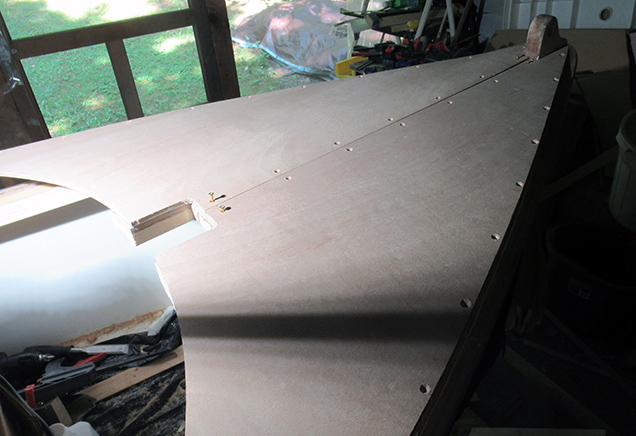
... and along the center line.
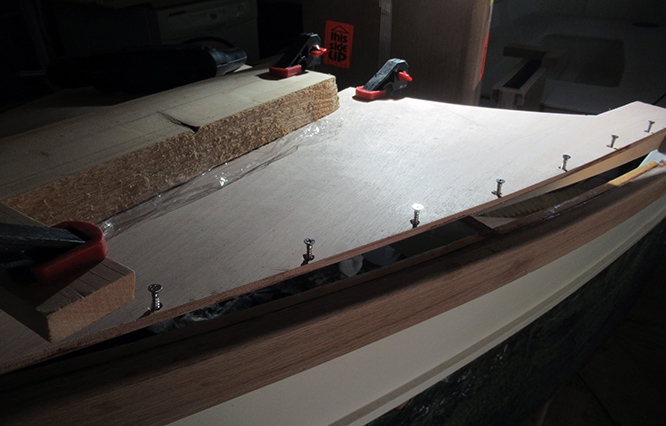
Ready to epoxy in place.
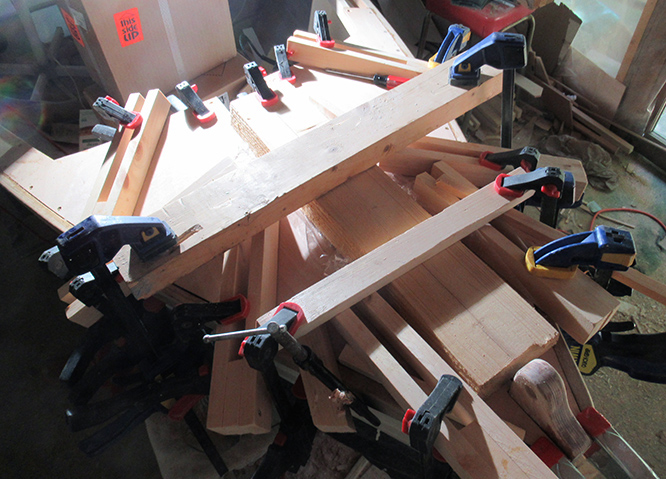
Another impromptu clamping job.
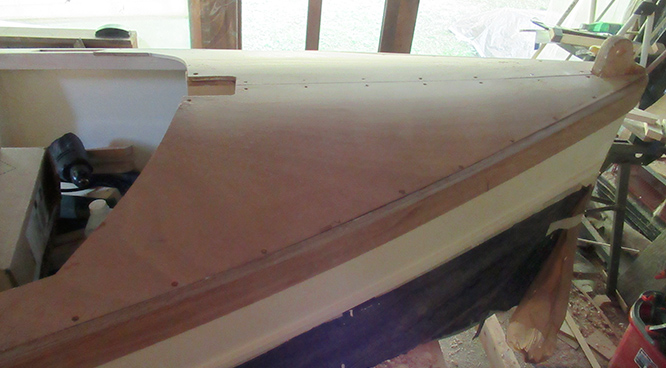
And, the deck installed!
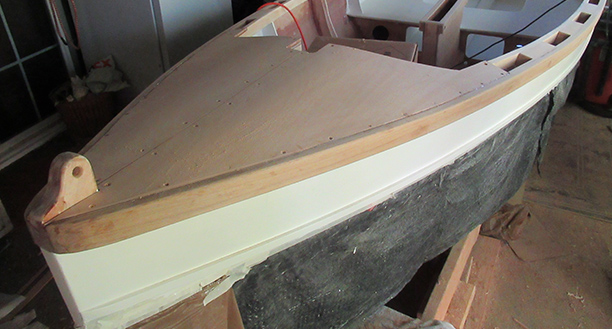
What's left to do? A few more coats of paint on the aft seat section, another top coat of white on the exterior, sanding and painting the center section, adding trim and paint to deck, adding oar locks, installing inspection ports, epoxying and varnishing the gunwales — so still a couple more weeks to go. I'll also be looking for a trailer and oars and at some point, proceeding to complete the sailing components.
 July 13, 2020
The Summer days are ticking away so I decided to start hammering
away at that "To Do" list from last week.
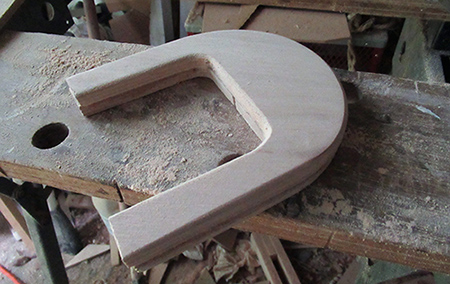
Here's the start of the deck treatment. This piece will fit around the mast slot.
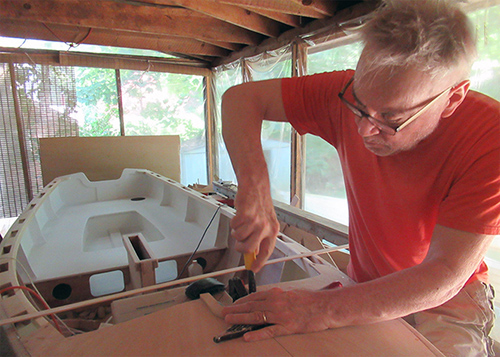
Decisions were made while working and various options were tried out before commiting.
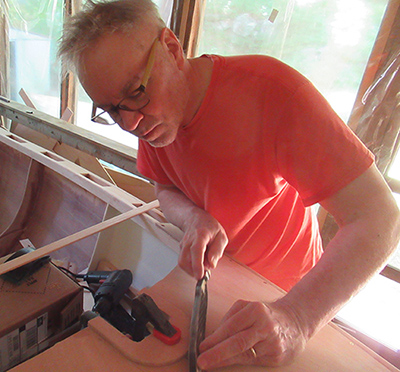
The final design being implemented.
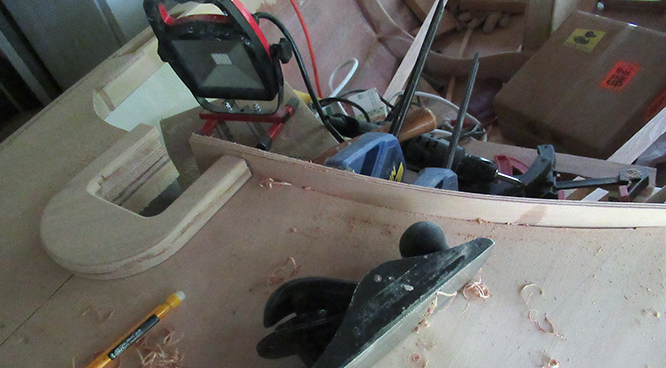
Fitting a blank coaming section.
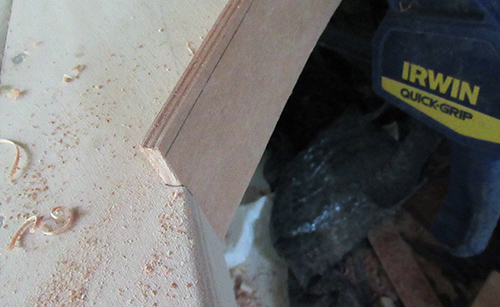
The aft end is inset slightly into the inwale.
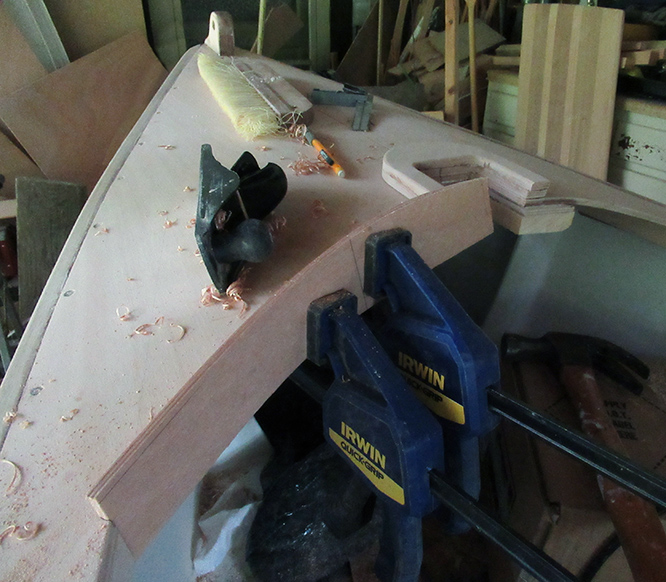
It will next be trimmed down to align with the top of the inwale and top of the mast partner.
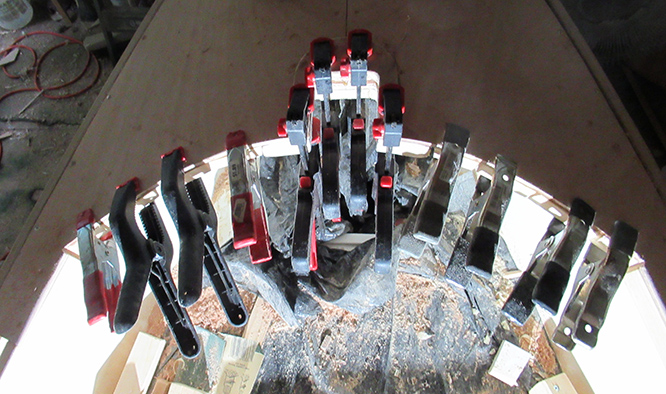
Here the backing blocks for the coaming and the mast partner ridge are being epoxied into place.
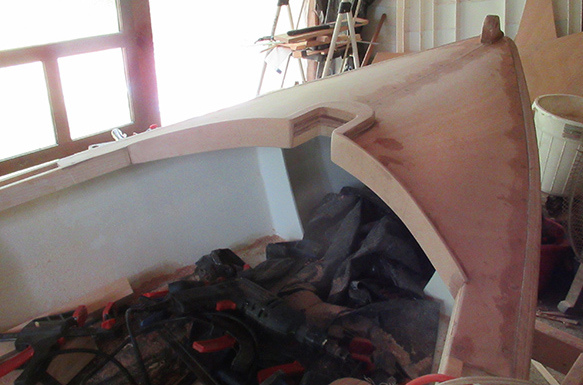
The coaming pieces are epoxied in place. Hopefully the slotted mast partner will make mast stepping a little easier.
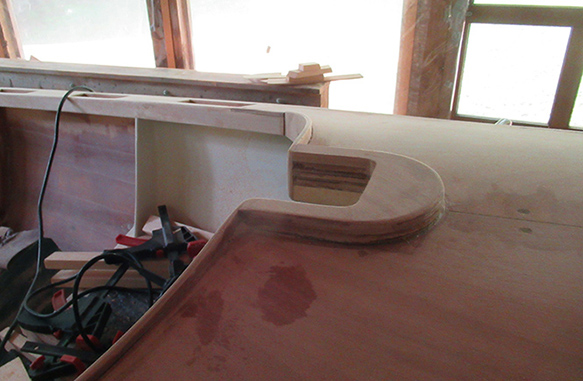
Here is how the coaming ties in to the mast partner.
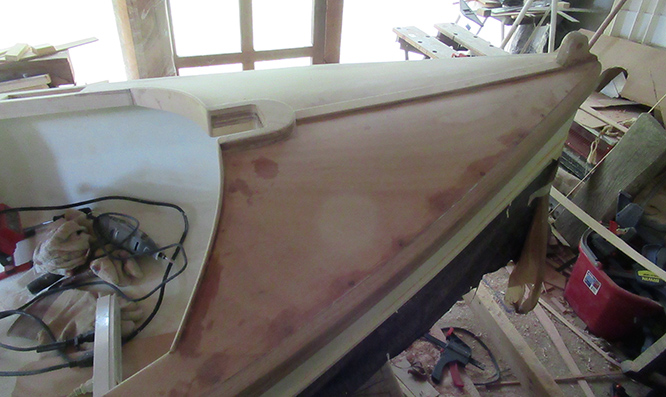
And it seemed to need this strip down the center.
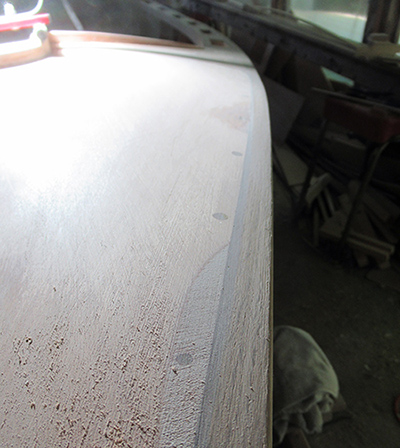
Getting the edge sanded and screw holes filled.
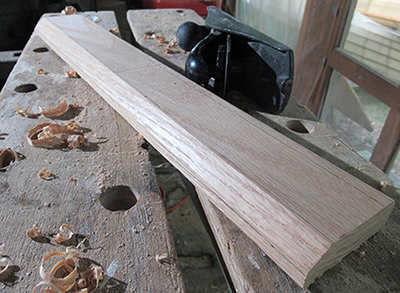
Moving on to the oar locks, here's a piece of oak I'm using for the risers. I've already planed the sides to the desired angle.
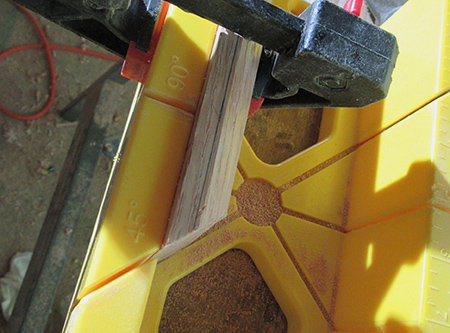
Sawing by hand, a convenient angle for the end is 45°.
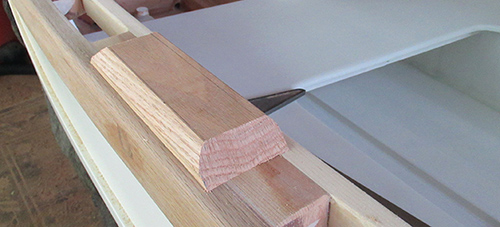
Here's how it looks in place.
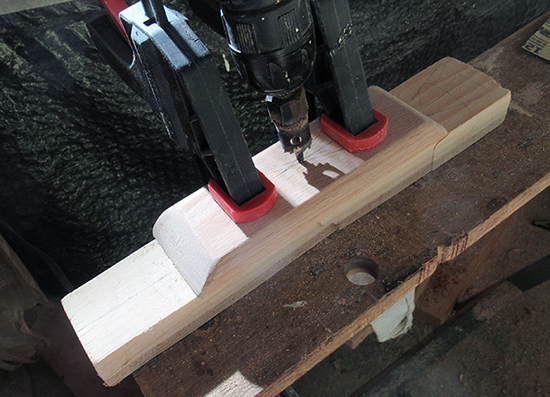
Drilling the socket hole resting on backing block to prevent tear out at the bottom.
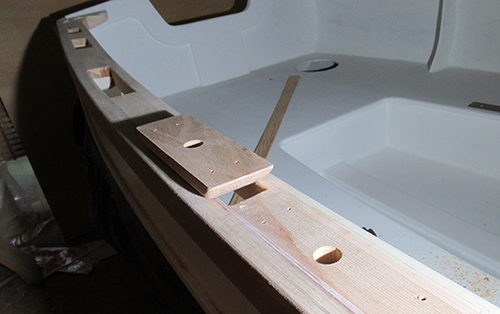
Ready for the epoxy.
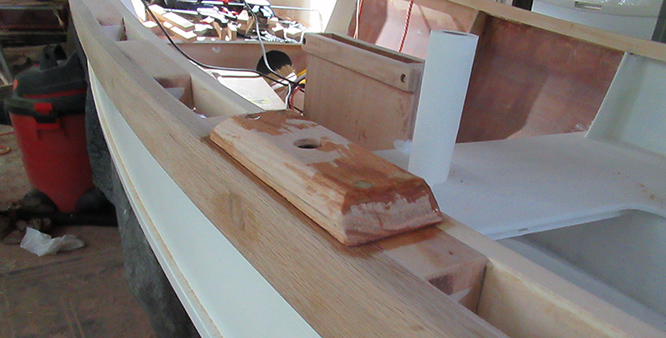
And epoxied and screwed into place.
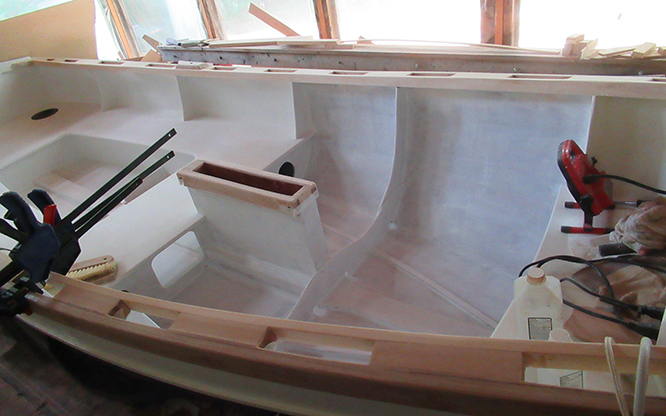
I also got the final filleting, sanding, and the first coat of primer on the center section.
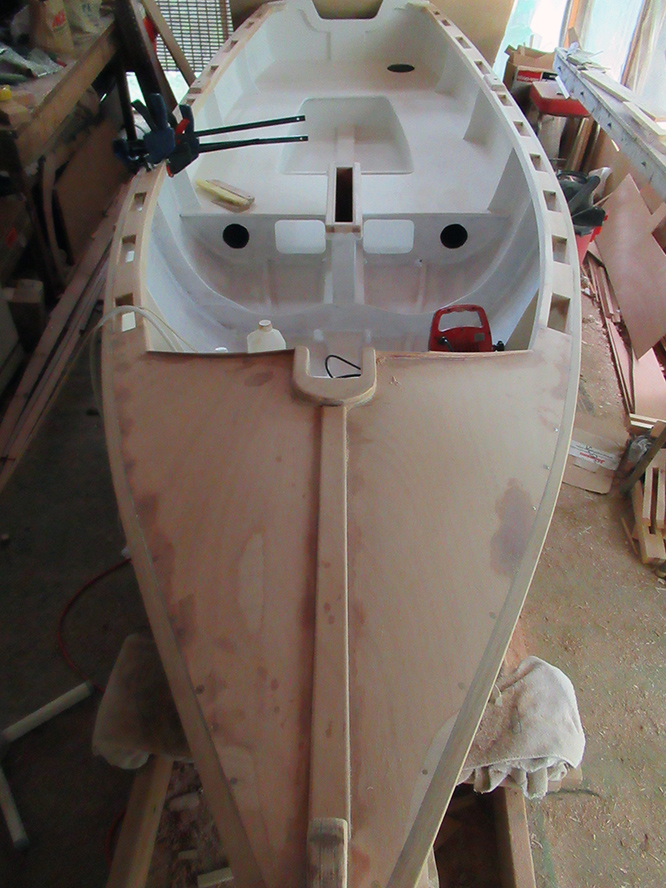
So, this week ends and I was able to check off a couple items:
• Design and install deck trim
• Fill screw holes and prepare deck for painting
• Make and install oarlock risers
• Finish prepping center section
• Painting (1 primer coat on center area)
 July 19, 2020
Closing in on launch day with a lot of work completed this week
— but few photos. The cycle of painting/epoxying, waiting for
drying, then sanding and repeating is not very visual.
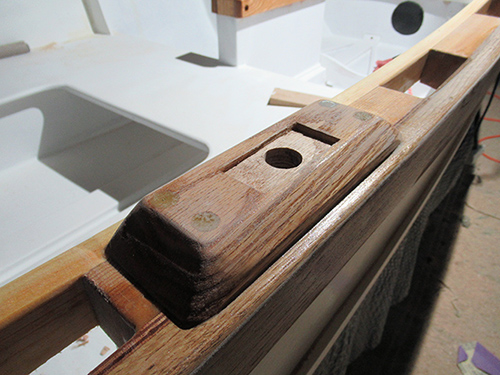
The only unique task this week, after giving the gunwales a coat of epoxy and a sanding, was to chisel out insets for the oarlock mounts.
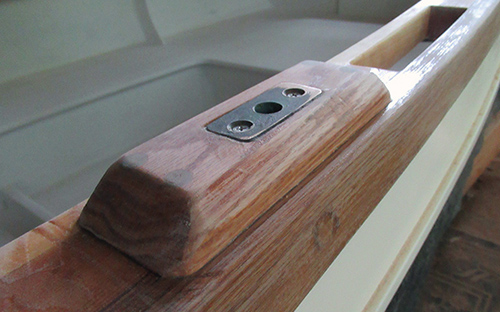
Here's one of the mounts installed in place.
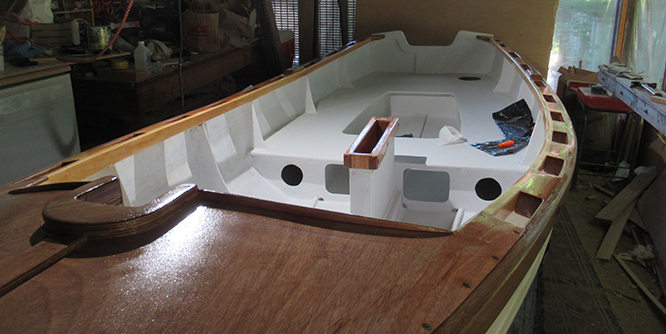
And the rails get a second coat of epoxy — I continued onto the deck to strengthen and protect the plywood. My intention is to paint it white but the natural wood's looking good too.
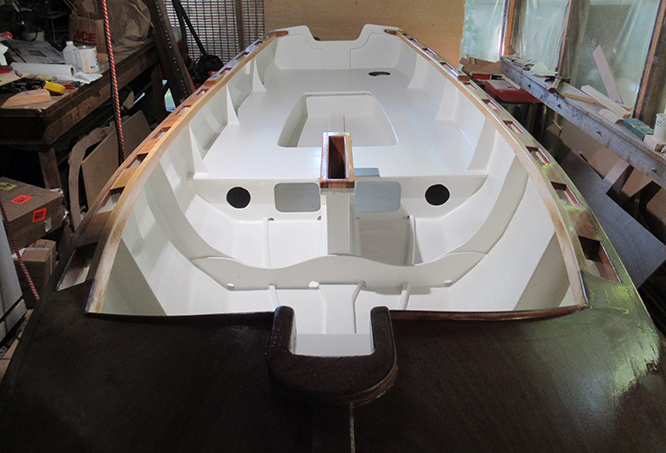
The center section got another good sanding and a second coat of primer. And in this shot, unlike the one directly above, the entire interior is covered with the first layer of top coat.
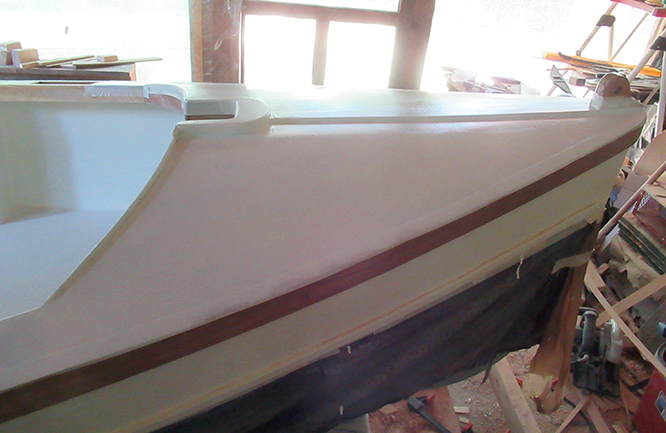
I went ahead with the original intention and painted the deck white (masking tape around the edges is still in place).
So it's down to:
• Light sanding and one more coat of paint on the interior
• Another coat of paint on the white side stripe and deck
• Multiple rounds of sanding and varnishing on the gunwales
And I've got to get going on those peripheral tasks of getting a
trailer and oars, and removing screens to facilitate getting the
boat out of the porch/workshop and into the world!
 July 26, 2020 — BOAT COMPLETED!
Well, it kinda sneaked up on me but the boat itself was finished this week! All of a sudden my todo list was empty.
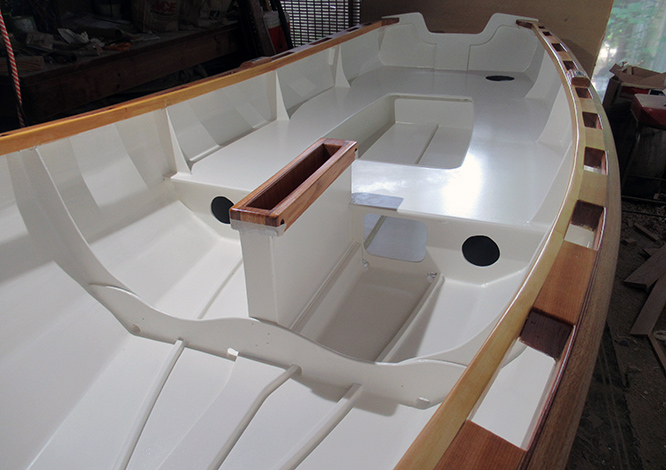
Varnishing and painting was completed.
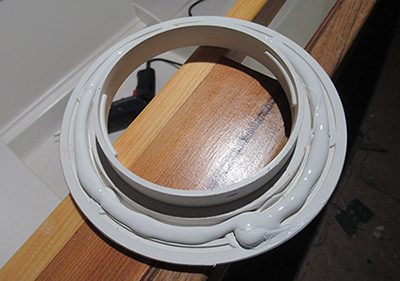
And the last task was to install the inspection ports, starting with a round of 3M 5200 Marine Adhesive.
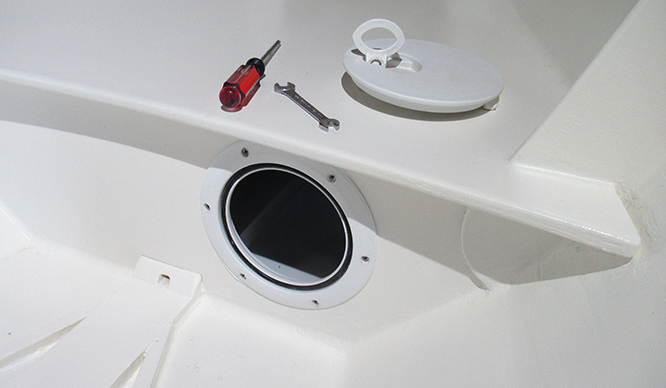
The small open ended wrench was a necessity when reaching inside to hold the lock nuts while screwing from the outside.
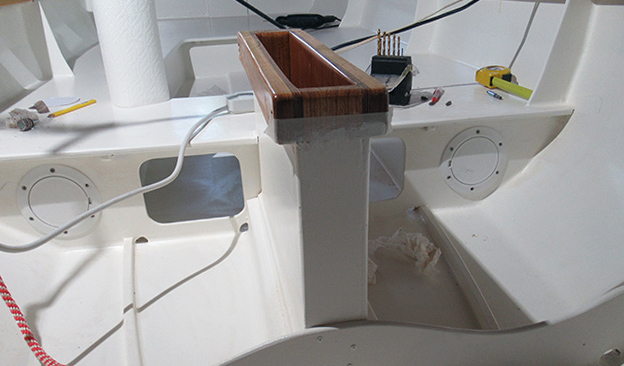
All ports are installed including these 2 smaller ones.
My plan now is to get the boat on the water ASAP for rowing. I may
also pick up a small outboard before Summer is over for some longer
outings. The sailing components will be a Fall/Winter project aiming
for sailing next Spring. I will have to complete the centerboard
modifications, make the mast, spars, tiller, purchase a sail and
research and buy all the rigging hardware and lines — so there
will be plenty to do.
However, the immediate need is a trailer and some oars — both
currently on order.
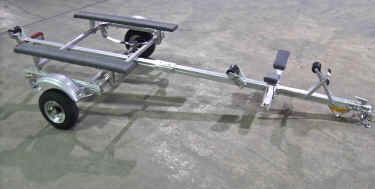
I'm getting a Trailex SUT-250-S (promo pics) from Castle Craft Marine Products in Illinois — have had a good experience with them so far. First, their prices are the same as others but they charge no shipping! Then within 10 minutes of placing the online order, I got a friendly phone call to acknowledge the order, verify my boat will fit the trailer and inform me of licensing paperwork details and the estimate of delivery time (just a few days).

Trailex trailers are unassembled and arrive in 3 boxes, so assembly may prove to be an interesting project.

The oars are plain 7.5 ft. spruce oars (promo pic) from Chesapeake Light Craft. Unfortunately a few days after ordering I got a backorder notice. They're supposedly shipping out in a week or so but I hope they are not the hold up on getting the boat launched. The trailer paperwork required for registration is supposed to arrive a week or so after the trailer, so possibly trailer registration will be the last thing.

Just for the record (and for anyone contemplating a build) these are the tools I used, in addition to a variety of clamps and a lot of sandpaper. And as noted previously, I did pay to have the daggerboard and rudder laminates ripped by the wood supplier.
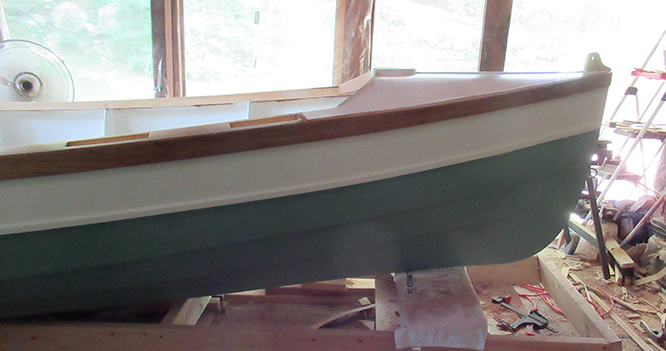
I'd like to have a nice overall photo to commemorate its completion but the workspace doesn't allow me room to step back very far. These are the best I could do.
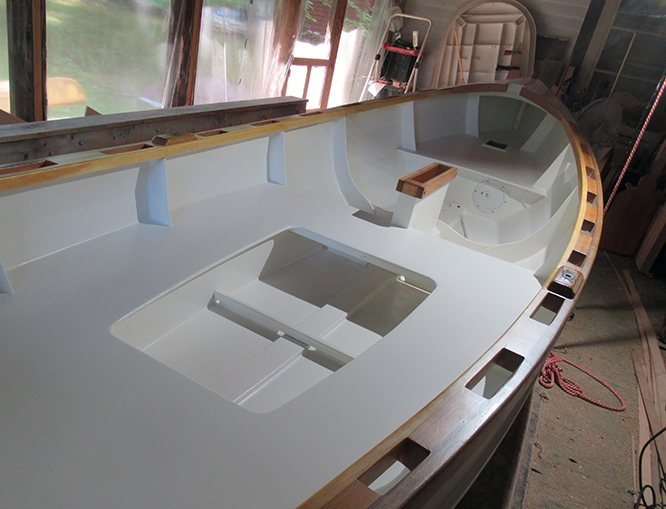
Right up against the wall for this one.
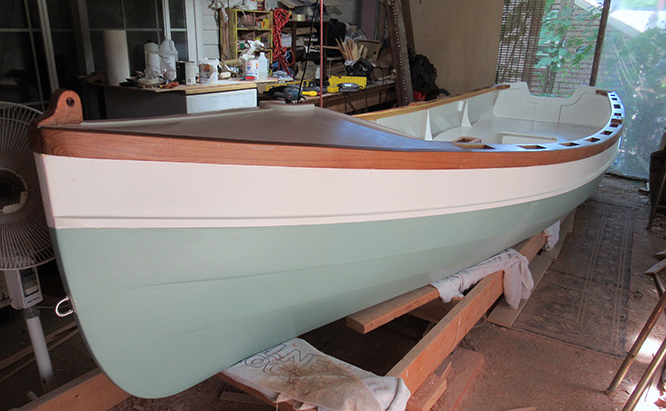
Looks like it's ready to go!
The latest shipping status reports the trailer will be delivered tomorrow! (ordered on Thursday delivered on Monday). So, trailer assembly will be next on the agenda.