(Fall 2006 - Spring 2007)
Sea Tour Project:
● Intro & Cross Sections● Frame
● Coaming
● Skinning
● Coating
● Accessories
● Launch
● Update
● Reskinning
Related Links:
yostwerks.org*Sea Tour 15 table of offsets*
Tom Yost's Building Manual*
Gentry Custom Boats
14-minute sawhorses
Skin Boat School
Spirit Line Store

Cornering Tool
Snap Dragon Back Band
SKWOOSH Paddling Cushion
*Note: Recently Tom Yost's website (yostwerks.com) has gone offline. As a result, all links to his site are no longer valid. Hopefully it will re-emerge at which time I'll update the links.
UPDATE: There is now an unofficial mirror site graciously posted by a Tom Yost fan at yostwerks.org. All related links on this site have been redirected to the mirror site.
Intro & Cross Sections
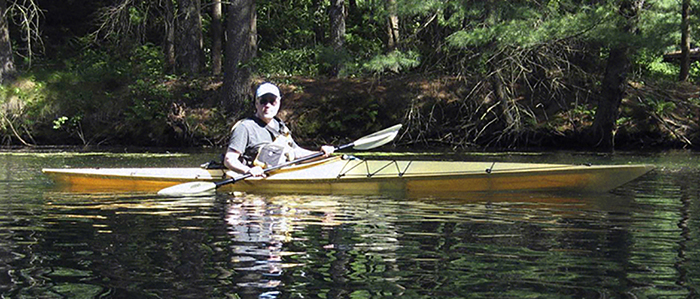
This was the first boat I built since, as a sixteen year old, I constructed a Minimax hydroplane from plans offerred in Science and Mechanics magazine.
The fuselage-style construction presented here and popularized in recent years by Tom Yost*, is a relativley quick and easy way to build a sturdy, lightweight boat. Tom provides free offsets for a number of kayaks at yostwerks.org* and Dave Gentry offers plans and kits for a variety of skin-on-frame boats at gentrycustomboats.com.
I also want to mention I had very little woodworking experience and few tools when I started this project. Biggest discovery: building these boats is comprised of a lot of little projects strung together. Construction photos and text follows:
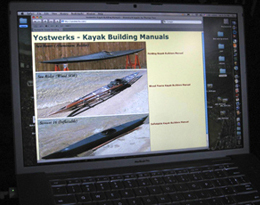
The website that started it all – Tom Tost's yostwerks.org*. The construction method presented here follows his Wood Frame Kayak Building Manual.
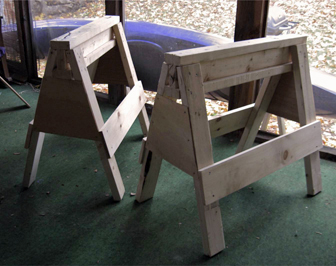
To get my "feet wet" I built a couple of these "14 Minute Saw Horses".
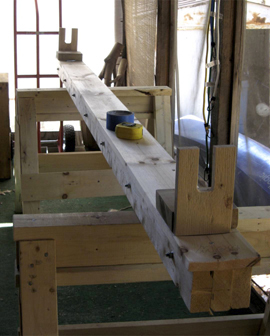
Next came the strongback – comprised of three 10' 2x4s bolted together vertically, a 1x6 board screwed to the top, and an accurately postioned mounting bracket at each end.
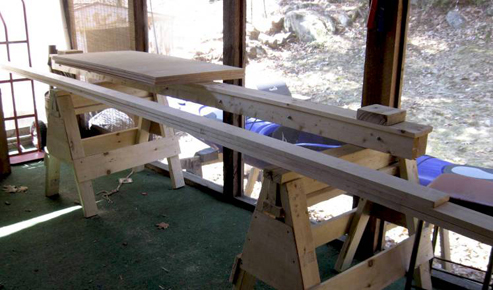
The lumber for the basic frame consisted of one 2' x 4' sheet of 1/2" marine-grade plywood, and three 1" x 4" clear pine boards (two 16' and one 12') used for the gunwales, keel and stringers.
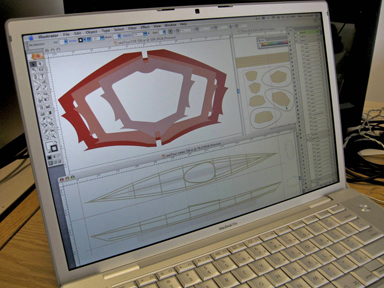
I used Adobe Illustrator to lay out the lines and alter the Sea Tour 15R slightly by raising the deck 5/8" and the front deckridge peak 1" (in retrospect, these changes were unnecessary).
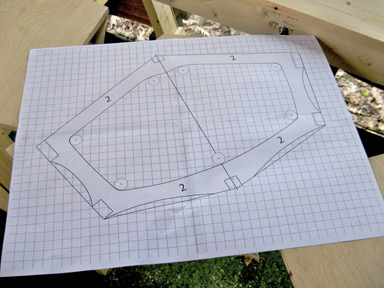
After drawing the six cross section plans, I was able to print full-sized patterns by tiling 8-1/2" x 11" paper.

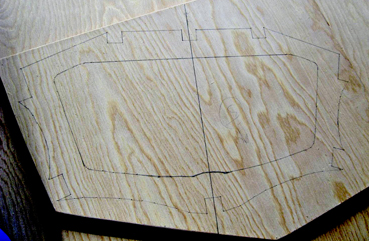
All six cross sections, when positioned as shown, fit on one 2' x 4' section of plywood.
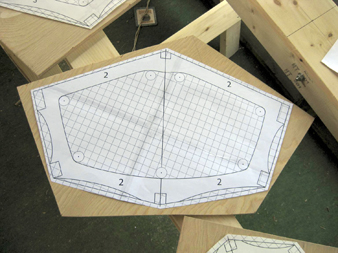
Here's a pattern spray mounted to its corresponding section of plywood. Unfortunately, the spray adhesive I used didn't hold well.
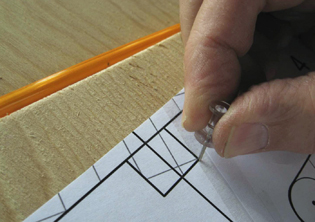
So, changing tactics, I transfered the outlines directly to the plywood by making pushpin pricks through the patterns at each corner point and every 1/2" or so along curved lines.
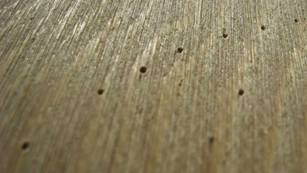
Then it was just a matter of connecting the dots with a pencil and straight edge.
And the result... a solid outline of the pattern right on the plywood!

Here's the jigsaw I used to cut out the cross sections.
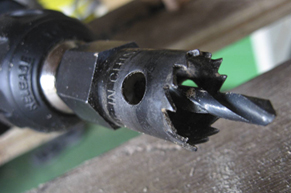
And here is the 3/4" drill bit that was used to make holes at each interior curve to provide starting points for the jigsaw.

Each cross section was produced by first drilling the 3/4" holes, then cutting along the remaining lines.
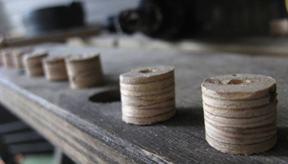
These plywood "core samples" are a by-product of the drilling.
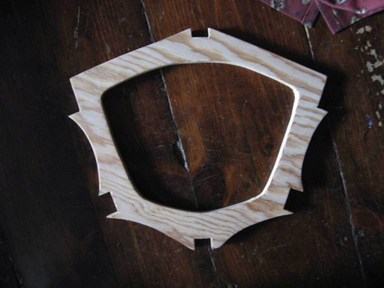
FINALLY, something to show - cross section number one!