Mast Step & Daggerboard Trunk
Remember that sneak preview a while back with all the stations upright in place?
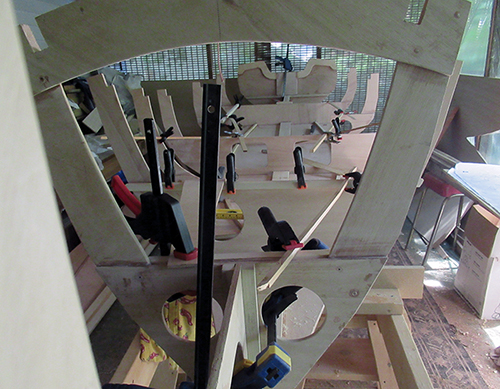
Well, they're back up again...
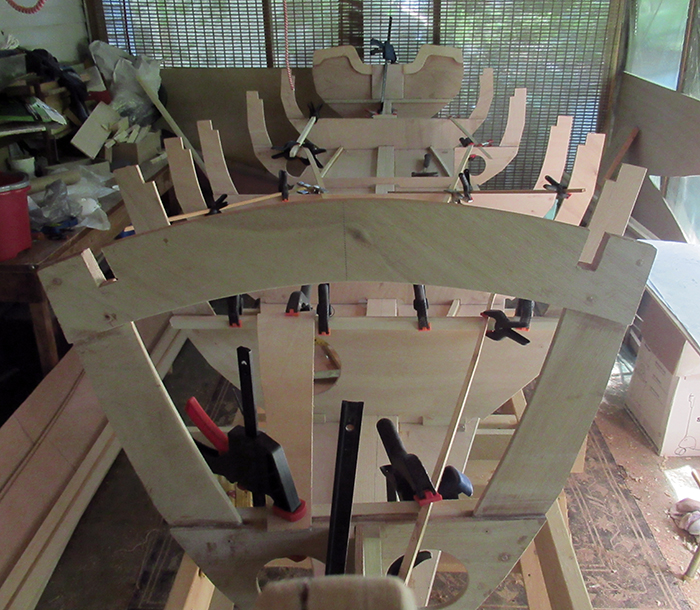
...temporarily braced off each other with clamps and miscellaneous connecting pieces.
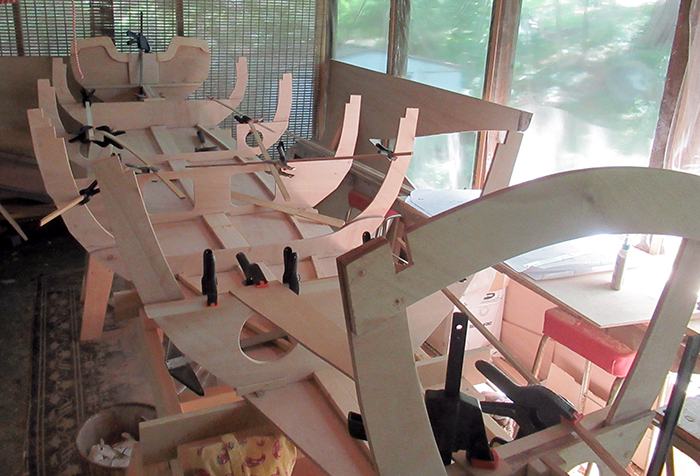
I wanted another look at how everything fits together to see what still has to be done before final alignment.
With the stations up, I temporarily clamped inwales in place and determined the location and angle of the inwale notches in the transom. [Edit from the future - it was a bad decision to cut the notches at this time.]
Two major areas needing work before the sations are permanently installed are the mast step assembly and the daggerboard trunk.
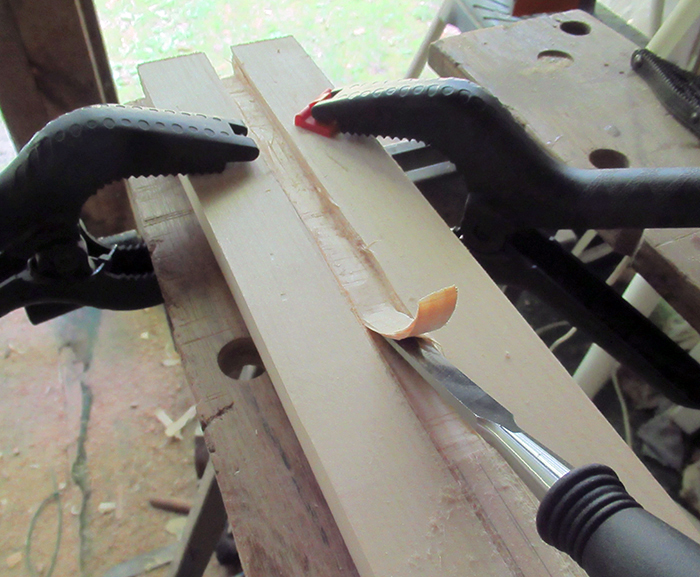
Here I'm making a groove in the floor stem doubler to serve as a drain for the mast step hole.
The completed drainage slot.
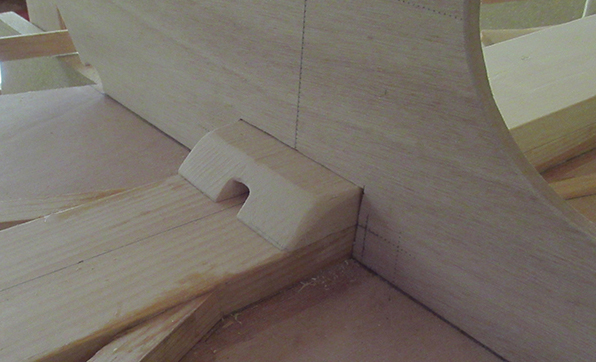
With the piece flipped over and installed in place, the drain hole peeks out from under station 2.
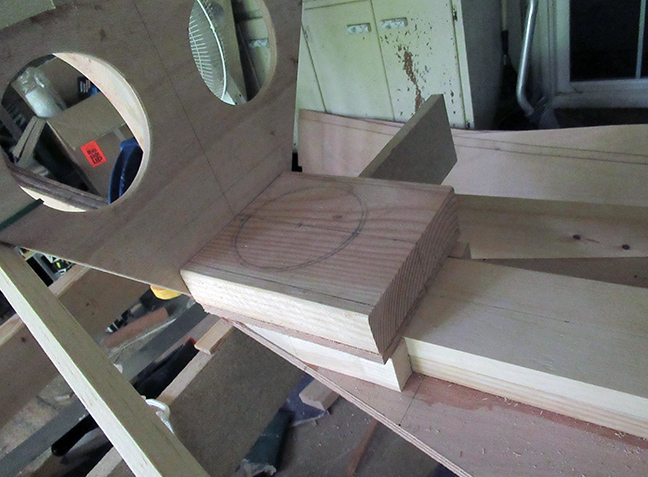
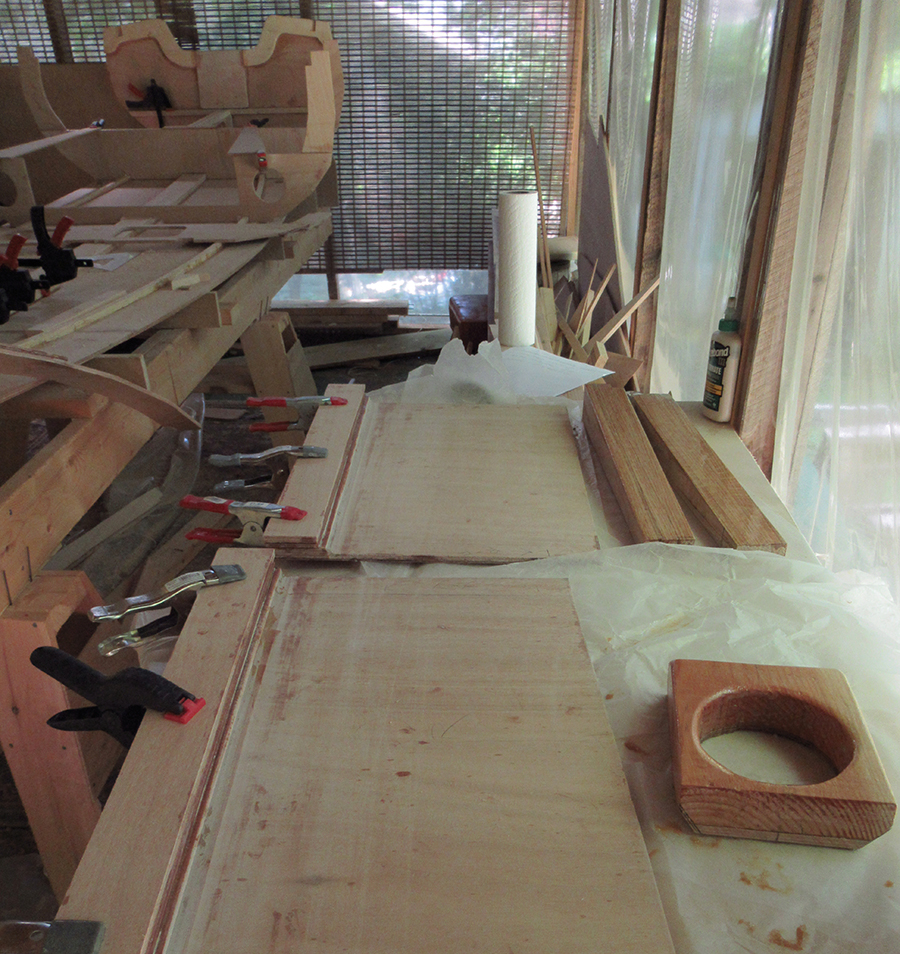
Roughly, here is the mast step setup: "packers" on each side of the floor stem and doubler support the mast step block on top.
The front of the packers is angled to clear the bottom side plank and a bit will be planed off of the mast step too. I added a layer of 9mm plywood under the block to get it's thickness to the required 2 inches.
The hole for the mast will be drilled down through the block and through the stem doubler which opens it up to the drainage groove.
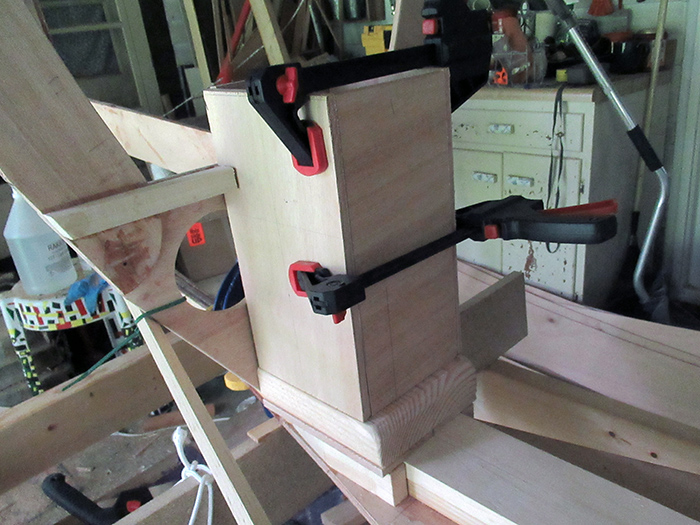
This box surrounds a portion of the mast which allows the floatation chamber to remain in tact as mast passes through it. The top will be trimmed off near seat level.
I took a break this weekend for the annual family trek to the Wooden Boat Show in Mystic Connecticut.
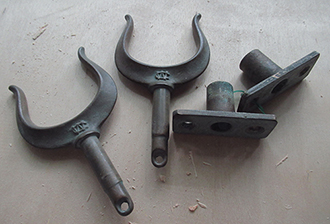
I was able to pick up a nice set of old oarlocks for this boat...
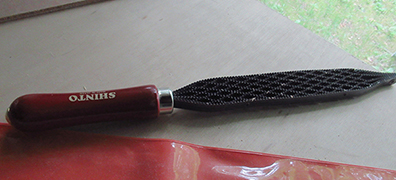
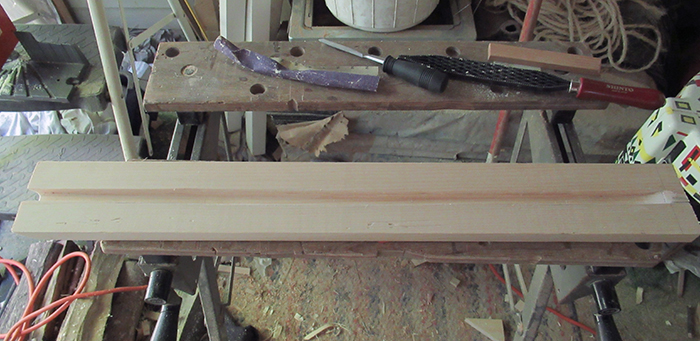
...and a tool I've had my eye on for a while, a Shinto Rasp.
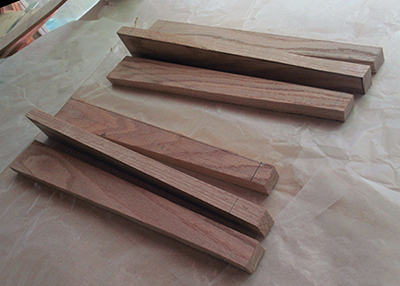
Back to work again and onward to the daggerboard trunk. These pieces will be laminated to make the side stems.
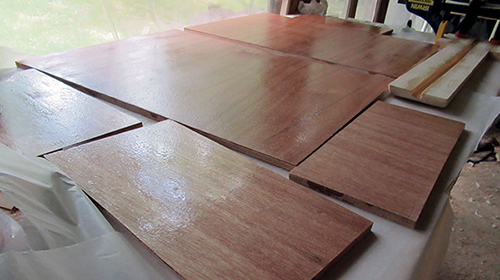

The next round of epoxy coating and glue-ups.
More gluing and the first fillet!
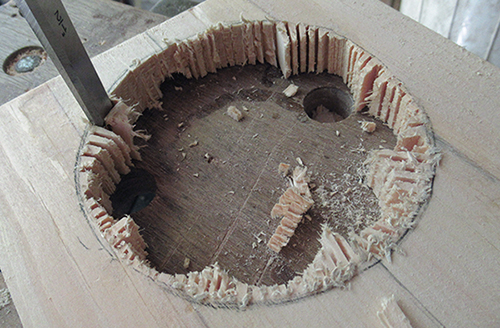
The floor stem doubler mast step hole - part 1...
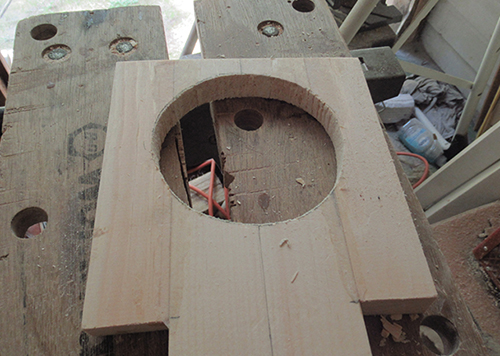
...and part 2. Part 3 will be a little more sanding and cleanup.
I've had to rework a couple of these mast step pieces as it's a little unclear what happens in the footing area. Somehow all the pieces have to clear the garboard plank and right now the limber holes in station 1 are completely blocked. Maybe it will make more sense as I progress.
More glueing and coating.
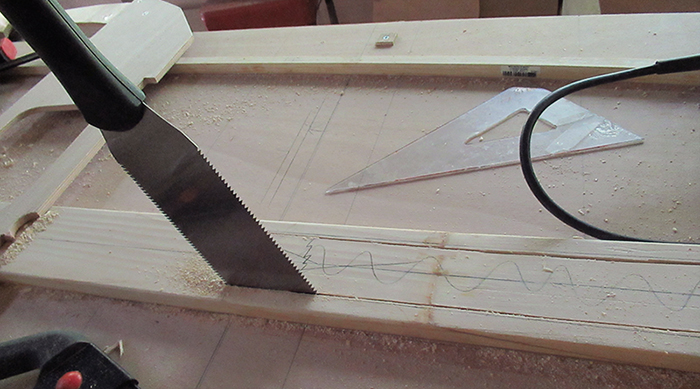
Gotta do it at some point – cutting the centerboard slot. I used a drill to get the jigsaw started, then switched to this hand saw to cut through a riser located under the bottom panel.
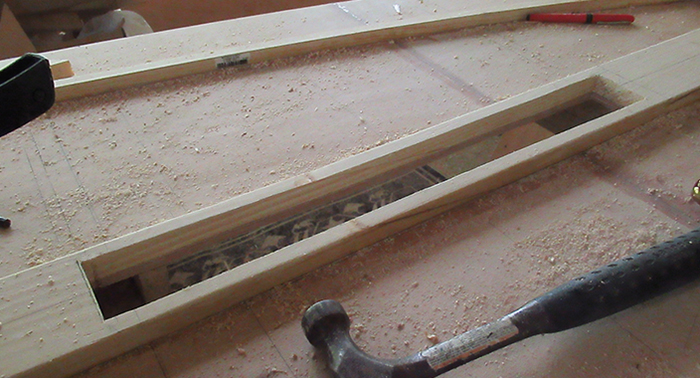
There's nothing like cutting a big hole through the bottom of your boat!
True confessions time: The floor stem is slightly narrower than specified. I went with a stock lumber size and chalked the difference up to metric vs. imperial (the plans are metric). But what I should have foreseen (and what I'm discovering now) is that the base of the daggerboard trunk overhangs slightly on each side.
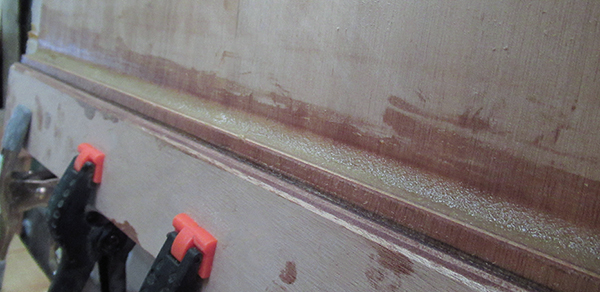
As a fix, I've added an extra piece on each side to widen the footing. With the addition of another plywood trim strip along the bottom of the centerboard trunk, it all works out and hopefully just makes the case more solid.
True confessions no. 2: I was initially going to skip the sailing components and just go with a power/row boat. As a result I eliminated the raised center section of station 3 that attaches to the centerboard case from the plans. When I decided to keep the sailing option, I epoxied this piece into place.
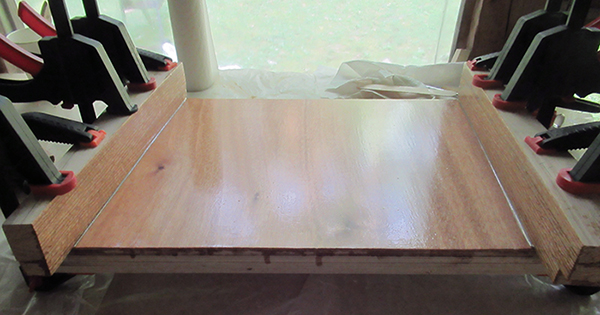
I coated the inside of the daggerboard trunk with 3 layers of epoxy (sanding between coats). The last coat had silica thickener added and was followed by a coat of spar varnish.

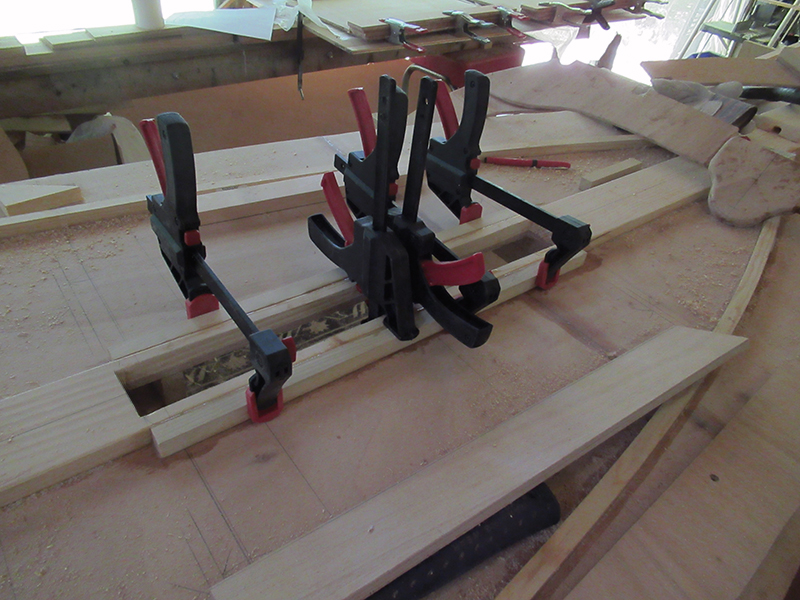
Gluing the sides together to complete the case assembly.
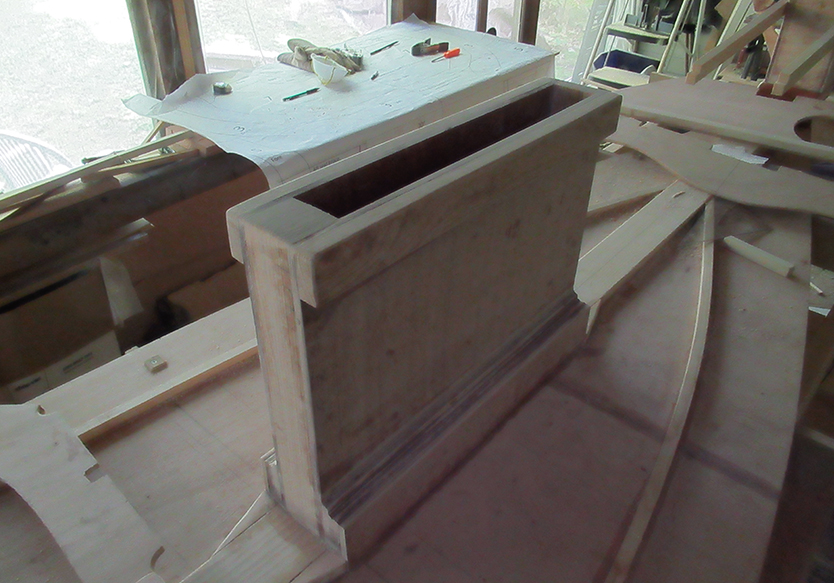
The daggerboard trunk installed. 
After the trunk was installed I added some angled diverters to eliminate any water traps along the floor stem.