Fairing and Painting
 May 3, 2020
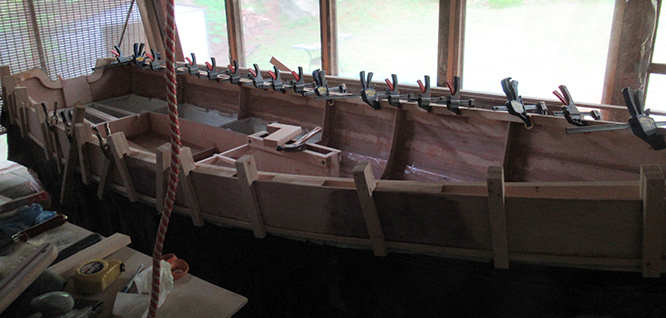
I knew this fairing business was going to take a while but seems to be dragging on and it's also hard work!
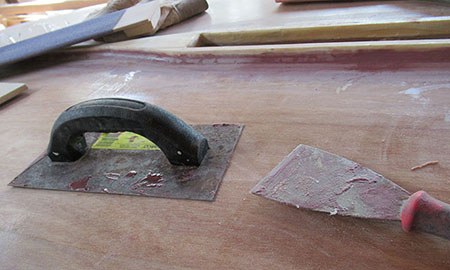
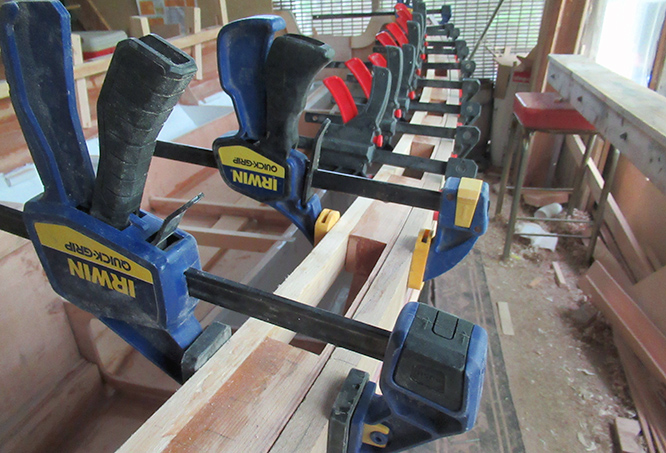
Here are the primary tools I'm using to spread the fairing compound.
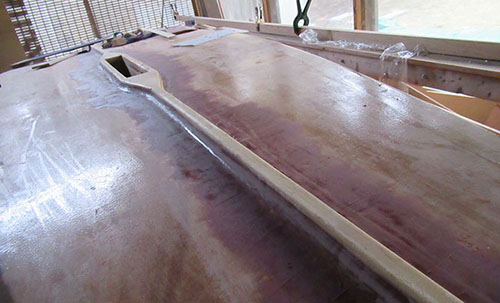
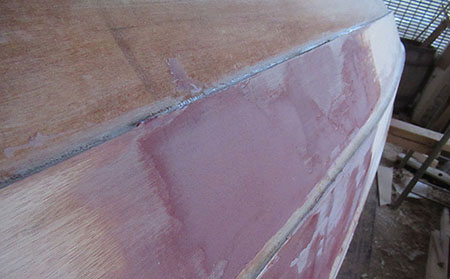
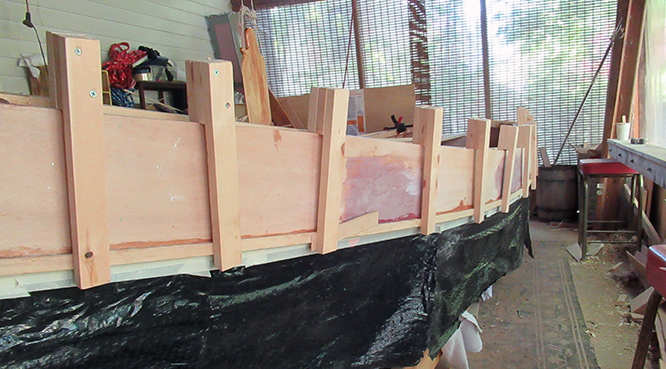
I'm working around the keel too, trying to eliminate the tape lines.
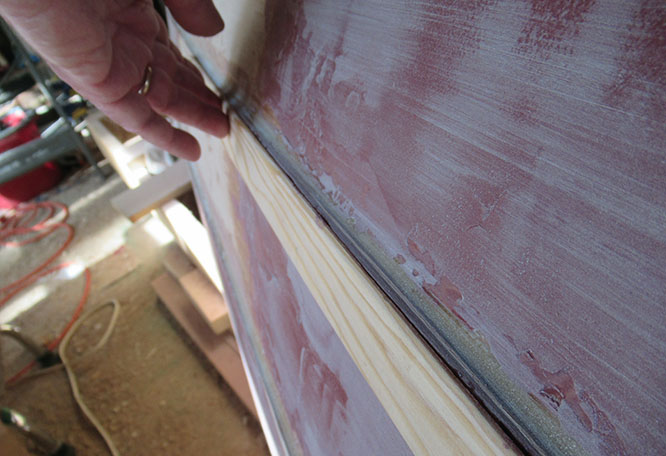
On the strakes, I use this batten to locate low spots.
Looking a little better.
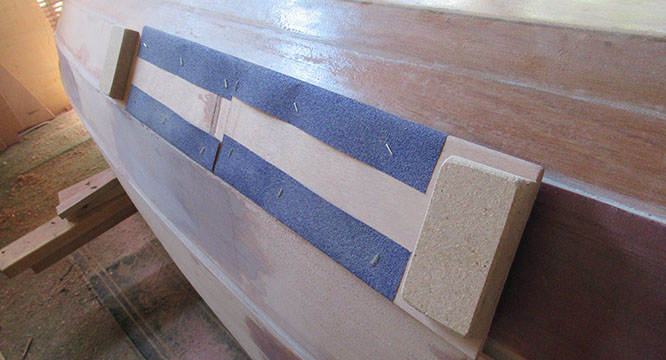
I made a wider sanding block that can handle the entire width of a strake
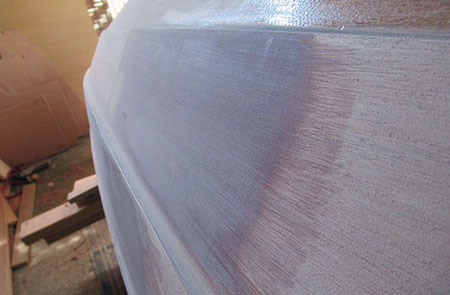
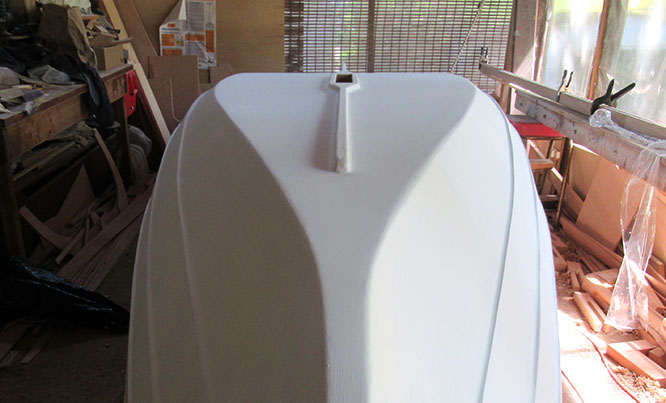
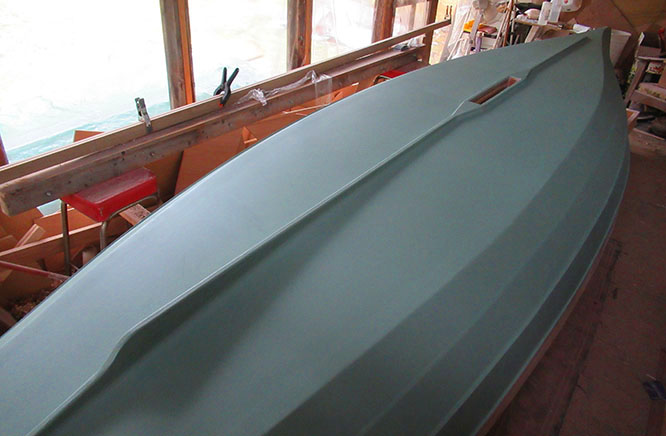
Things are finally looking good after about four rounds of mixing, applying, waiting for drying, then sanding.
The bow can use a little too. This is starting to feel like a never ending process!
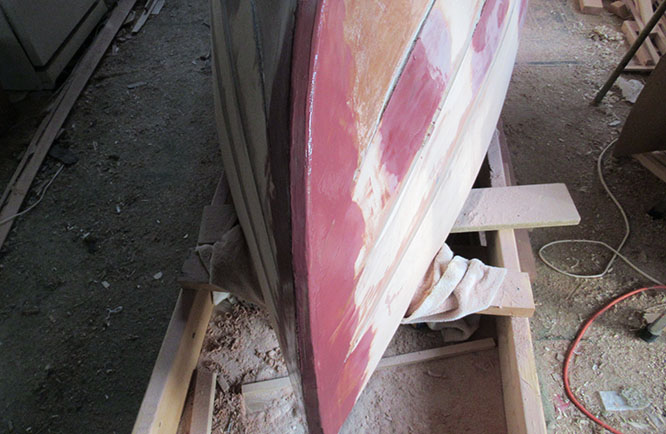
After another day of sanding, I just went over the entire hull patching small areas, adding the fillet at first strake and giving the keel another coat of epoxy. Maybe the end is in sight. Meanwhile, it's in the mid 70s today so my wife and I are heading out for a hike.

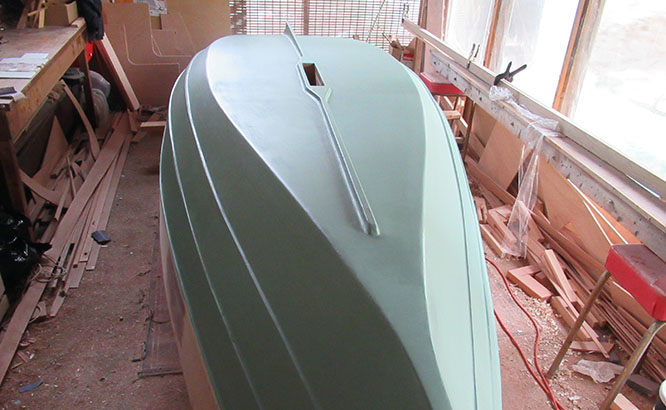
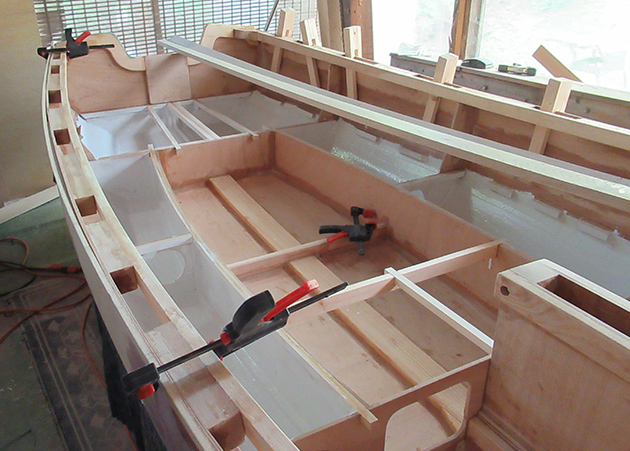
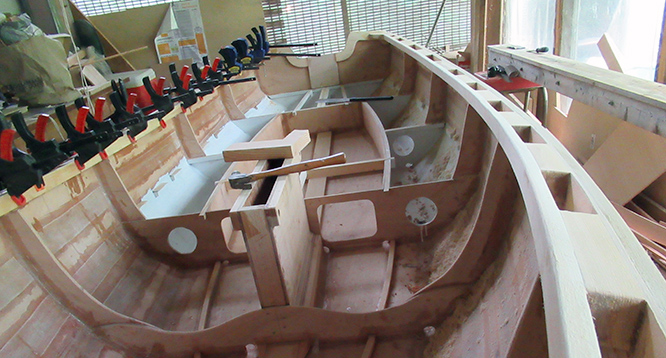
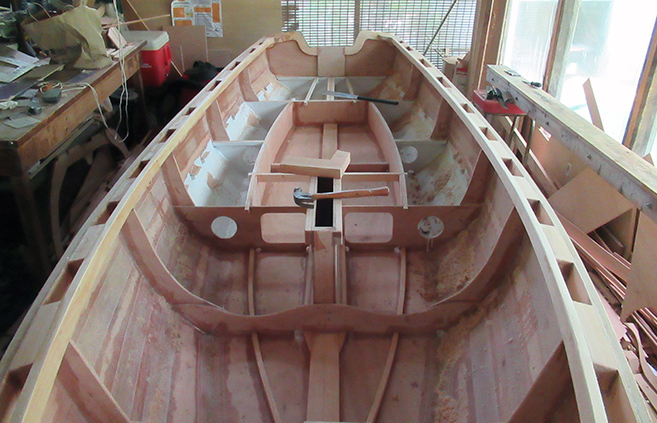
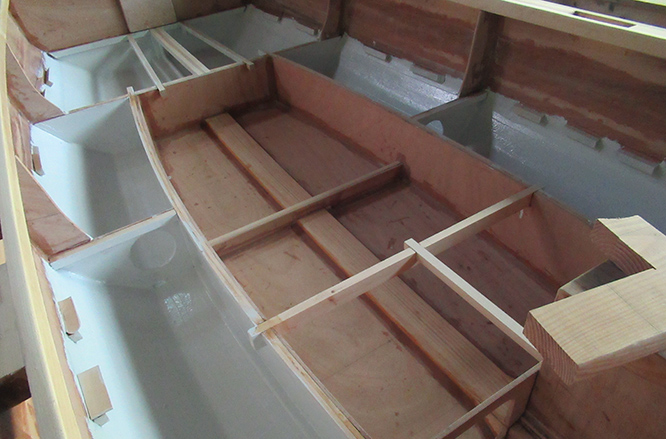
And why not a little sneak peek at what's ahead!
May 10, 2020
A little discouraging news this week: another current builder (Chris Harris) discovered an incorrect measurement on the Rogue centerboard plans. Unfortunately, I've already built mine using that wrong number – resulting in a board that is angled incorrectly. In other words, if I slide the board into the trunk the top will not align with the top of the case. What to do now?
After mulling it over, I've at least come up with a plan. Fortunately I haven't attached the cap yet, so I'm going to try to construct an angled cap and epoxy it into the slot at the top of the board. That should correct the top alignment. Then I'll have to adjust the fairing line and re-cut the bottom to the proper angle. Here's a diagram:
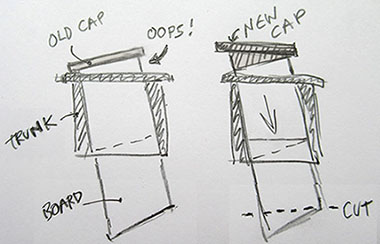
The drawing may be exaggerated or backwards but you can get the idea. When the board on the right is slid down, it should fit right in place. I'll attempt all this after the boat is turned upright and I can get the exact angles. Hope it works 'cause I sure don't feel like starting over on that daggerboard.
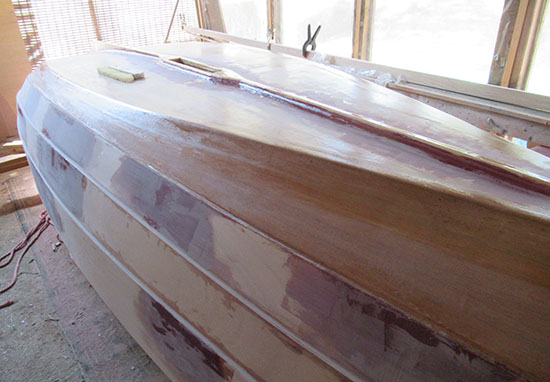
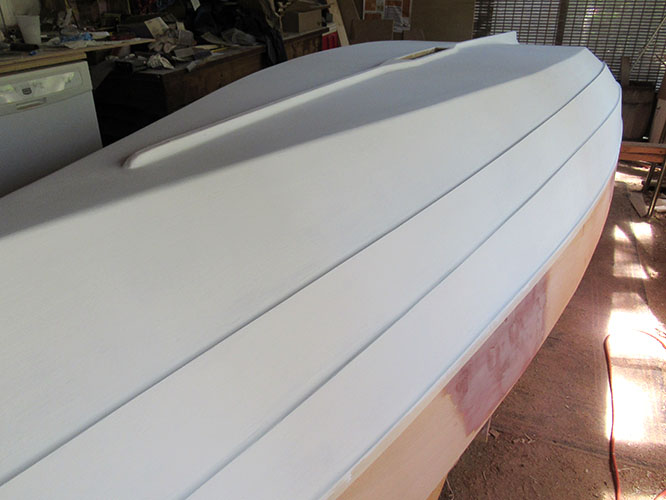
Meanwhile, I just went over the entire hull with 120 grit sandpaper, vacuumed and wiped down in prep for painting.
I have little experience with boat painting and not sure how well primer will cover. The surface feels smooth but the varied coloring makes it hard to spot small imperfections. I'll give it a go with a coat of primer and see what happens.

But, the plan to begin painting has been thwarted by mother nature (happy mother's day) in the form of a cold spell. This morning I woke up to snow (!) and temperatures are dropping to around freezing at night so painting will have to wait until next week.
May 17, 2020
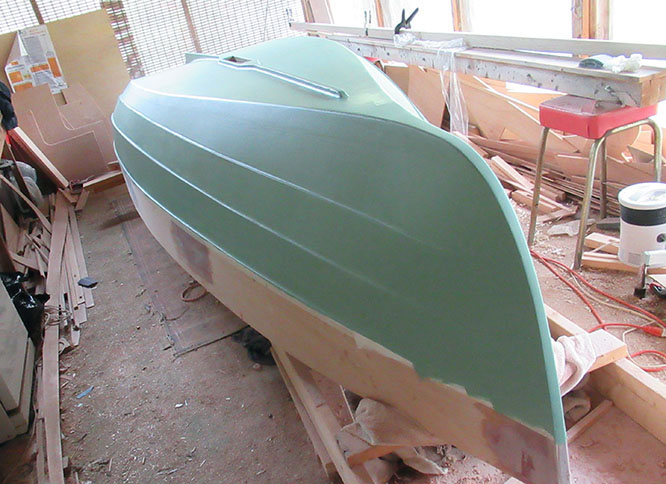
The paint is finally going on and it certainly changes the look of things.
Here's the first coat of primer.
I applied the first coat with a foam roller and got thin, even coverage.
The second coat was brushed on and for the record, one quart of primer provided just enough paint for 2 coats including the transom.
Although I left the 4th strake unpainted — waiting until I flip the boat and attach the outer gunwale and trim strip.
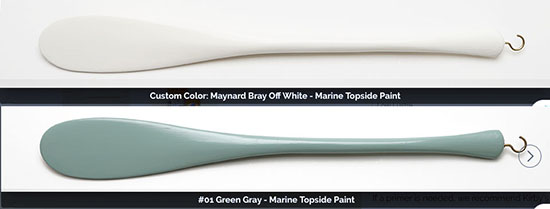
If you looked closely at the paint can photo above you already know the color scheme. These are the actual colors — bottom will be green gray, top strake will be off-white.
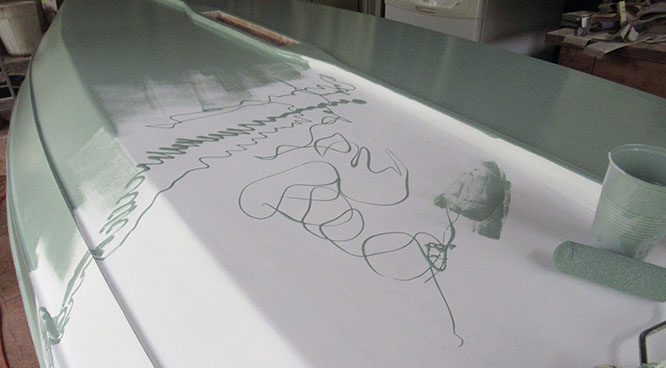
The first coat of gray/green going on. I dribbled out the end of the paint cup and will roll it out with a foam roller.
Got another smooth first coat with the roller.
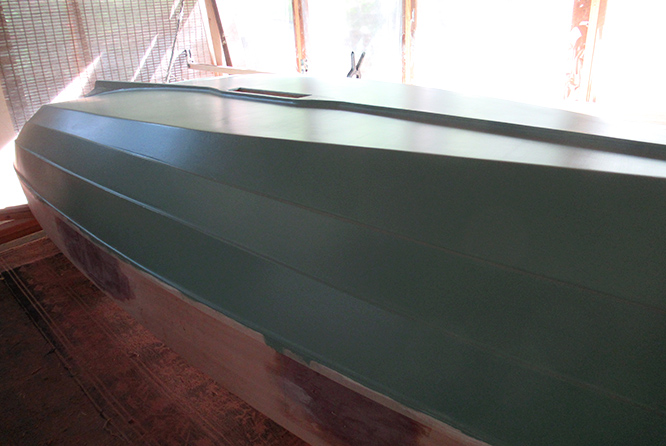
The low-luster paint gives just a slight gloss.
And one more look from another angle. My small workspace doesn't allow long shots and these close-ups sometimes distort the lines.
I should be able to squeeze in a second and third coat in during the week and maybe get to turning the boat upright again next weekend..
May 25, 2020
I decided to stop after 2 coats for now. I don't think I have quite enough paint left for a third coat and this one came out looking good to my eye.
That's a total of several coats of epoxy, 2 coats of primer and 2 coats of finish paint.
So, let's flip her over and get back to work on some fun stuff!

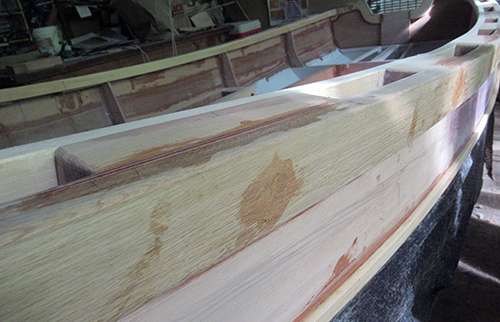
First up, those gunwales. With a bit of effort I was able to bend the white oak rub rail almost into position. I guess that pre-bending helped.
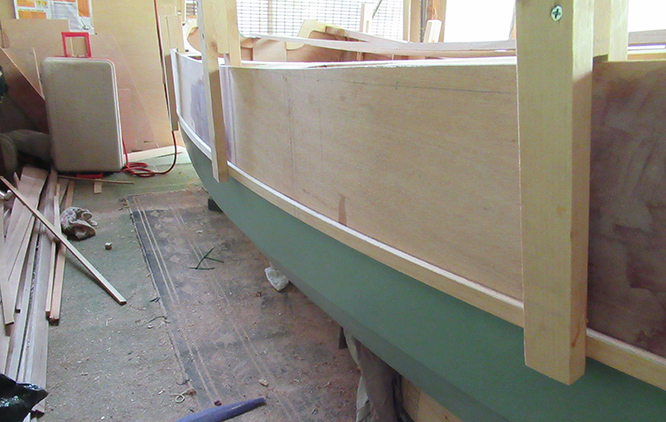
Actually, I'm going to add this trim piece first while I can still use the long clamps to hold it in place (they won't fit over the full-width gunwales).
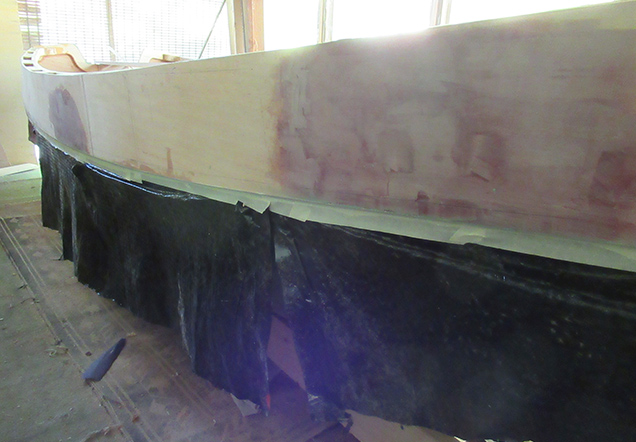
Some cut up garbage bags made a protective skirt for the lower strakes while I paint and epoxy up top.
The port side trim piece is epoxied into place. All the clamps were required for a secure hold, so I'll have to do one side at a time.
While the epoxy cured I painted some of the under-seat compartments.
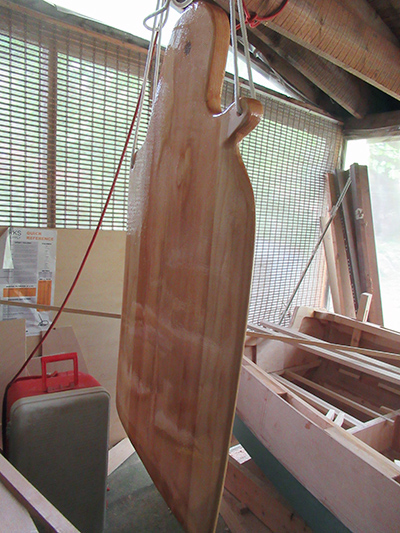
And I'm squeezing in some work on the rudder — here it is hanging to dry after a second coat of epoxy.
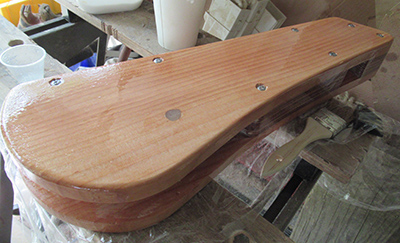
Same treatment on the housing.

Next day: the starboard trim piece is epoxied in place.
And after much nudging around, clamping and re-clamping, I finally got the rub rail to bend completely into place, but this was just a trial placement. I'll now have to remove it and redo the entire procedure to affix it permanently.

A few hours later...all glued and screwed! The clamps would not hold the slippery epoxied rails so, starting at the center; I aligned, pre-drilled and screwed each segment, working out toward the ends while bending the board upward — a tense and involved prodedure but it resulted in better alignment than my trial run.
So, all the clamps are back in action and the overnight wait begins.
May 31, 2020
Well, it's the end of May already and there is still a lot of work to do. It's now a balancing act between "being detail oriented" vs. "getting out on the water".
I had some evenings available during the week and was able to clean up and sand the port gunwale. Friday afternoon (1/2-day vacation) was spent attaching the starboard rail. The screw and glue technique worked out well again.

The aft quarter knees are coming together.
Clamps are off the starboard side and I was able to complete most of the sanding.
I also gave the floatation wells a final coat in preparation for attaching the seat tops.
And painted the underside of the seats.
Also had time to make the rounds with some thickened epoxy to fix a couple issues and fill the countersunk screw holes.
I was expecting to get more done this weekend but had a couple non-boat activities to tend to. Next week I hope to get the rear seat tops glued in then start in on the front end.