Sanding, Taping & Planking
August 25, 2019
I missed a weekend of work attending a wedding and taking a mini-vacation at Lake George, NY.
Spending time on the lake made me anxious get this boat completed but surprisingly, I saw no sailboats on the lake all weekend. Anyway, ready to get back to work.
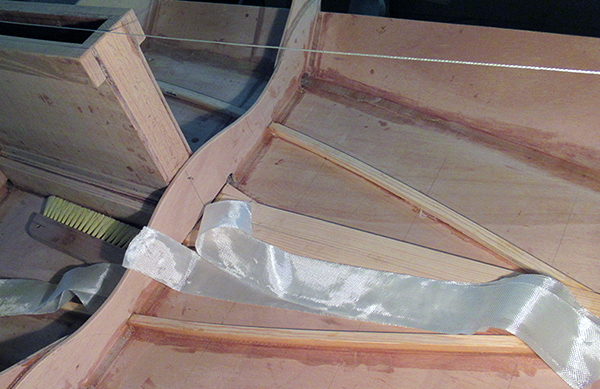
I've been sanding the fillets (not very photo friendly) and getting ready to tape the seam between the floor panel and plank number one. Individual strips of fiberglass are cut to length for each section.
The plans call for two overlapping strips — here's the first one epoxied into place.
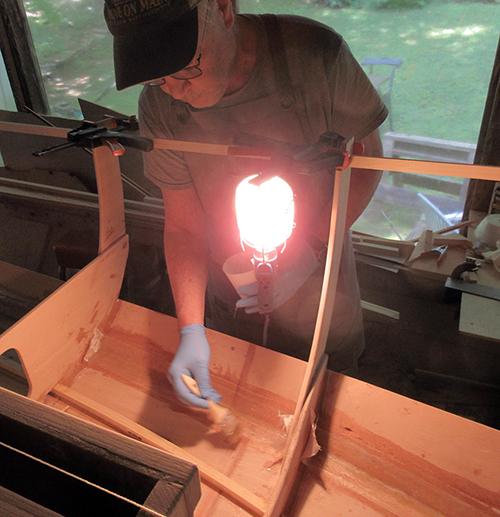
I started in the areas that will be hidden under the seats just to get the hang of things, then moved on to the visible areas in the cockpit.
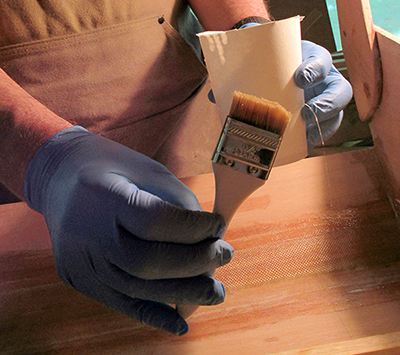
A cut down disposable brush worked well for this procedure.
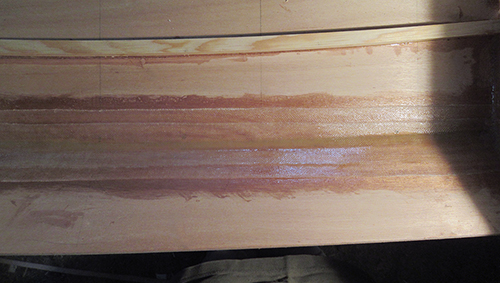
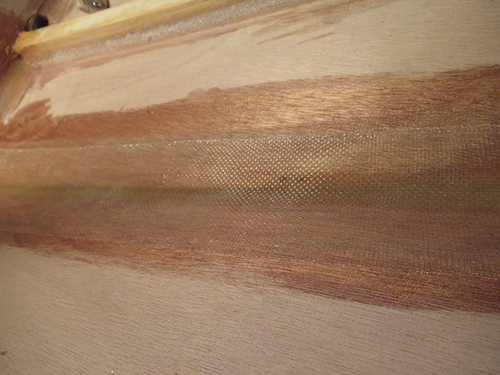
Here's the final appearance with two overlapping strips of tape.
There is still a lot of cleanup to do on the joints and epoxy but I'm ready to get started on plank number two.
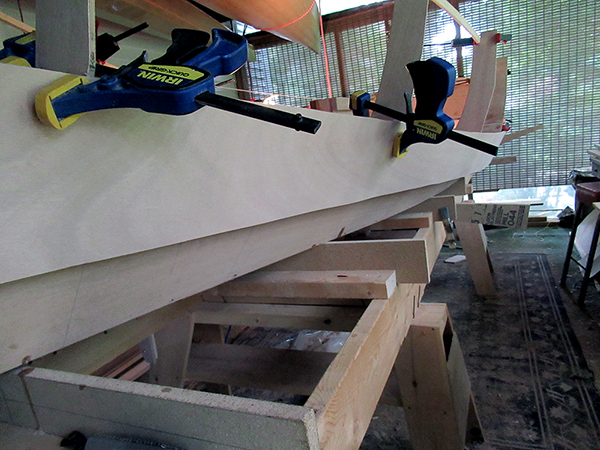
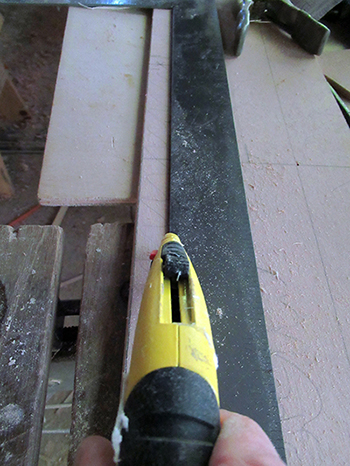
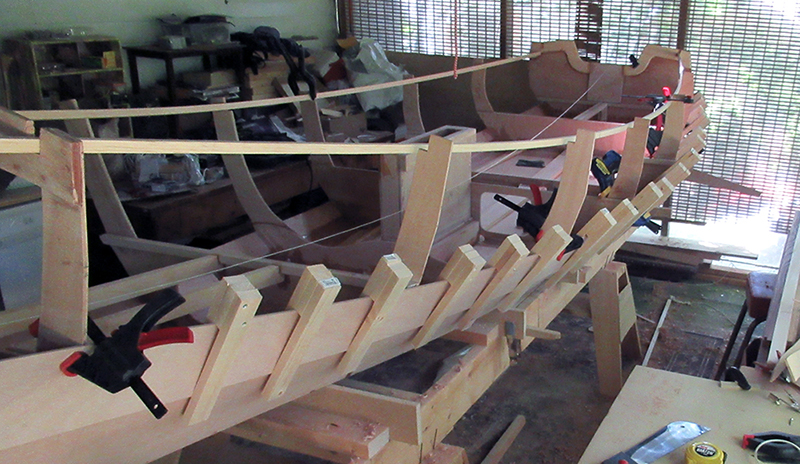
To begin, I've clamped the roughly cut plywood plank into place with the top plotted line lined up to the next corner angle on each station frame.
My plan is to trace the top edge of plank 1 onto plank two. Then draw a line 20mm below that (the overlap amount) to determine the bottom cut.
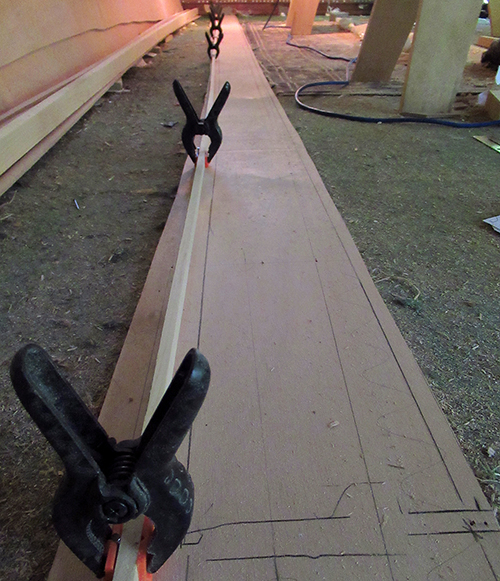
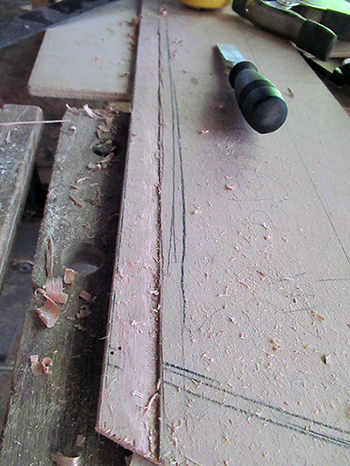
I double checked all the measurements with the plans just to make sure I was still in the ballpark, then used a batten to ensure fair lines.
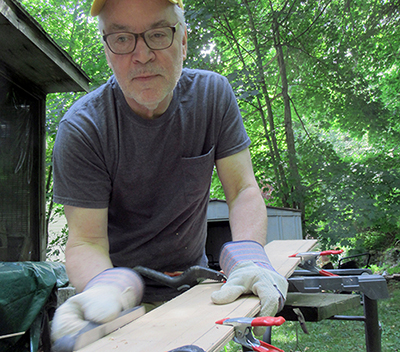
Moving outside, I cut both planks, stacked them on top of each other and planed them to the new lines.
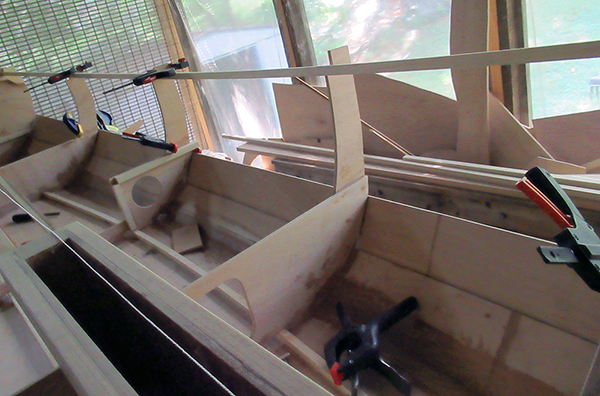
Back inside, one plank is temporarily clamped in place and it fits perfectly!
I still have to plane the adjoining bevels on the bottom plank and cut the gains – but those will be the projects for next weekend...
September 2, 2019
 Time passes... and the next weekend has arrived – Labor Day weekend in the US! Hopefully with an extra day I'll make some serious progress.
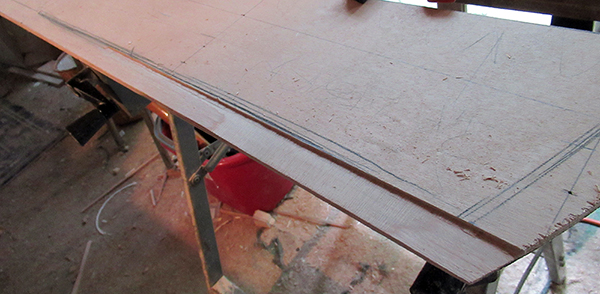
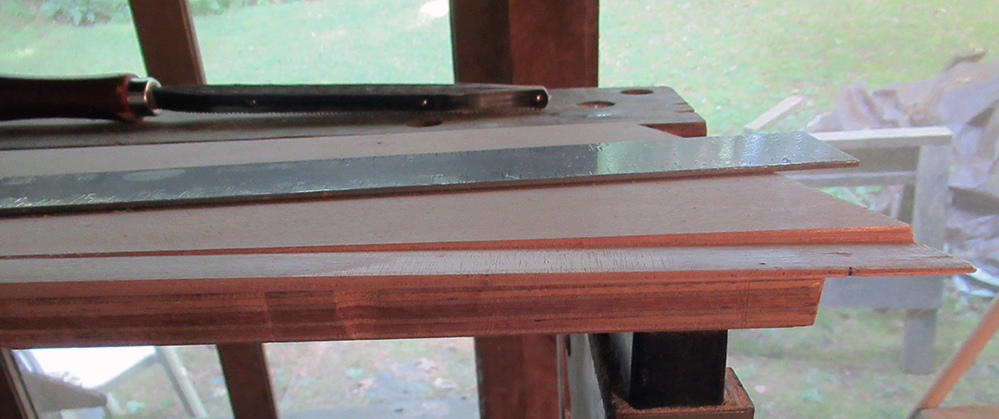
I was able to get the bevels cut during bits of spare time throughout the week — that's the rolling bevel along the full length of the first plank that provides a flat surface for the second one to rest on.
I'm now starting on cutting the gains — the graduated bevels that let the overlapping planks come together at the bow.
I began by making a roughly graduated knife cut along the overlap line starting about 15 inches back from the bow end.
Then with a chisel, cut down to the knife cut to make an edge.
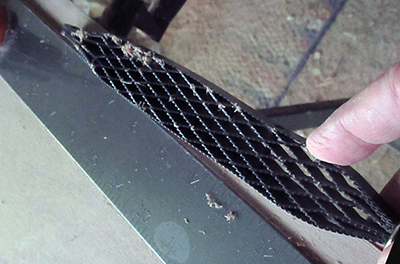
The remainder was planed down mostly with the Shinto rasp and a regular block plane.
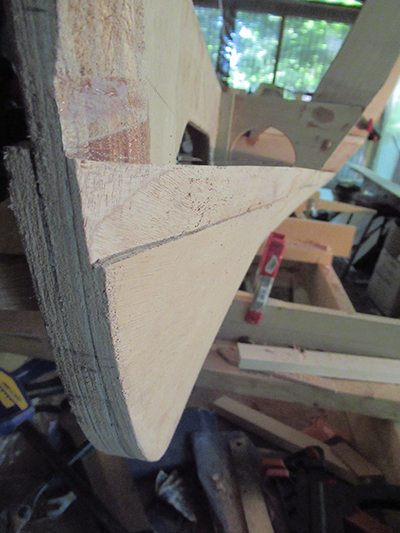
Here is the mating edge on the garboard plank.
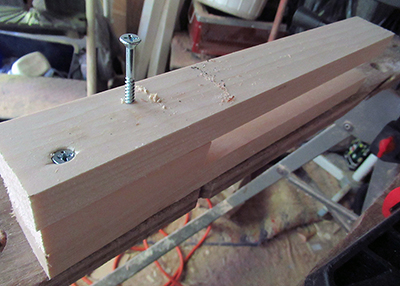
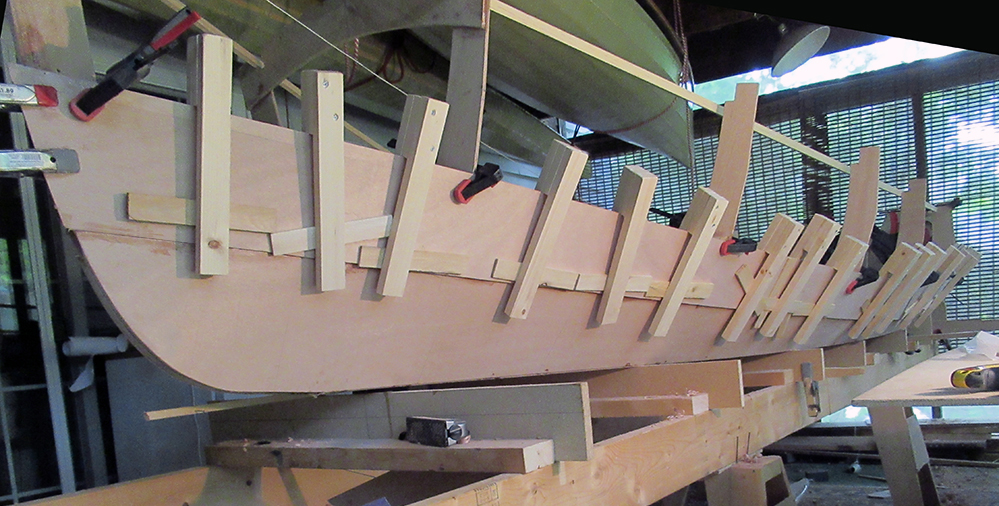
Clamping the mating surfaces of the planks for glueing provides a bit of a challenge. Of the several options I've seen, this seems to be the simplest solution. It's a clamp made from 1x2s and a couple screws.
Like a giant clothes pin it reaches down and clamps securely. I've had the plank off and on several times throughout the fitting process and the clamps work perfectly. Depending on the angle, a shim can be inserted under one side to force a tight connection.
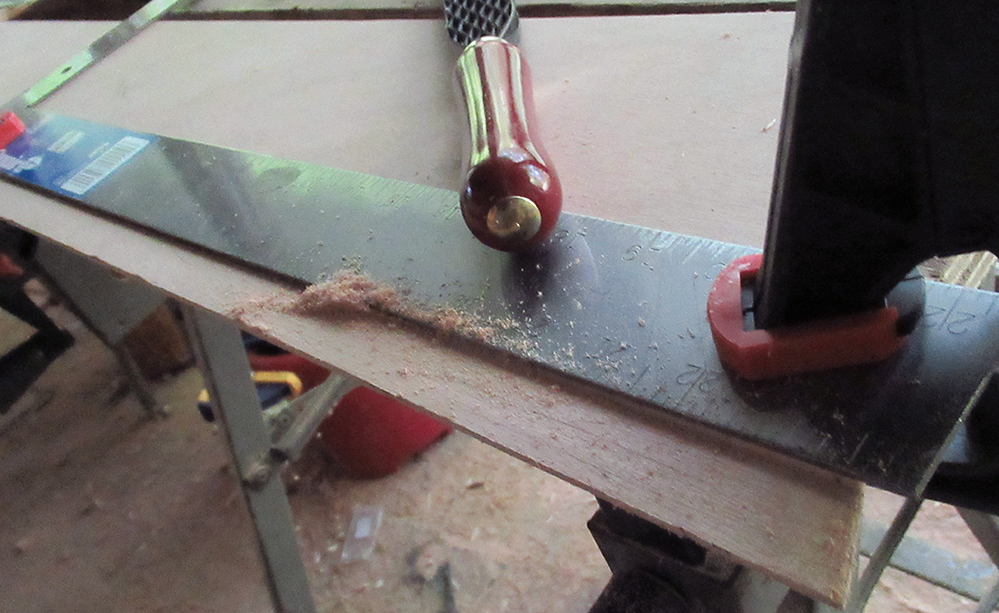
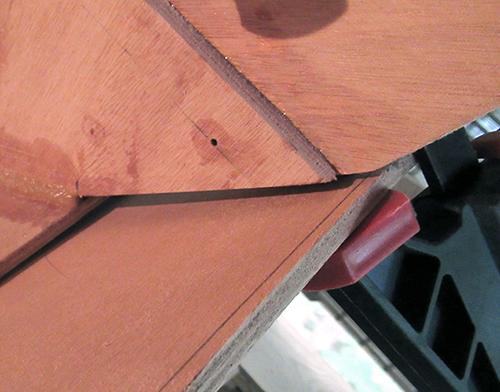
Cutting Gains - Take 2: It's much easier when the plank is not on the frame. This went so quickly and easily using just a heavy straight edge and the Shinto rasp, although I once again started with a razor cut just to get a clean edge.
The Shinto cuts right to the edge so I left the straight edge clamped down and used it as a guide.
From here on out I'm doing them all ahead of time before installing. This is the one on the upper outside of plank 2 that will mate with the bottom of plank 3.
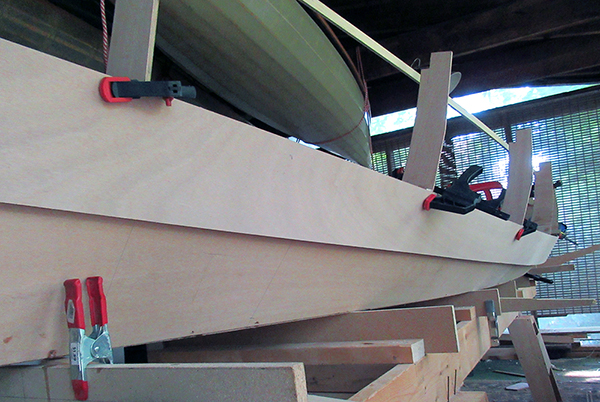
The second plank is glued and clamped up.
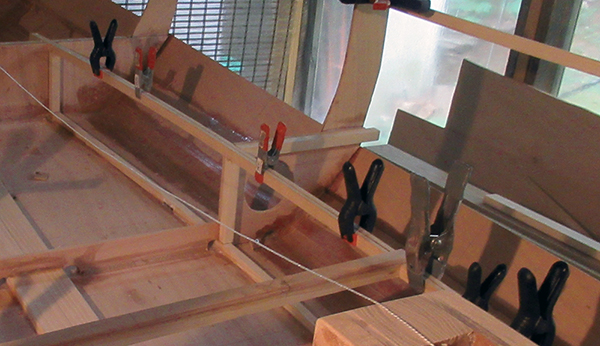
While the epoxy is curing on the plank I worked on some of the seat support framework. The top piece needs to be curved to align with the floor-mounted piece. To make it easy, I laminated two easily bent pieces of extra batten stock which just happened to be the correct size.
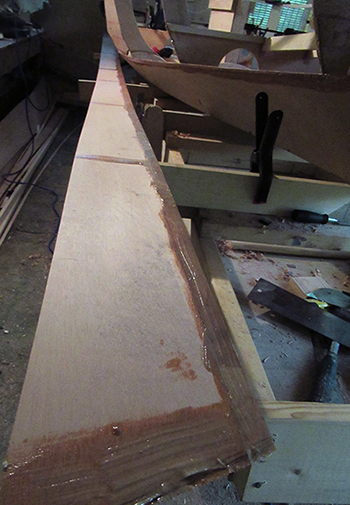
Moving on to plank 2, starboard side – epoxied up and ready for placement.
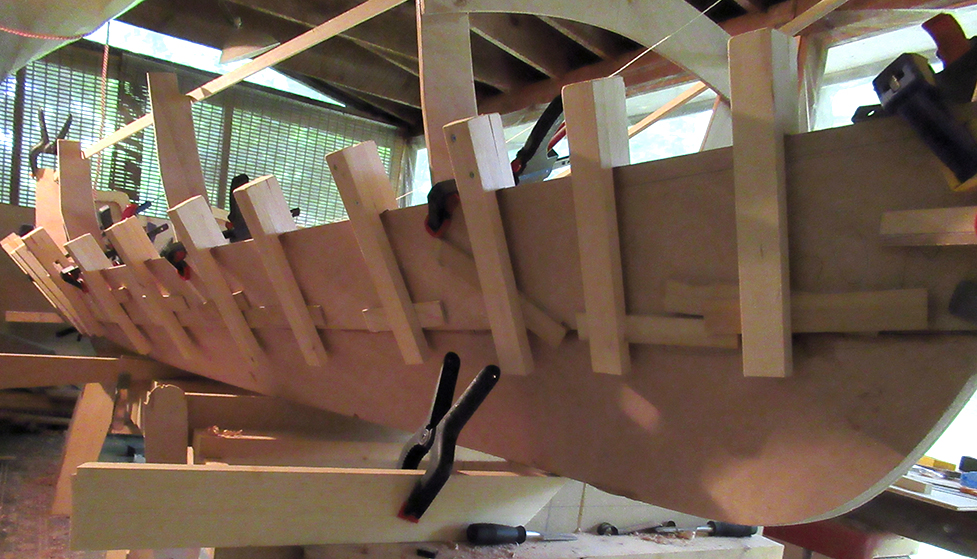
All clamped up. And that wraps up the big weekend!
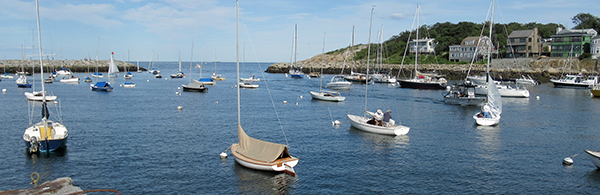
I even squeezed in a day trip to Rockport, MA. More motivation!
I'm not sure what next week's project will be. I'd like to work more on the interior while access is still easy but I might need to buy more plywood before I can continue.