Outer Hull
March 22, 2020
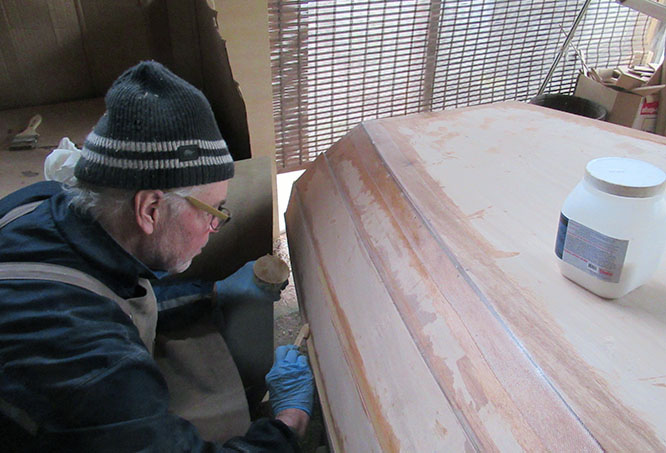
Well, Spring has finally arrived but it's not the best of times. For those not reading this in real time, these are the days of the Coronavirus restrictions. Although on a brighter note, a boat under construction is the perfect project to have underway while being asked to "shelter in place". And despite dealing with unrelated issues, I managed to get some tasks completed on the Rogue.
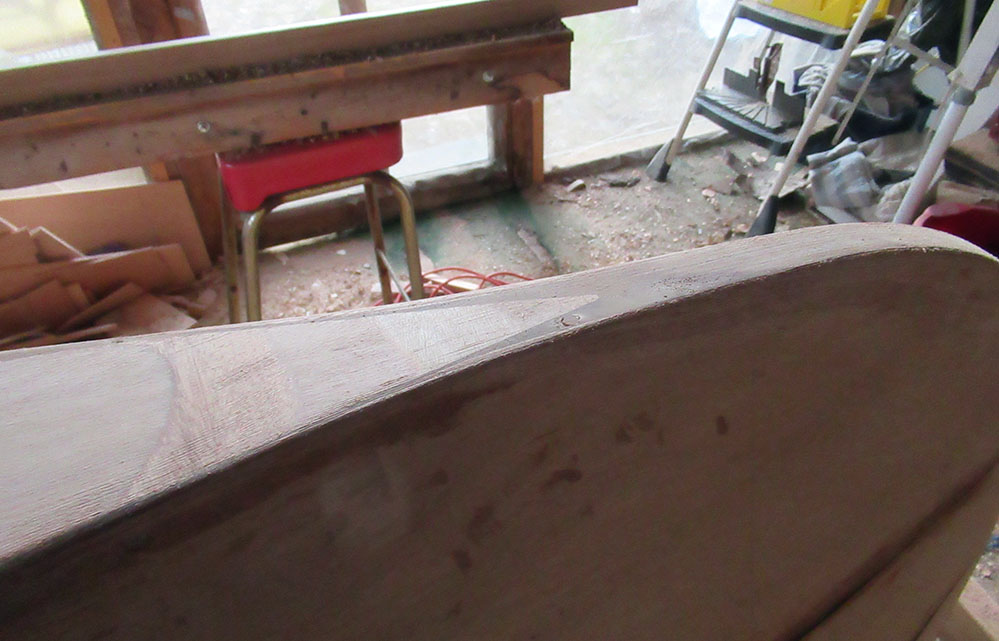
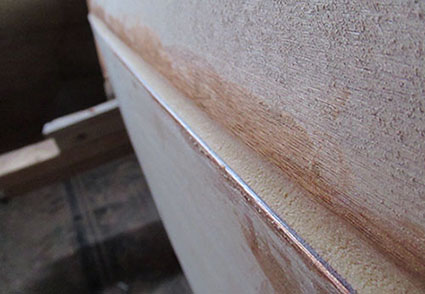
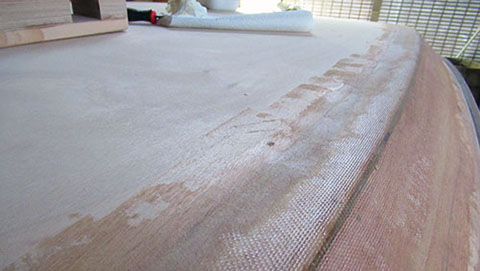
This week was mostly a lot of sanding. Here's a current look at that joint where the bottom meets the stem.
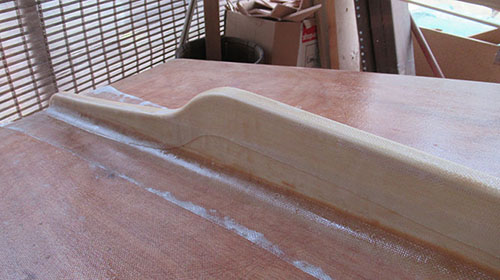
I did a lot of work cleaning up the shape of the bow and working over the entire outer hull.
Then came two sessions of epoxying first filling the gaps in the joints...
Then filleting the underside of the strakes.
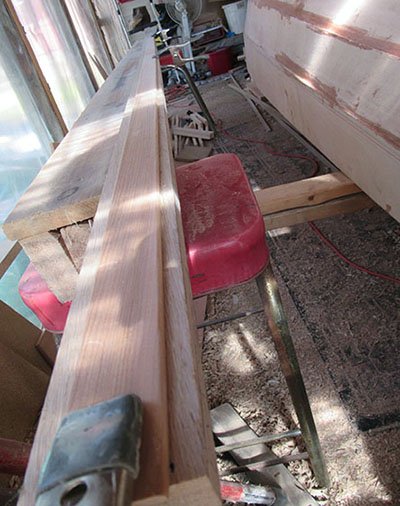
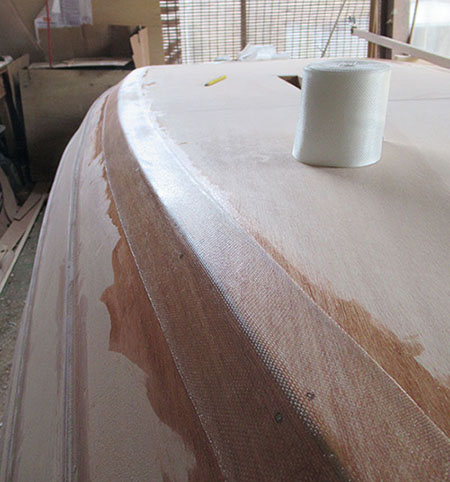
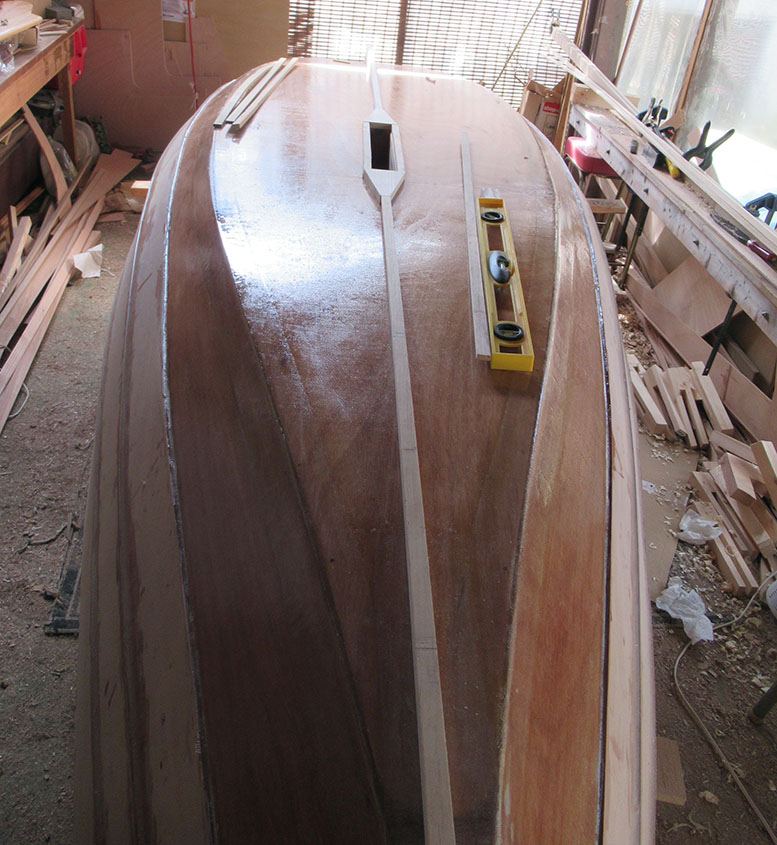
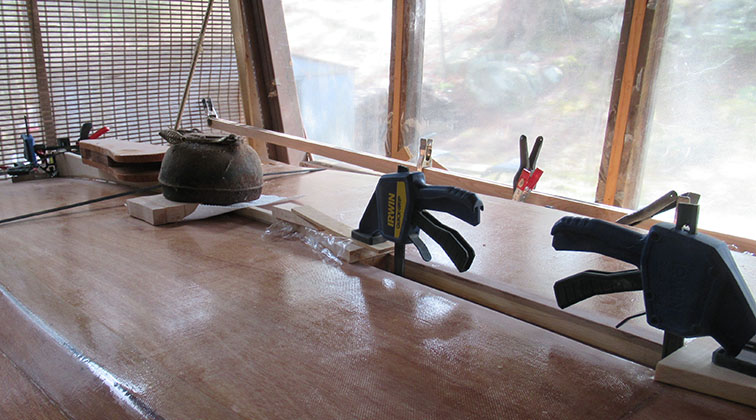
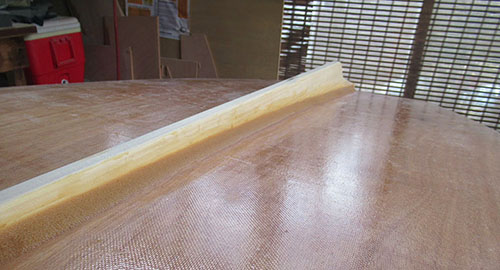
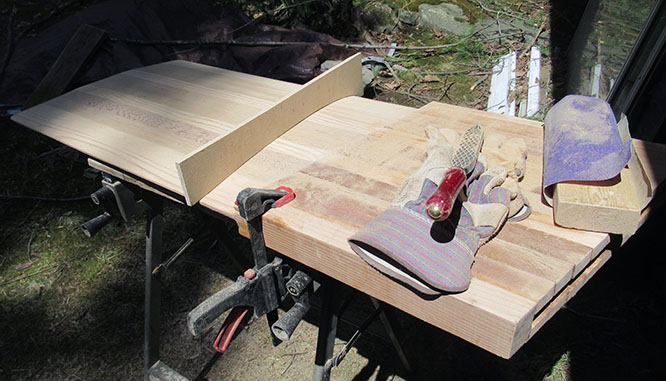
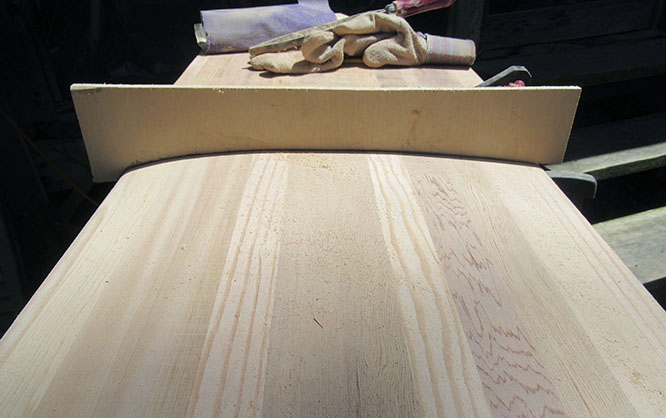
Between epoxy rounds I beveled the outwales – they go from 60mm wide in the center to 50mm at each end. Here I'm laying out some guide lines.
My strongback from a previous project makes a solid, flat work space to do the planing.
It's till a little too cold to fiberglass the bottom which would be the next major job, so I'm not sure what next week will bring.
March 29, 2020
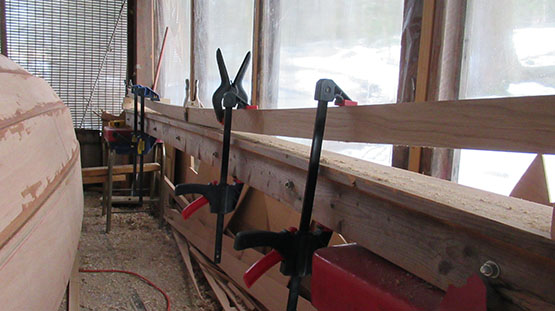
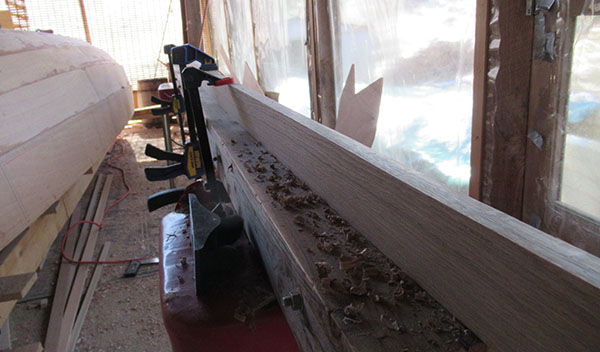
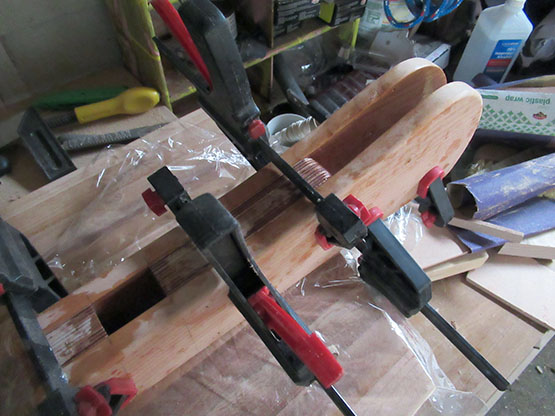
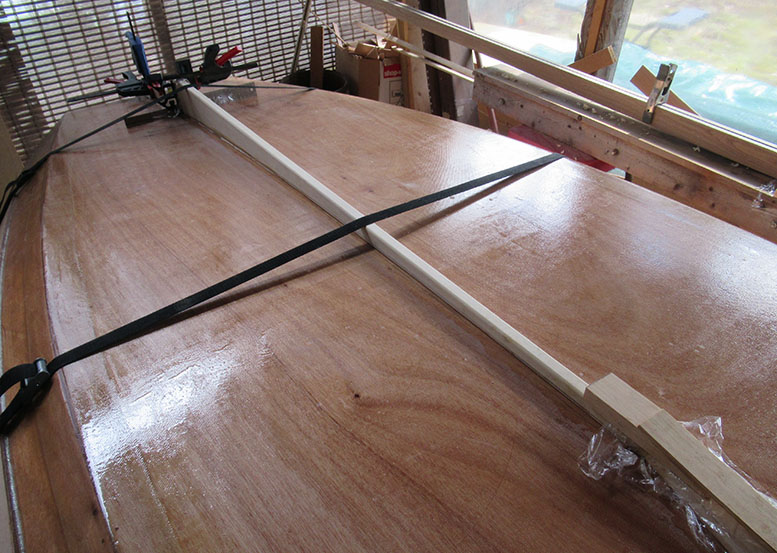
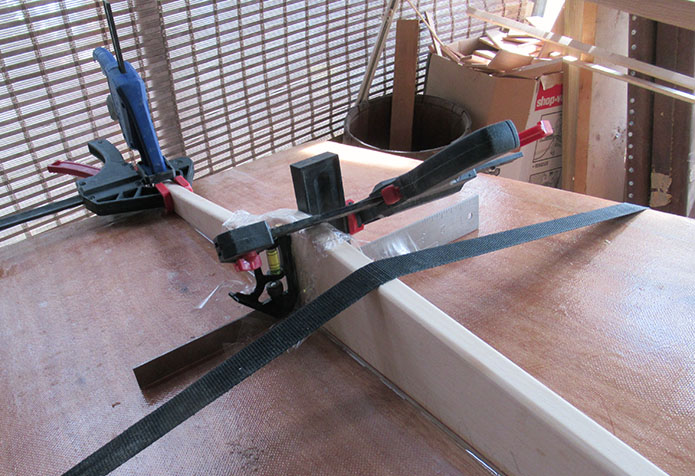
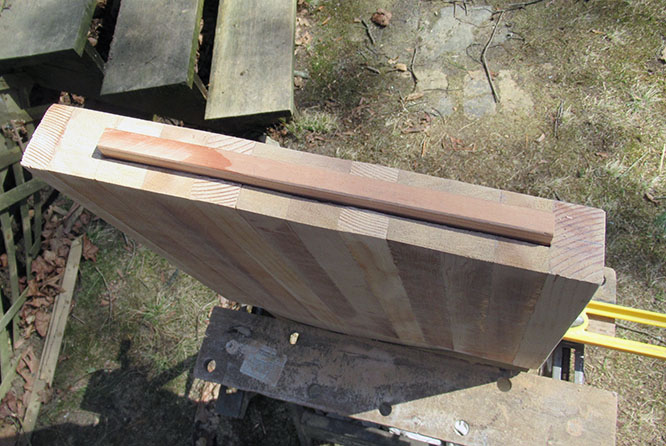
Picking up from last weekend, the beveling is now complete on the outwales and they're back in clamps in an attempt to coax a little pre-bend in them.
Coronavirus lockdown is having little effect on the boatbuilding. With slightly warmer weather and a good setup for heating up the epoxy, I decided to tackle taping the seams on the hull.
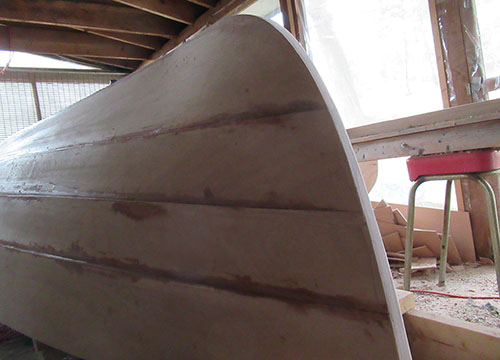
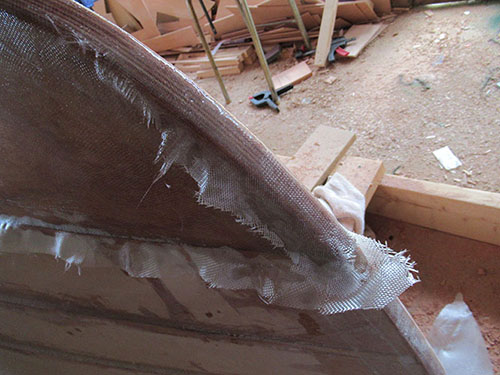
Here's the "before" shot.
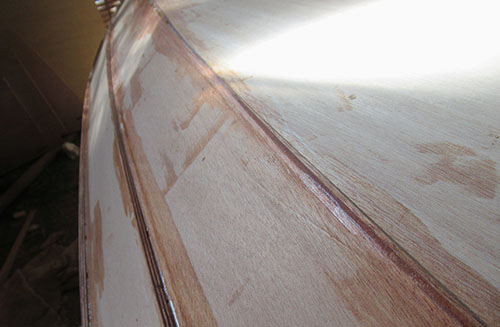
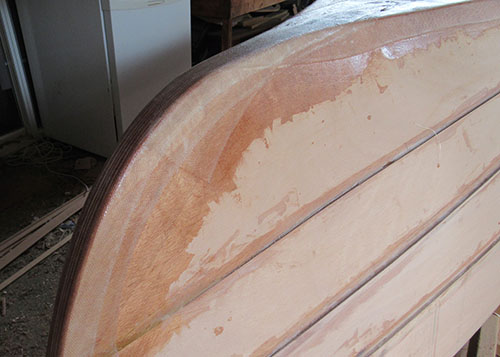
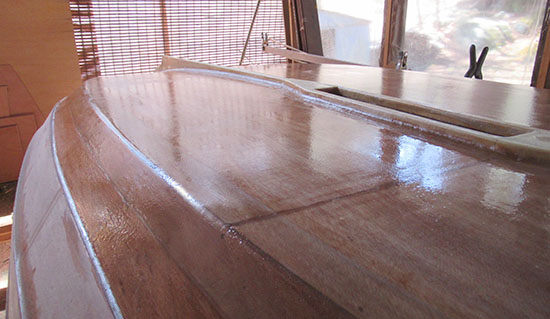
And here's the "after" with one side completed.
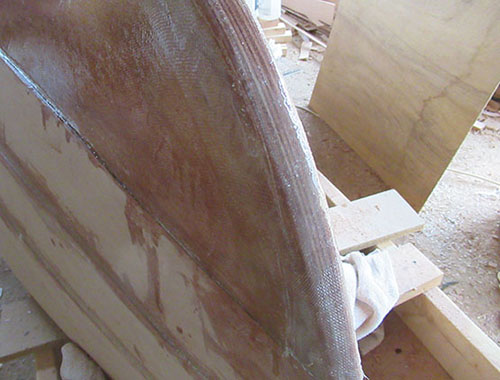
At the bow, each side tape extended across the centerline by several inches and I ran two overlapping strips down along the length of the bow.
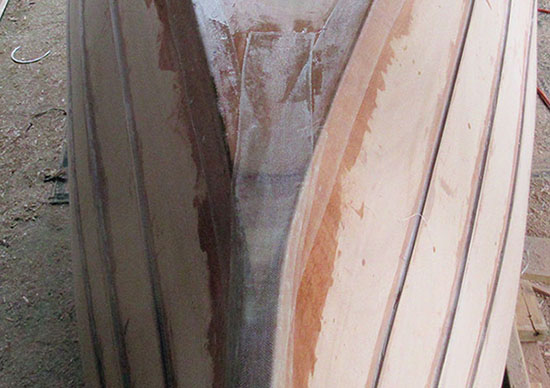
Here's where they all overlap.
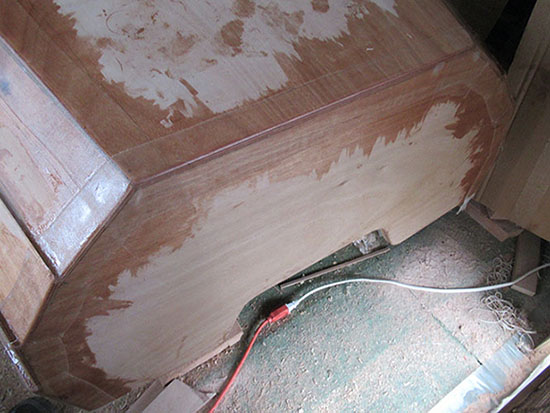
At the stern, the strakes after strake 1 were done with several smaller segments of tape.
My strake fillets looked a little weak so I took stab at building them up a bit. I also wanted to cover the tape joints in the stern.
This time I used a tongue depressor cut square on one end. The flat end was used to spread on the thickened epoxy and clean up the edges while the round was perfectly sized to make this smooth fillet.
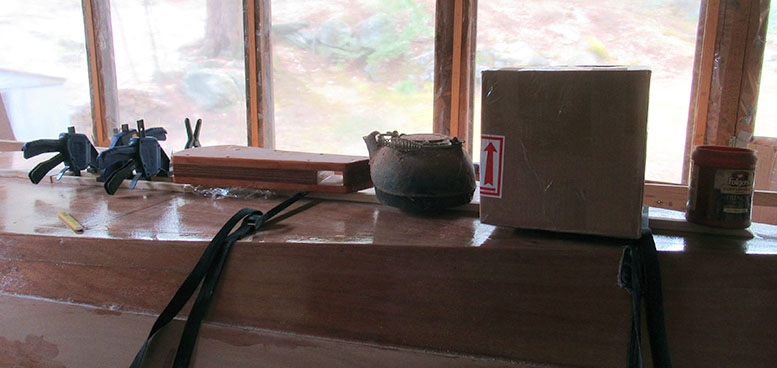
Meanwhile, the rudder and daggerboard are still unfinished and waiting in the wings. I took this opportunity to continue working on the rudder housing.
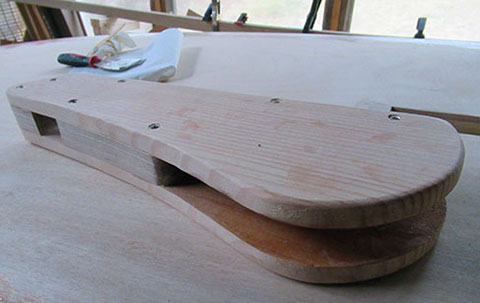
Here it is finally screwed and glued up.
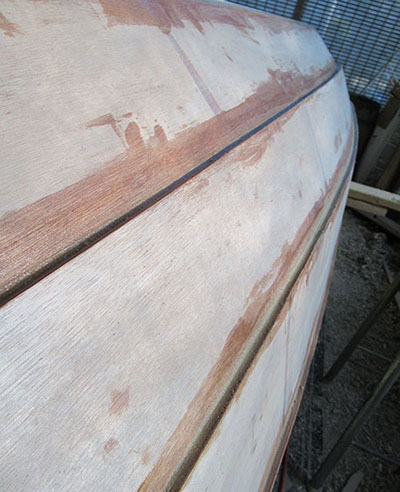
Then, using a metal putty knife I went around the entire taping job adding some filler to smooth out the tape edges.
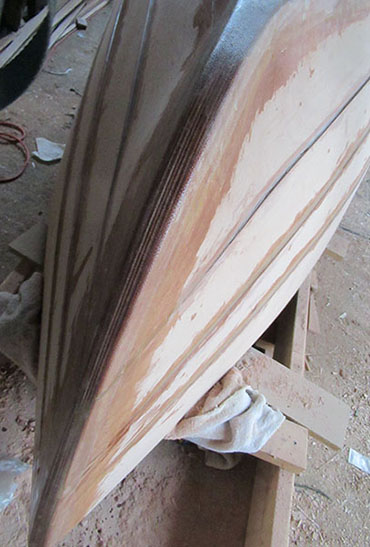
Smoothing continued down the bow.
If the weather holds as predicted, I'll be fiberglassing the entire bottom next week,
April 5, 2020
This week I learned that "almost finished" can be a long way from "finished". I thought I'd wrap up the rudder but noticed there was still bit of sanding to do, Then I started seeing slight imperfections and realized I could probably spend all weekend fixing every detail. That's when I figured it was time to decide how "perfect" this boat needs to be. I've settled on making it at good as I can, but will settle for "work boat" quality – it's what attracted me to this design in the first place.
So with that in mind, I guess the rudder is nearing completion.
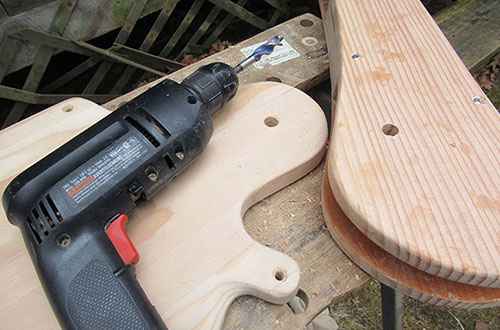
I drilled the uphaul, downhaul and pivot holes.
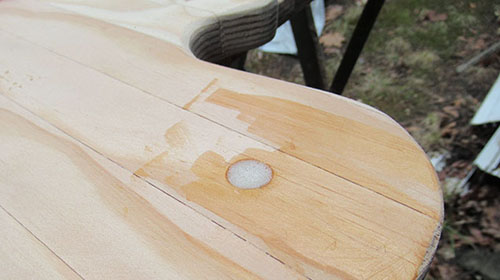
The pivot holes are oversized and filled with epoxy (temporarily sealed with mailing tape on the bottom side). They'll be drilled again at the correct size through the epoxy.
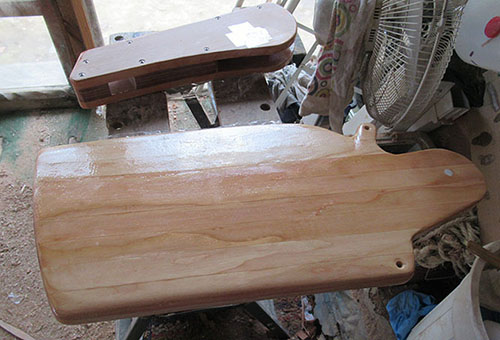
Also gave it a coat of epoxy.
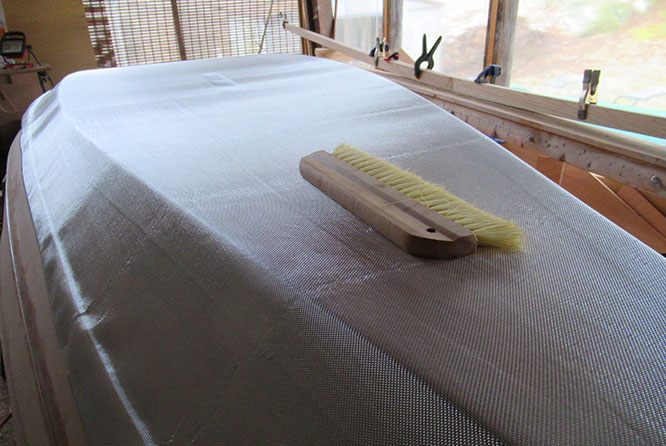
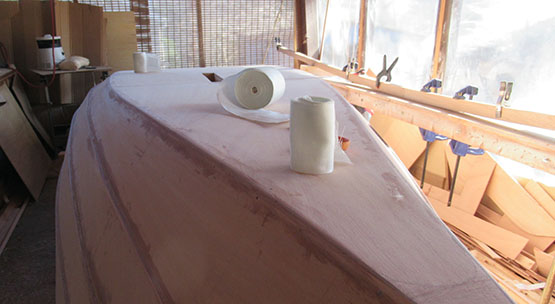
But the biggest project this weekend was fiberglassing the bottom. I first laid out the cloth, roughly trimmed the edges, then smoothed the wrinkles out with this stiff brush.
I had to study up on this process and thought I might mention a few
of the places I regularly go for instruction and inspiration for
this build:.
•
Off Center Harbor
(especially the Fox Canoe & Caledonia Yawl series, and the
Fiberglass tutorials)
•
Tips from a Shipwright
(especially the Sport Dory series)
•
Restoring the Tally Ho
(for whenever I feel overwhelmed with my project)
• And the
Wooden Boat Message Board
and
Welsford facebook page
along with numerous related building blogs – thanks all!
I poured the epoxy on in small doses and spread it with a flat plastic tool.
All went fairly well until I came to the bow. I had to cut a small dart and overlap the cloth but the epoxy was thickening, getting sticky and pulling threads out whenever I tried to flatten the cloth. I finally left it like this and hoped I could clean it up with razor blade knife when it all cured.
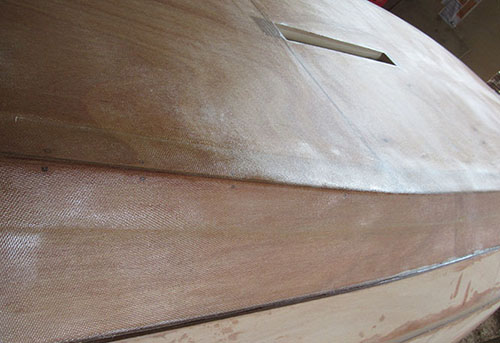
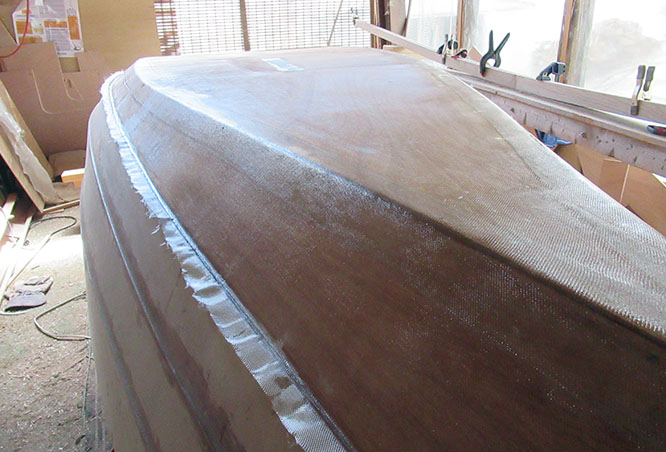
The next morning the excess cloth was trimmed off right along the first strake.
And to my relief, I was able to cut off most of the tangled mess at the bow.
The next step was to finish up with a second, fill coat of epoxy over the whole bottom.
April 12, 2020
The Coronavirus (it has its own logo!) lockdown is still in effect. My practice of buying supplies as needed has proven to be unwise as the last dust mask I have is the one I've been using for a month – I was waiting until the serious sanding to get a new supply and of course they are now unavailable. I'll have to see if some kind of homemade mask will suffice.
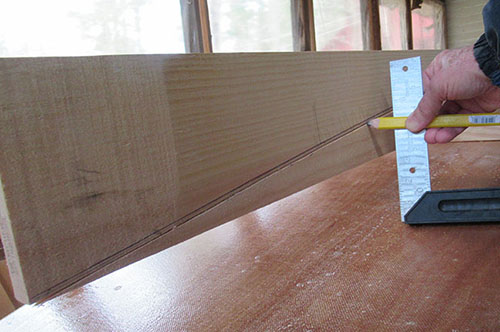
Meanwhile in the spirit of self isolation, I decided to use what I had available for the next project. Fortunately I had a six-foot piece of unused, 1x6 Douglas Fir that I'll be using for a skeg. With the board in place, I propped it up at the stern and transferred the bottom curve of the boat onto its surface. (I forgot to take a pic at the time but here is a loose re-creation of the process.)

Here's the resulting rough-cut piece.

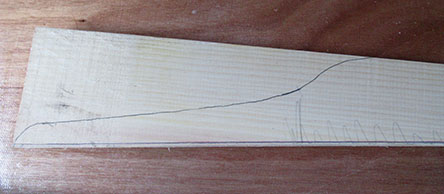
In the plans, the side view of the Roque shows a shape to the keel. No dimensions are given but I was able to scale it up and draw out this plan.
Using the carbon paper from way back when I was cutting out components, I transferred the pattern to the skeg stock.
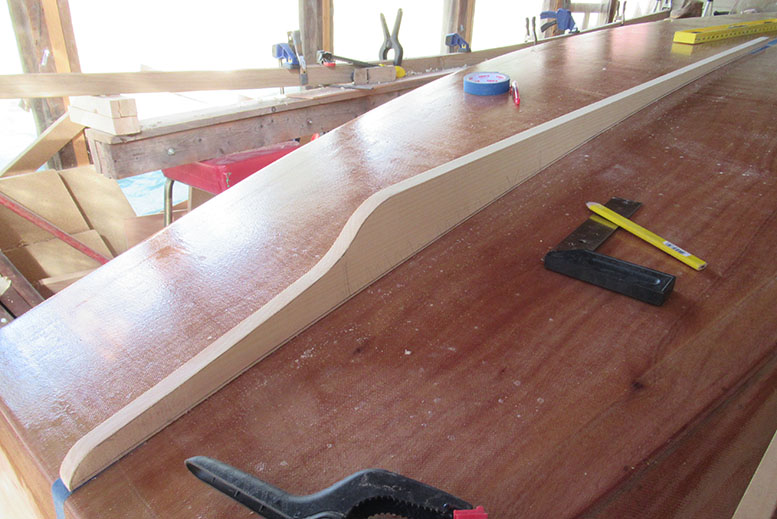
Here is the basic shape.
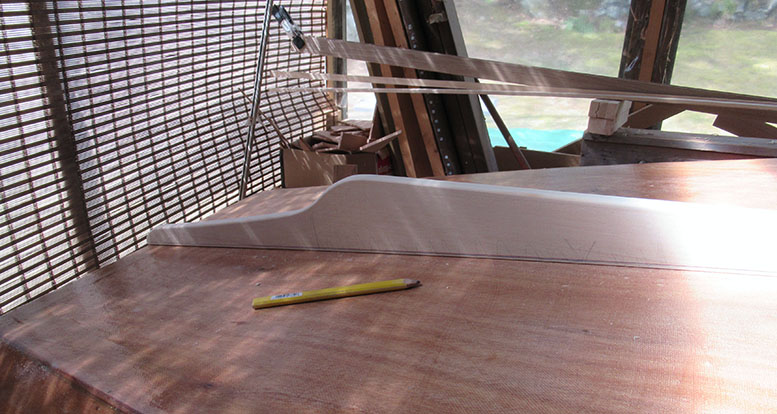
And here it is after a little cleanup.
Using other found scraps, I was able to extend the keel around the centerboard slot and up to the bow. Here is everything resting in position.
The epoxy was sanded where the keel components will be glued.
I added silica and a little wood flour to the epoxy and put it on extra thick. Here's the basic clampdown setup.
Look closely and you'll see two 90° angles clamped in to assure vertical alignment.
A few extra weights tossed in for good measure. I couldn't glue everything at once. The side pieces around the slot and the front strip will be added in the next round.
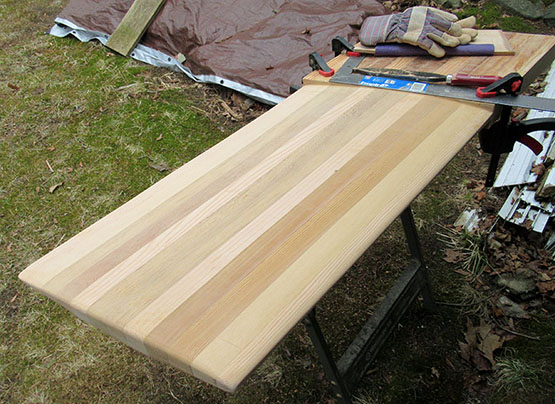
Also continuing to work on the daggerboard.
During the week I hope to find time to glue in the rest of the keel, sand it all smooth and maybe do the filleting along the edges. It also looks like I'll need another fill coat over the bottom and will probably need to reinforce the keel with some fiberglass tape.
April 19, 2020
Picking right up from last week, I continued gluing the keel. This weekend ended up being an "all epoxy" session!
Here's another random array of semi-heavy objects weighing down the front section.
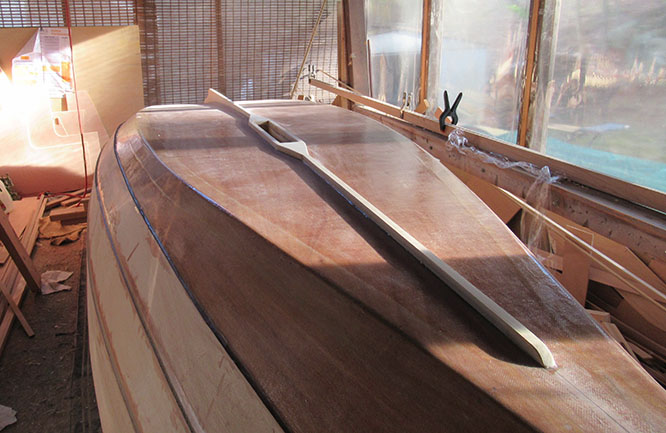
The complete skeg and keel are glued in place.
I added a fairly large fillet along the full length.

The next day it was followed by a second, smoothing coat to the fillet. Then a strip of fiberglass tape to add some strength to the keel and joint.
A couple strips were used over the wider skeg section. (Edges will be trimmed off.)
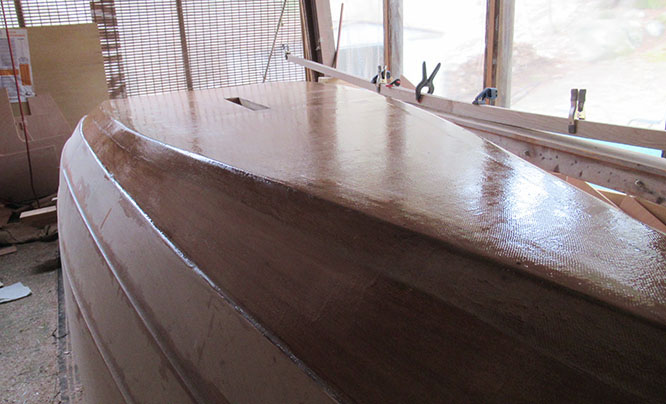
And finally on the third day, I did a fill coat over the entire fiberglassed part of the hull.
April 26, 2020
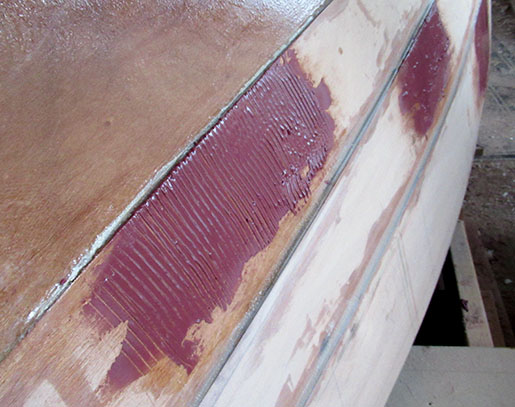
I want to get the hull completely prepped and painted before turning the boat over again, so this week I began fairing the strakes. The first coat of compound (epoxy mixed with microballoons) was applied to all of the perceived low spots.
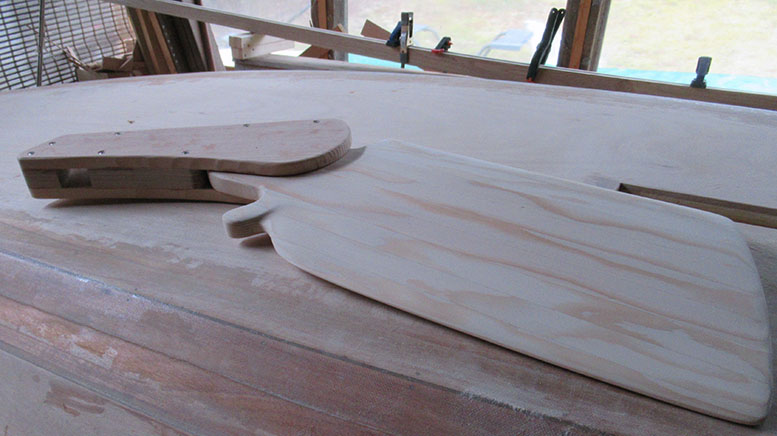
The next day, the fairing compound had not completely dried (still cold temps overnight) so I went back to the daggerboard – one of those projects that is never quite finished.
After much more sanding, both sides finally align with the the template!
Here I'm fitting the piece that slips in the slot at the top of the board. It will get trimmed then screwed and glued to the underside of the capping board, followed by the whole assembly being inserted and glued to the top of the daggerboard.
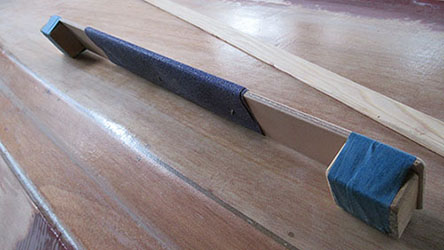
The next morning the fairing was completely set up, so I put together this sanding block to sand the curved strakes. It's made from flexible plywood with a couple handles screwed on (the tape is covering the screw heads).
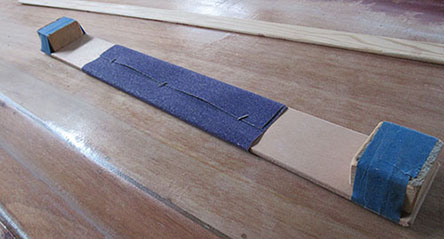
The sandpaper was stapled in place. I wrapped the entire board in sandpaper when doing the wider areas.
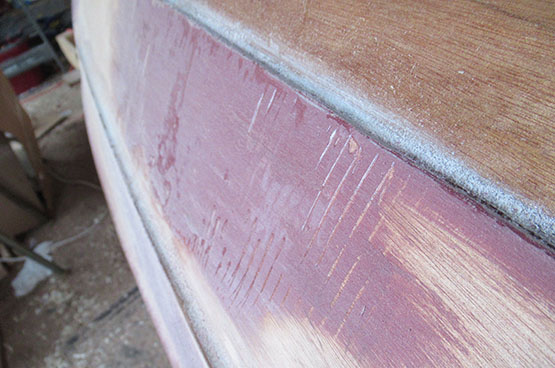
Here is a section after sanding.
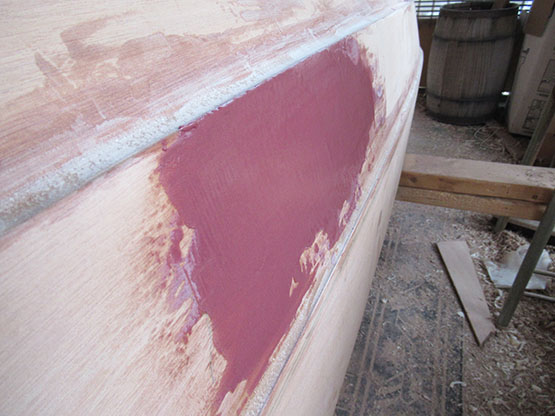
After sanding all the patches, I mixed and applied the second coat. Even though the pics may not reflect it, there was a lot of work done this weekend – with probably more of same coming next week.
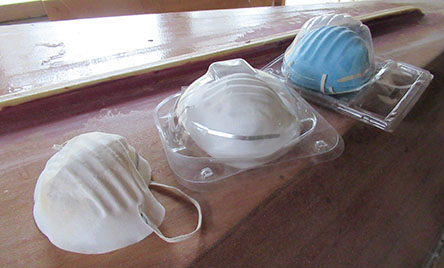
And a bit of good news! When I was looking for staples I found 5 unused dust masks in the back of a drawer. Must have been from 4 or 5 projects ago.