Sailing Components
 April 3, 2021
Yes, it's been a long stretch since my last update back in September. I took a little break from boat work over the winter — but did make progress on a few fronts and made some new purchases.
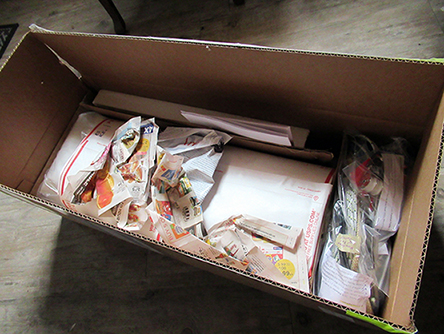
A big order from Duckworks — the sail, lines and hardware! We'll take a closer look at the contents later when setting up the rigging.
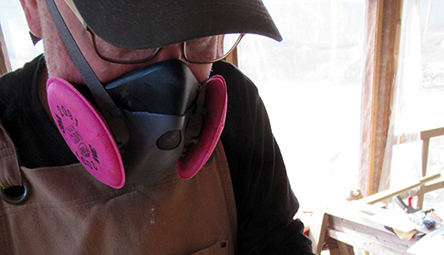
And, because they finally became available again, I picked up a decent dust mask. I was noticing an increased sensitivity to wood dust last year probably due to my not-so-great masks and a slightly cavalier attitude towards wearing them.
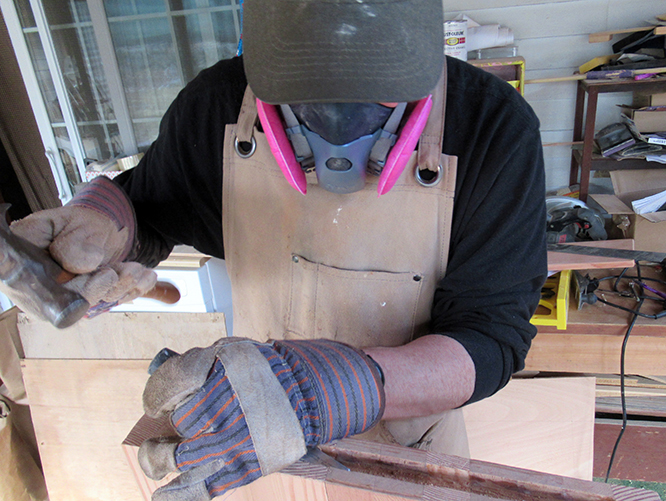
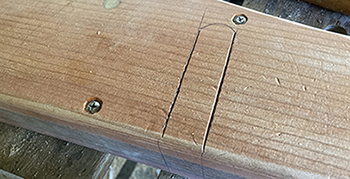
The work continued right where I left off last Fall, with the modifications to the mismeasured daggerboard. I went back to work with the chisel while continually thinking how easy this job would be with a router.
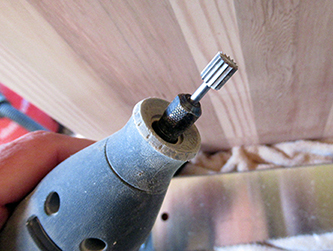
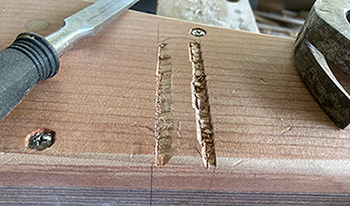
Then I came across this inexpensive cutting tip for the Dremel tool at WalMart.

It worked perfectly to clean up the slots that house the bridging piece between the new cap the daggerboard.
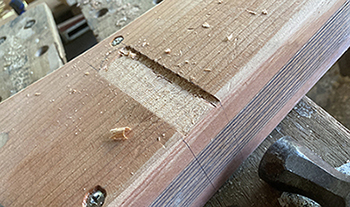
When in place, the cap creates the proper angle for the top edge. It's currently slightly oversized but will be cut and sanded to fit once epoxied in place.
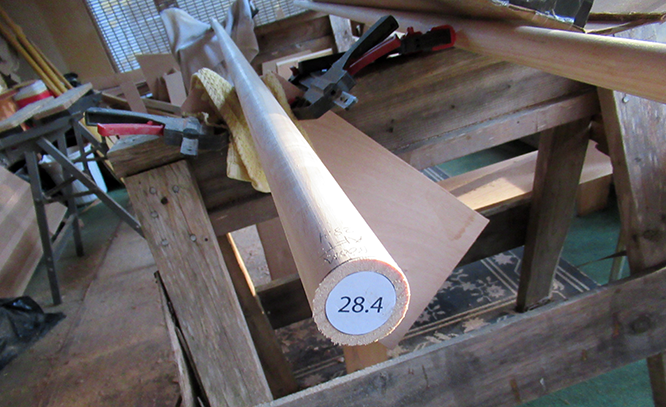
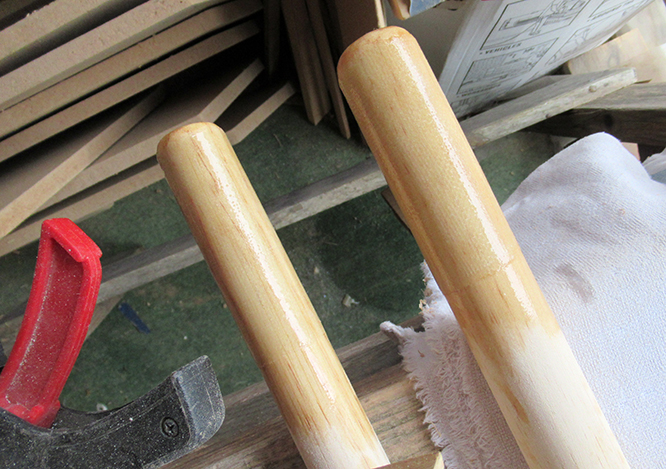
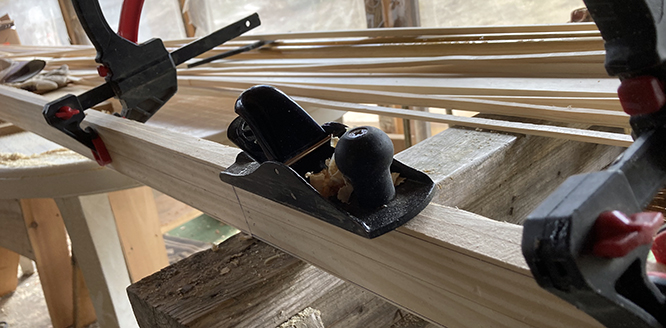
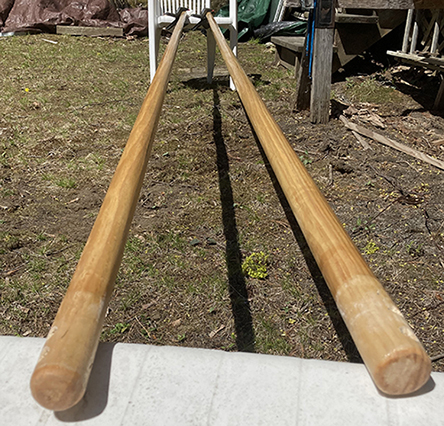
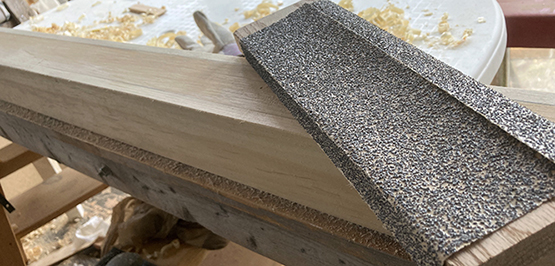
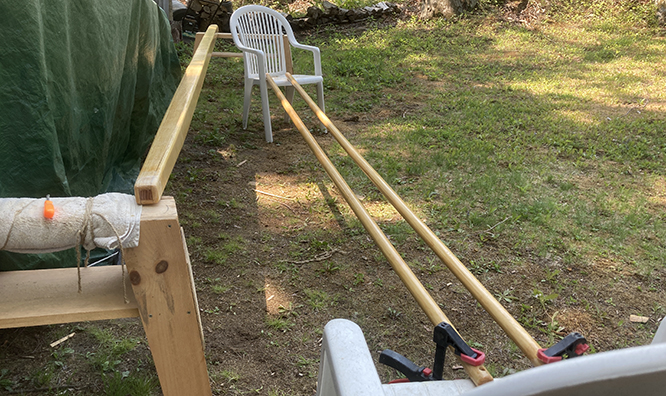
The boom and yard for the balanced lug sail are being made from dowel stock sourced from the local lumber yard. It happened to be just the right diameter and needs only to be tapered according to the plans. To assist with the shaping, I glued guides to each end indicating the target size.
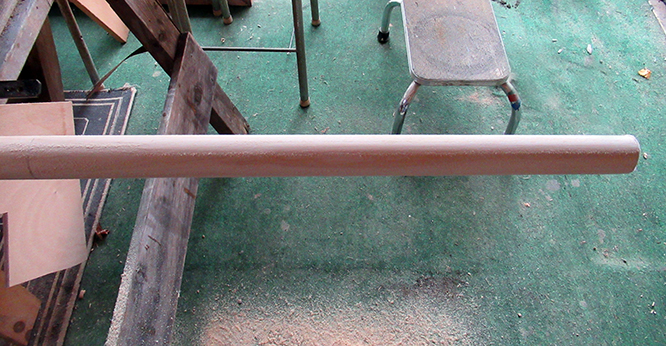
A block plane, the Shinto Rasp, sandpaper and a straightedge were used to achieve the specified gradual taper out to the tips.
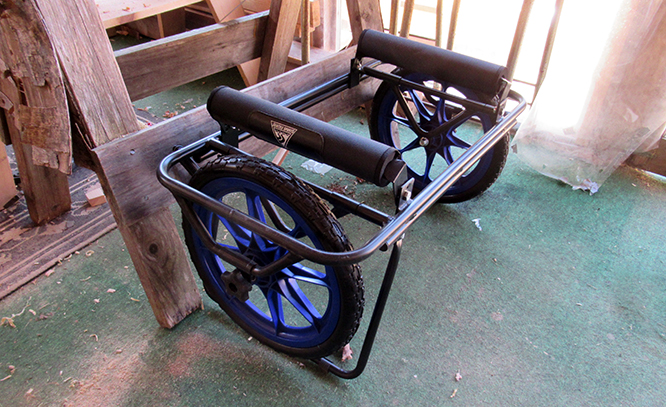
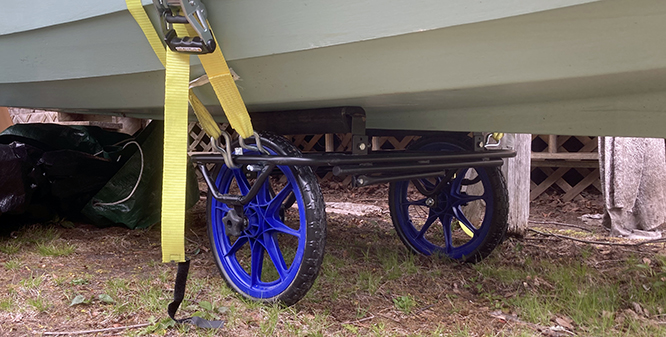
I'll need to return the Rogue to the back yard to continue working on it. And while I thought about making some kind of dolly to move it around, I instead bought this cart. It straps to the boat and hopefully will allow easy transport of this fairly light boat on land without having to lug around the heavy trailer.
April 11, 2021
This week a little more progress was made on the spars and daggerboard. It was mostly epoxying and varnishing which eats up the limited weekend hours with curing and drying time.
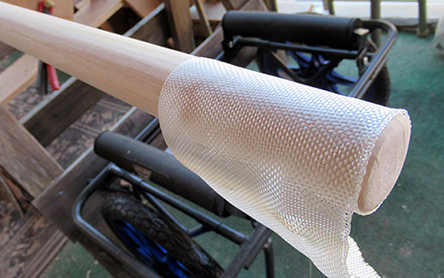
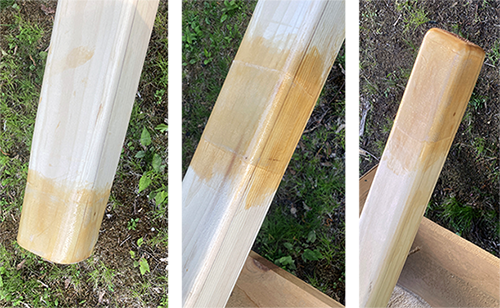
I added a couple wraps of fiberglass tape to the ends of the boom and yard.
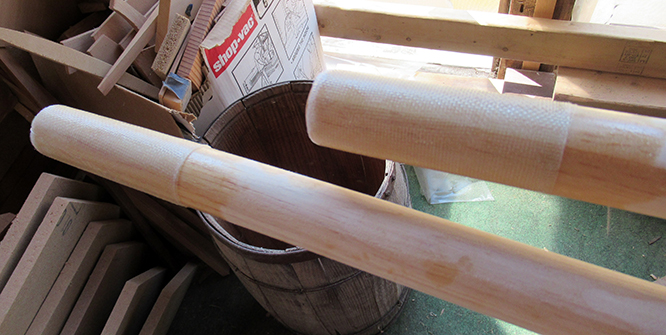
Coated with epoxy to dry overnight.
Then sanded and a second coat of epoxy applied.
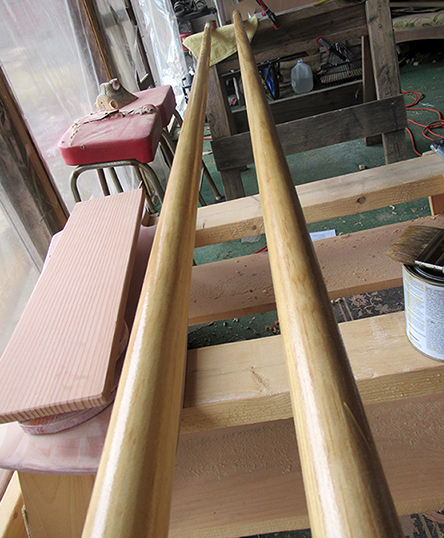
The rest of each spar was given a first coat of varnish.
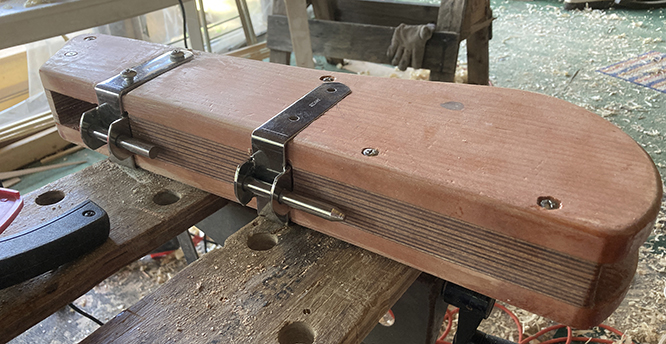
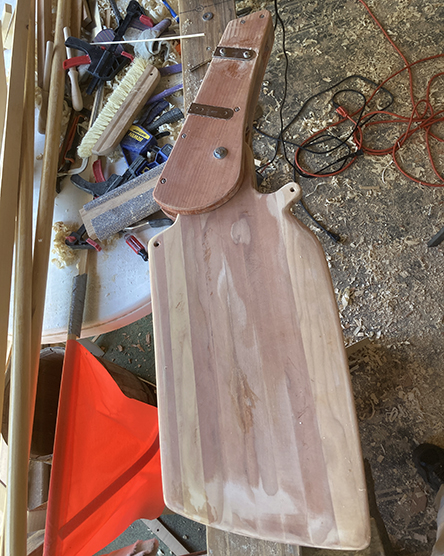
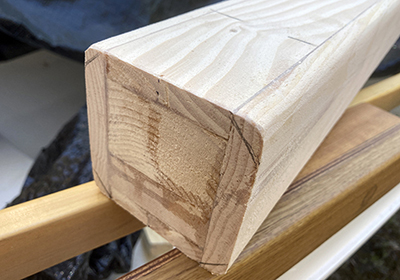
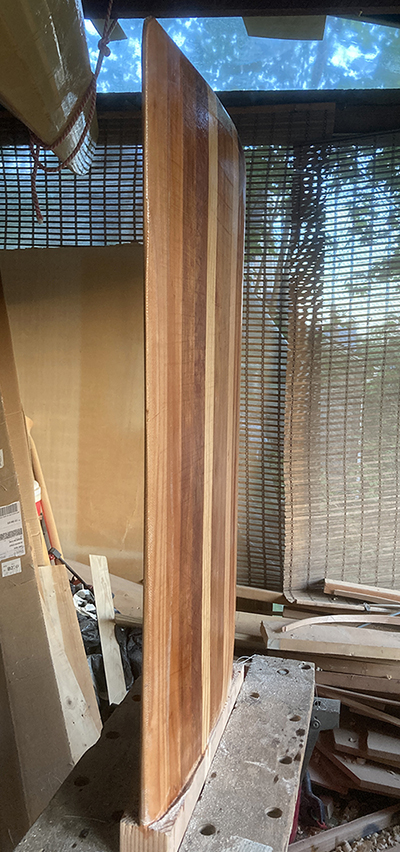
The daggerboard cap was finally epoxied in place...
...and squared up. I still have to attach a top piece but the board is finally the correct shape! It's a thick and heavy board and I imagine will be cumbersome to raise and lower while sailing – but we'll deal with that when the time comes.
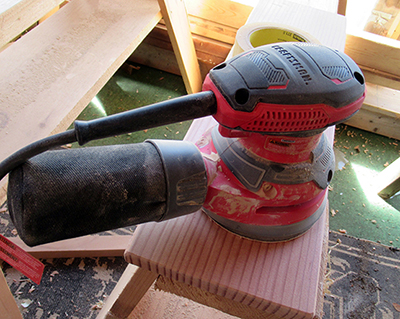
And finally, not to turn this into show-and-tell, but I had to mention I was able to get this Craftsman random orbital sander for just $25 at the hardware store by using a half-off coupon! It's been helping to speed things along and something I wish I had purchased earlier in the building process.
 April 18, 2021
As previously mentioned, I've chosen to use an RSS Goat Island Skiff (GIS) sail for several reasons. First, the sail is suitable for a Rogue and has the designer's OK for use. Second, the convenience of being able to order the sail as an off-the-shelf item from Duckworks, along with related hardware kits assembled with input from designer Michael Storer – a big plus for someone like me who has not previously outfitted a sailboat. And finally, there is wealth of rigging information and fine tuning tips on Michael Storer's website and the GIS Facebook page.
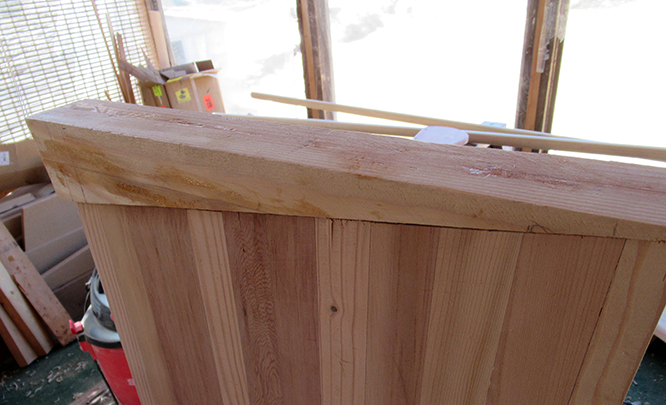
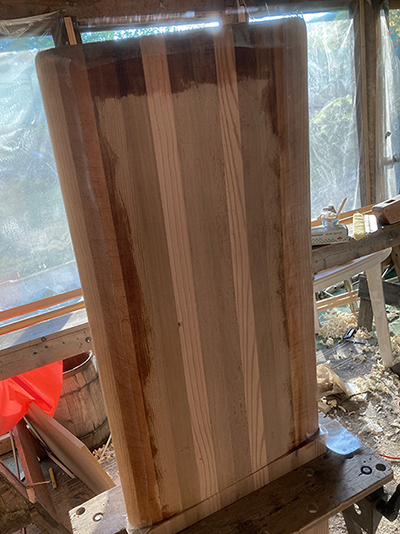
To match the sail, I plan to build the hollow, square mast designed by Michael Storer for the GIS. I've made adjustments to the mast step and mast partner on the Rogue to accommodate it. And, this weekend I had the good fortune to locate four, 1/2" x 4" x 16' clear pine boards at the local lumber yard which are the perfect size for the mast construction.
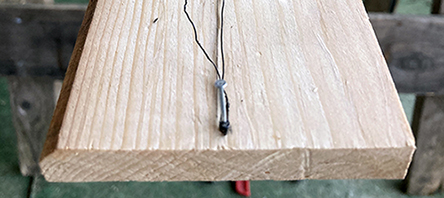
To begin, I stretched a wire down the center between two nails...
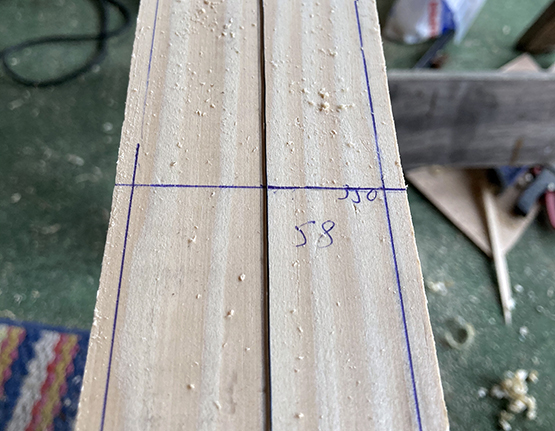
...and measured out from the centerline to lay out the pattern.
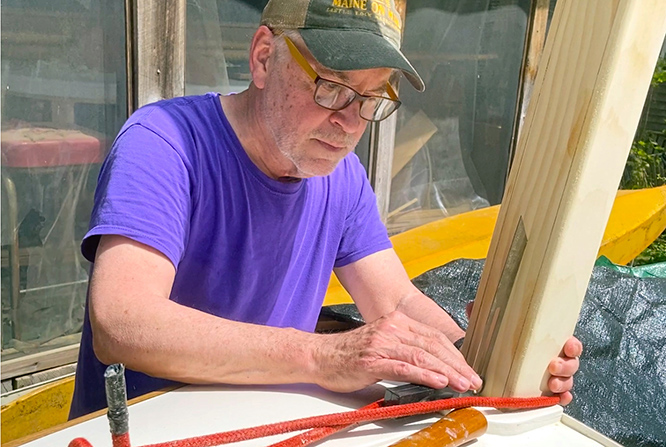
The mast is basically a hollow square tube with two narrow opposing sides, some inside supporting blocks and two wider sides to complete the enclosure. I started with the narrow sides, cutting just outside the plan lines.
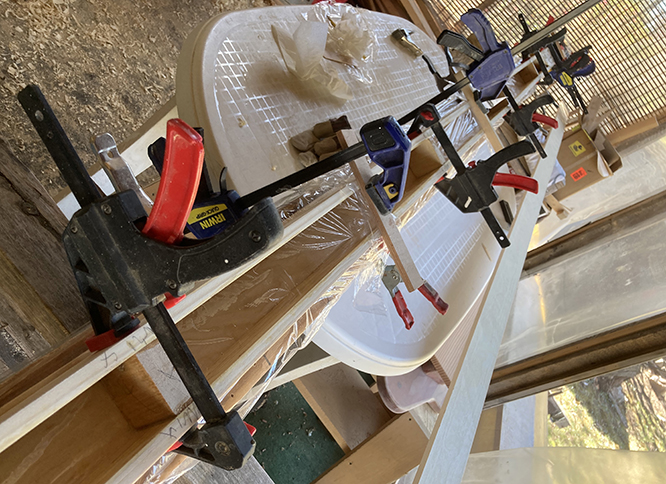
Then clamped both matching sides together to start planing.
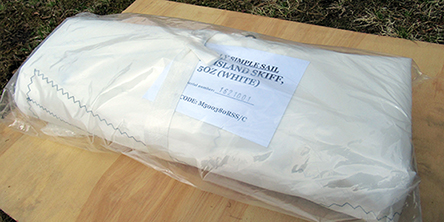
But before going any further (and after my daggerboard fiasco), I decided to do a quick reality check on the spar and mast dimensions by getting the sail out to see how everything matched up. So, here's a kind of "unboxing" sequence of the sail. It arrived in a box along with other items, sealed inside this plastic bag.
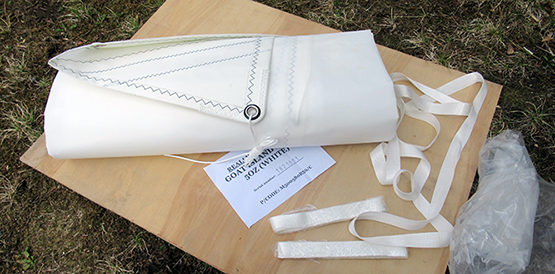
After opening, I found the lines for attaching the sail to the spars are included along with some straps, presumably to secure the sails and spars when the mast is lowered and during transport or storage.
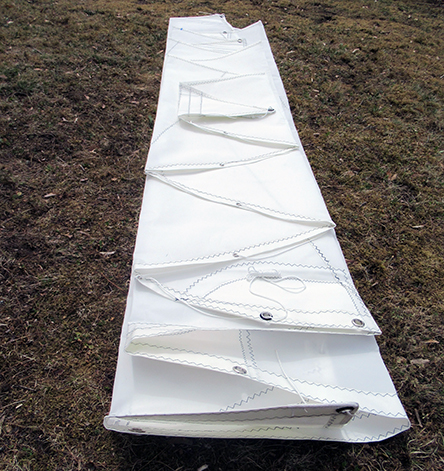
When unfolded to full width, this accordion fold is revealed.
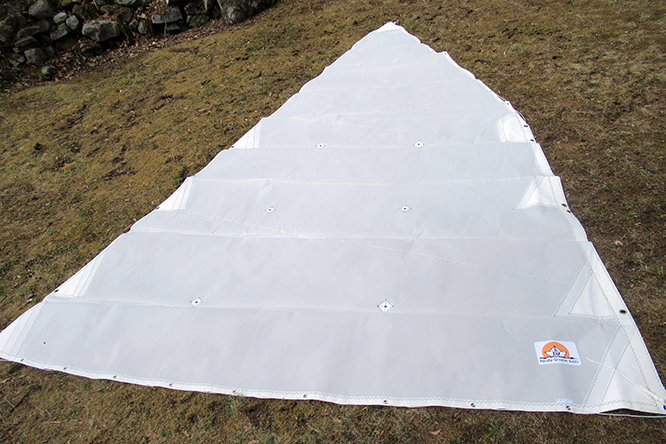
Here's the full sail. Very nice with three reef points.
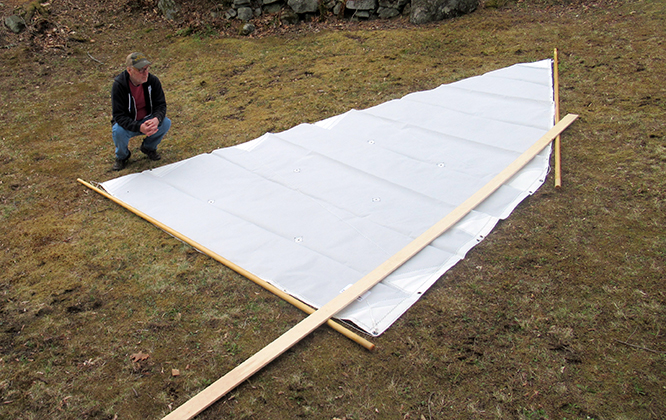
And, the mast and spar dimensions all seem to be sized correctly.
April 25, 2021I'm losing a day of boat work today (Saturday) because of a prior commitment, but it happens to be an outdoor hike and the weather is perfect!
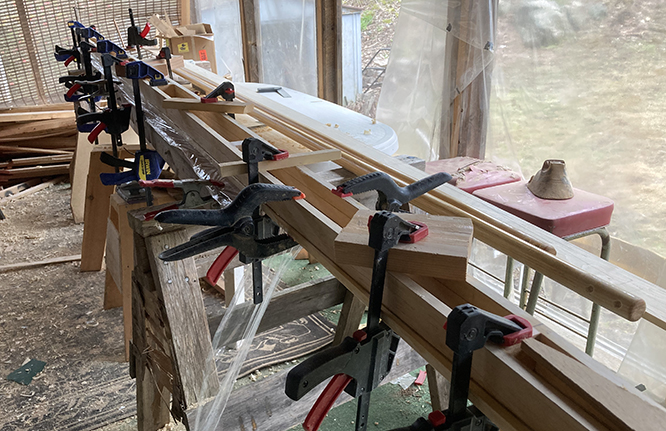
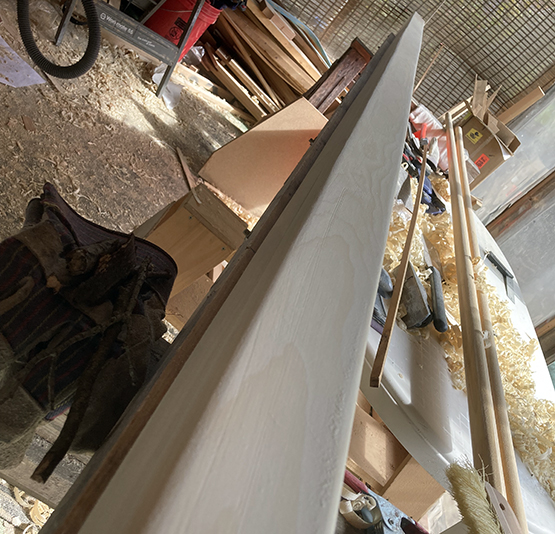
A half-day yesterday was spent completing the planing on the mast sides and adding the spacers to spread the narrow sides of the mast to the correct width.
All are temporarily clamped into place except for the large block at the base. The camera perspective alters things a bit as the far end is much wider that the narrow tip in the foreground.
I had to laminate 2 boards to make the lower spacer – getting epoxied here before final shaping.
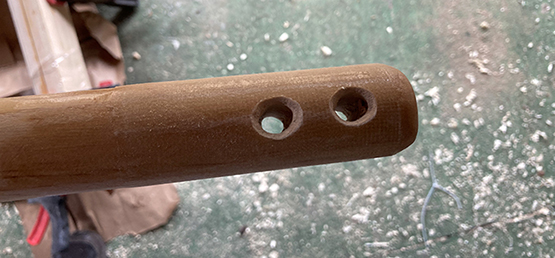
I'm also still varnishing and sanding the yard and boom and drilled some holes in the ends for attaching the sail and rigging.
I ended up with not much available time this weekend, but small progress was made.
 May 2, 2021
Continuing this week with small steps on the mast...
The two narrow sides have been planed and sanded and the spacers were cut thinner to the specified size. Then the inside walls were given a coat of epoxy and the spacers epoxied into place.
While that job was curing, the spars got another coat of varnish. The ends will be done separately because I need an unvarnished area to support varnished part while drying.
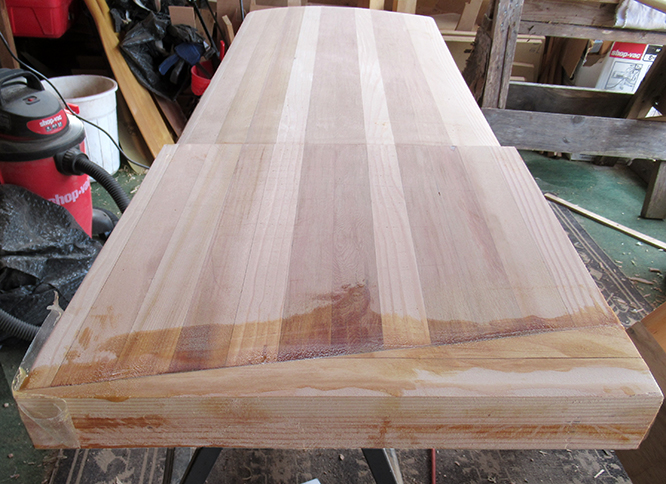
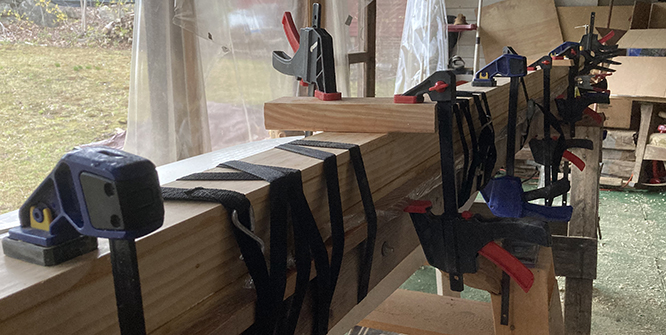
The next day I was able to epoxy the first wide side in place (it's on the bottom in the photo). Maybe I should have done both sides at once, but that would have involved maneuvering large slippery epoxied parts and trying to clamp them all accurately.
Next weekend I hope to get the boat uncovered and back up in the yard. Then start working on attaching the rudder, finishing up the daggerboard and working out a tiller design.
May 9, 2021Mother's day weekend – looking back over this blog, it snowed at this time last year when I was painting the boat, but nice weather today.
The fourth and final side of the mast was installed.
Rough sanding with a woodblock got things started.
Followed up with smoothing and rounding off with the random orbital sander.
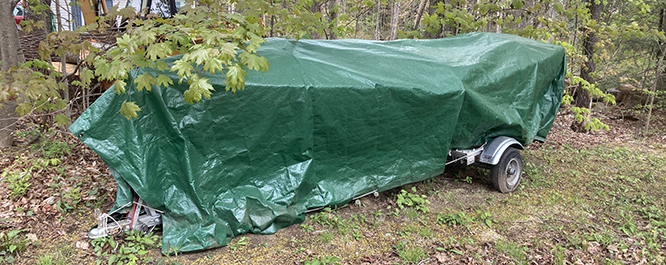
Then, on to the project of moving the boat to the back of the house. Here's how it was stored all winter

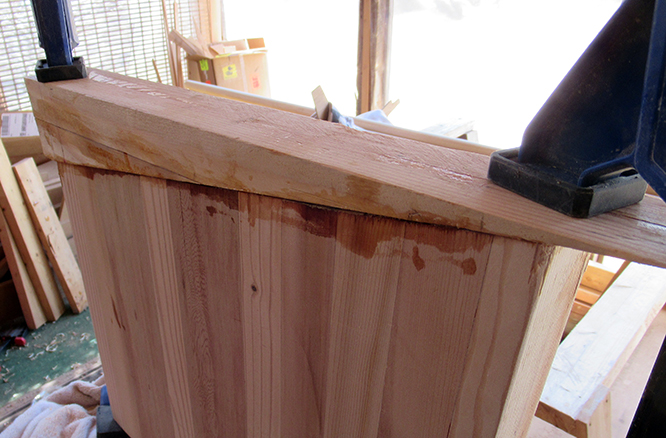
I had a couple surprises when the cover came off. First, water and leaves had somehow gotten inside despite the tightly wrapped tarp. It's looking like an old boat already! (But cleaned up easily.)
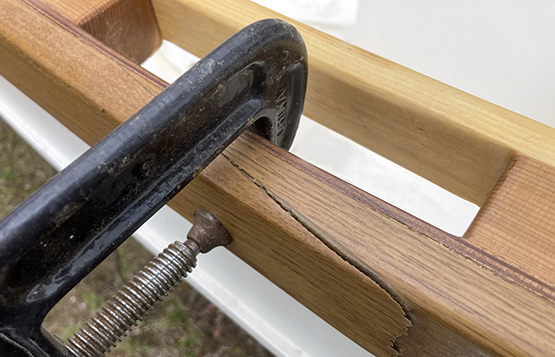
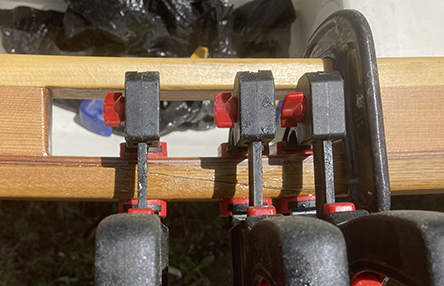
And then I noticed this scarf joint is giving out. I clamped it up to prevent further damage and hopefully I can seal it right up with some thickened epoxy.
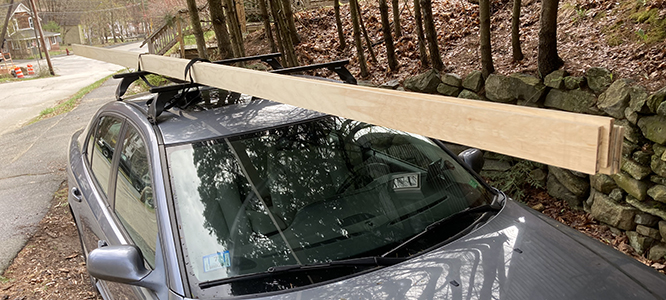
Here are the wheels strapped in place ready for the trip that involved going up a hill and over a low wall. Not having to lug the heavy trailer was nice, but it still turned out to be quite a strenuous job for two people (my son was visiting and lended a hand).
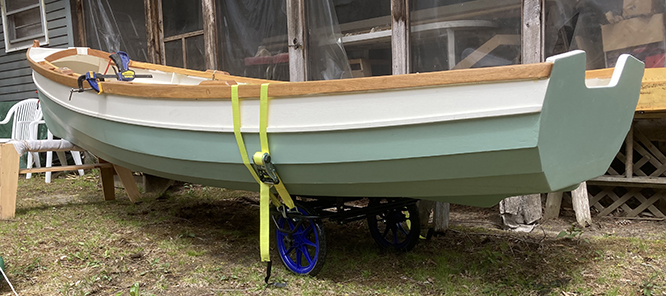
It is finally in its new resting place where I can fit and install the mast, rudder, centerboard and tiller. Also, there will be some cleanup, possible painting and the rigging setup.
A quick patch on the rub rail and we're off with the family to celebrate Mother's Day.
May 16, 2021This week I tackled some of the tasks I've been putting off. Attention was first turned to the rudder assembly.
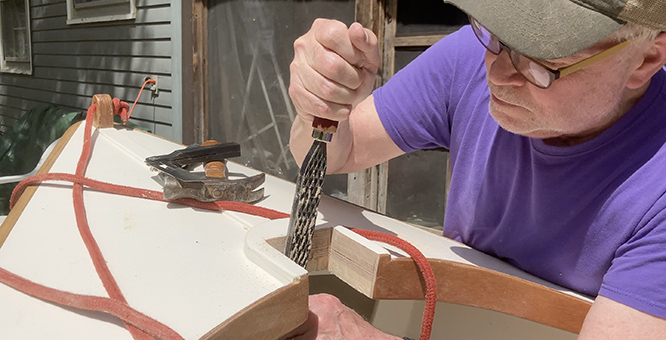
The pintle brackets are slightly narrower than the rudder housing so I had to cut about a 1/8" inset on each side and on the end, where the brackets have a slight protrusion.
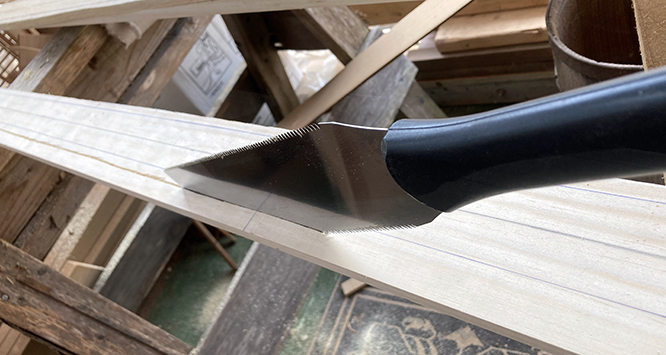
If I had purchased a router, I would use it right now. But without one, I started in with a hammer and chisel.
Making headway.
Eventually all were finished and the brackets were temporarily slid into place. They may look a little close together but the top one is as high as it can go – right under the tiller slot. And the bottom one could go no lower or its bolt would go right through the open, rudder pivot area.
The pivot hole was drilled and pivot bolt inserted to temporarily attach the rudder. The whole assembly still needs a good sanding and varnishing before final assembly.
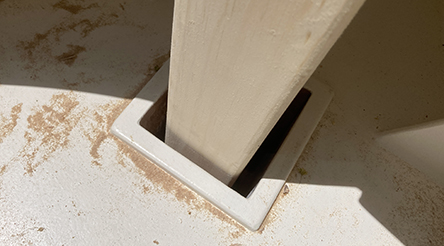
Now let's get the mast installed! The bottom needed to be rounded slightly to fit the round hole at the mast foot. The lower corners were planed off to the pencil lines.
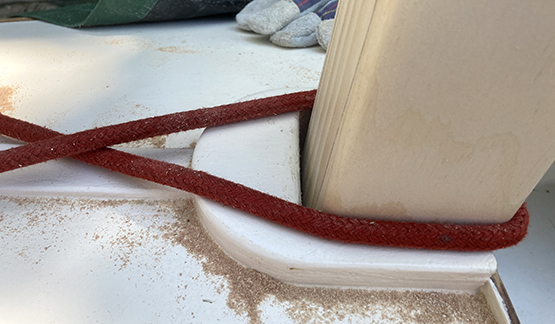
With the mast in place for the first time, there was a slight gap between the mast and the deck due to the vertical angle along the front of the cutout.
Here I'm capturing the rake angle with a sliding bevel.
Then adjusting the angle on the deck cutout accordingly.
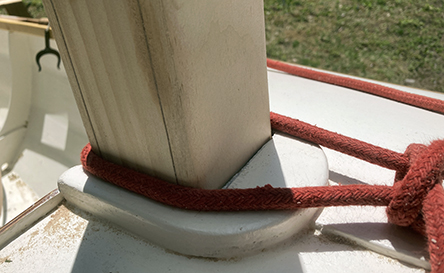
A good tight fit now.
And it falls right down the center of the passthrough.
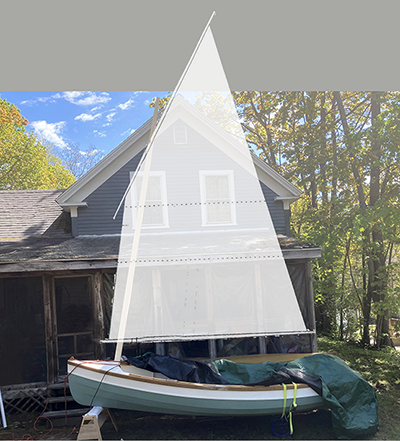
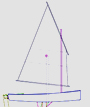
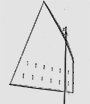
PHOTOSHOP ALERT! I just wanted to see how the mast angle would work with the Goat Island Skiff sail so I superimposed the sail plan onto a photo of the mast in place. Hopefull, it will look this good in real life.
 May 23, 2021
A lot of time consuming odds and ends were completed this week.
Starting off with fiberglass tape reinforcements — the base, mast partner area and tip of the mast...
...around the perimeter of the rudder blade ...
...and the fore, aft and bottom of the daggerboard (clamped upside down in a Workmate).
Then a coat of epoxy.
And a coat of epoxy for the daggerboard.
Followed by a coat of varnish.

Varnish for the rudder too.
Two coats for the mast and some touchup on the spars.
Followed by a second coat for both blades.
And why not give the mast and spars another coat too?. It all adds up to quite a bit of time when you include drying and sanding between each step and the fact that I did the blades one side at a time.
May 30, 2021This week brought us a little closer to getting the Rogue ready to sail.
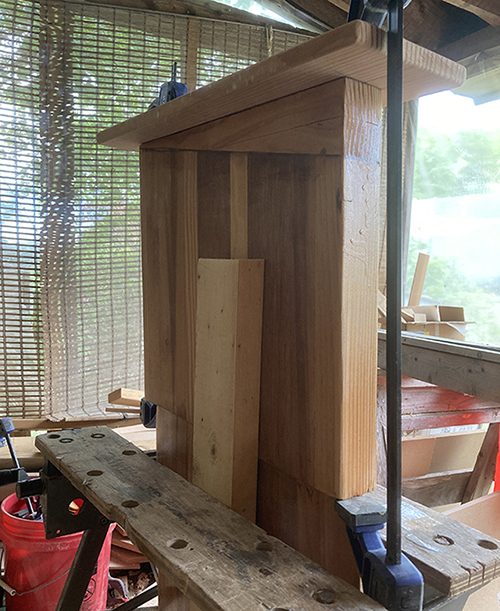
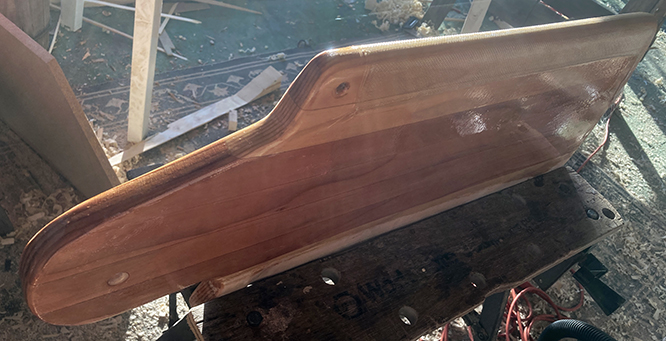
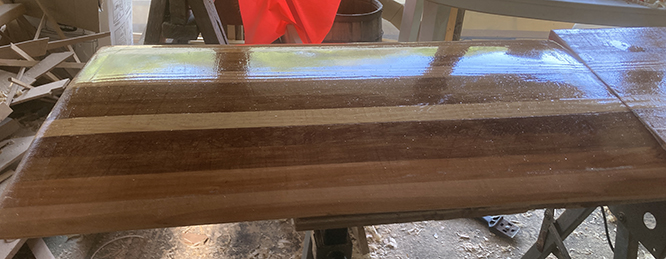
I finally added the top piece to the daggerboard.
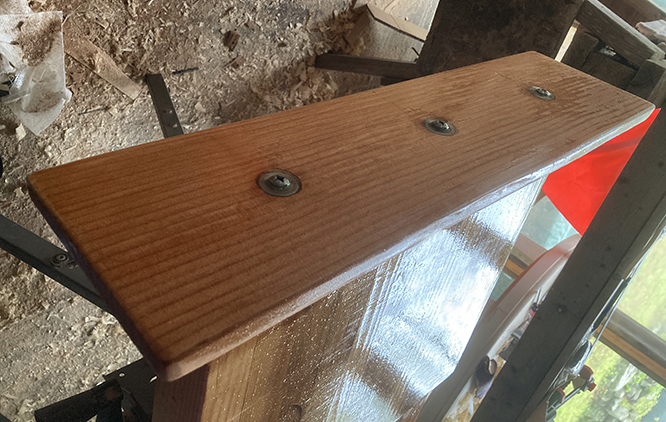
Because it is now just epoxied to the top of the adjustment cap, I decided to reinforce the joint with some 3" bolts.
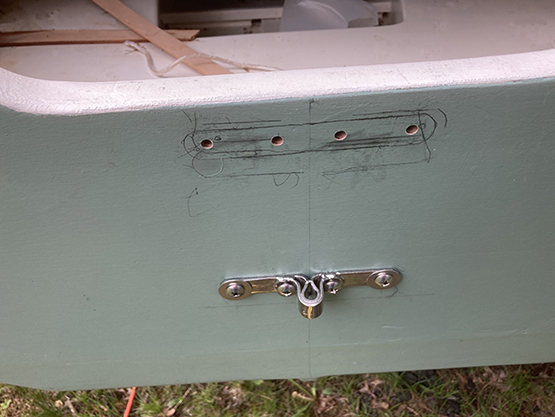
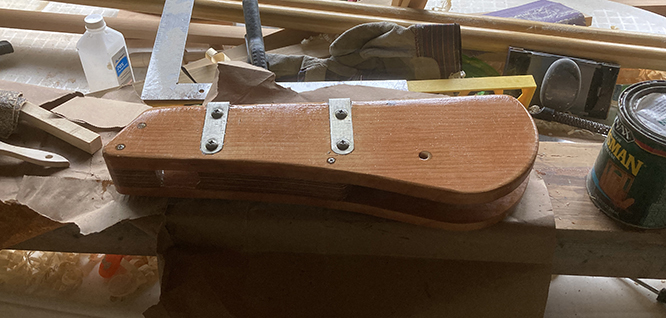
Out at the boat, it's time to attach the rudder gudgeons. I forgot to photograph the entire process but basically, I located the center of the transom and drew a vertical line, then with the gudgeons clamped in place around the pintles on the rudder case, I found a good vertical position and traced around the gudgeon outlines. (I also discovered pencil eraser doesn't work well on a painted surface.)
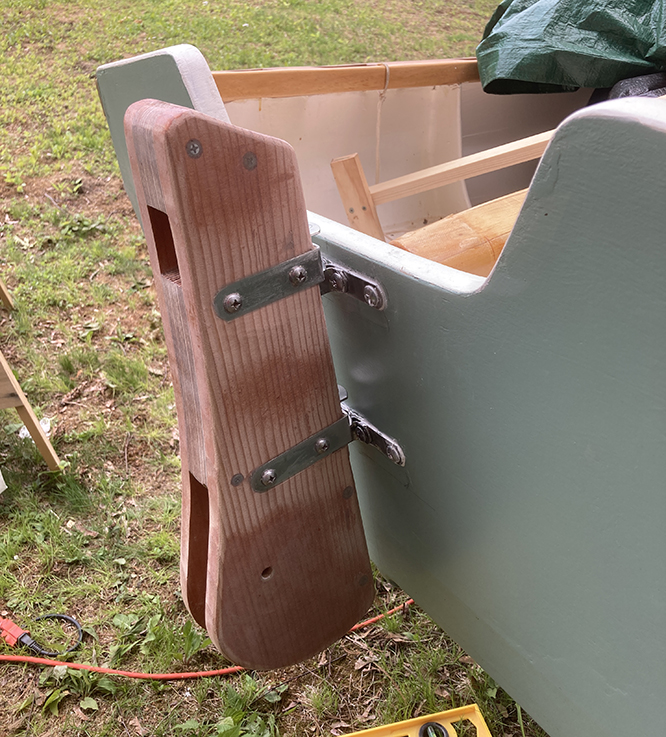
Here's the rudder housing installed. I used marine adhesive behind the brackets and inside the holes for the bolts, which go through the transom and are secured inside the boat with washers and lock nuts.
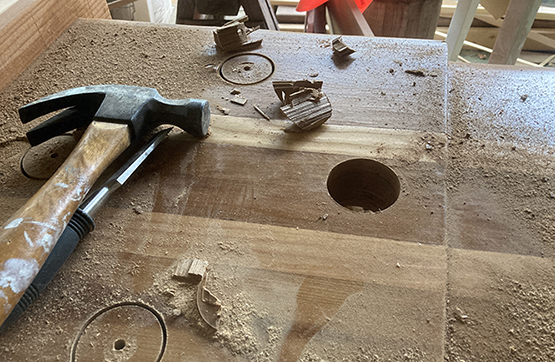
Now, back to the dagger board. I had seen photos of another Rogue board with four large holes drilled through the top section. I never knew why but now, after handling this heavy and cumbersome board, I can see some benefits — reduce the weight, provide a few additional carrying and lifting options and maybe even provide stops for adjusting the height of the board when its in the trunk. Seems like a good idea so I started by drilling a pilot hole through the board at each location. Then with the large drill bit, drilled as deep as I could from each side.
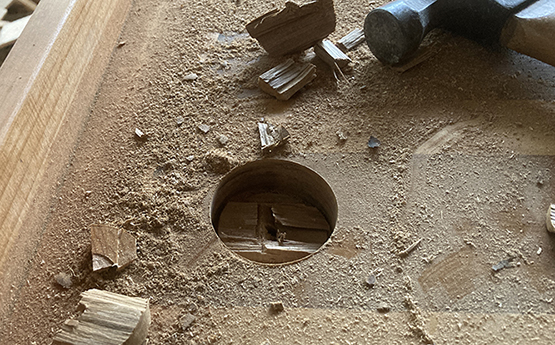
The drill didn't quite make it to the half-way point so I had to chisel out a little to allow it to go deeper.
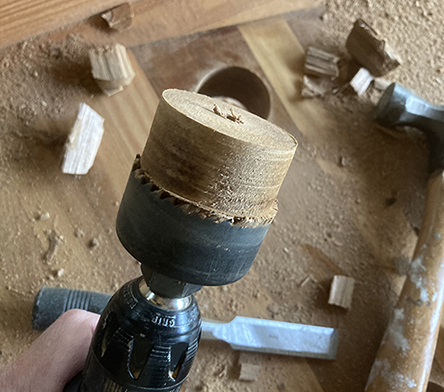
A successful plug removed.
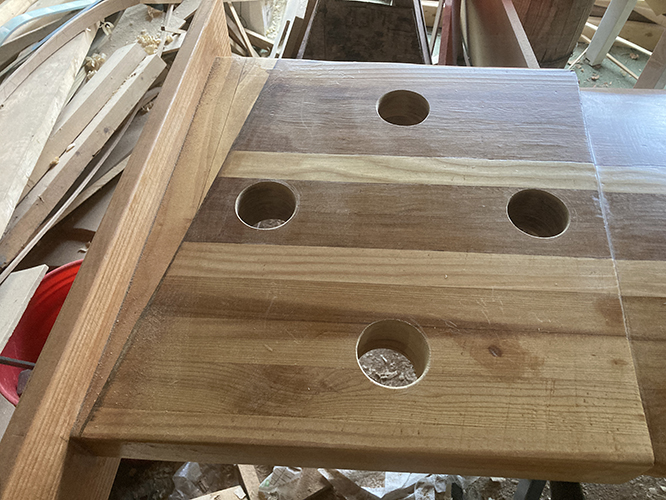
A look at all four completed.
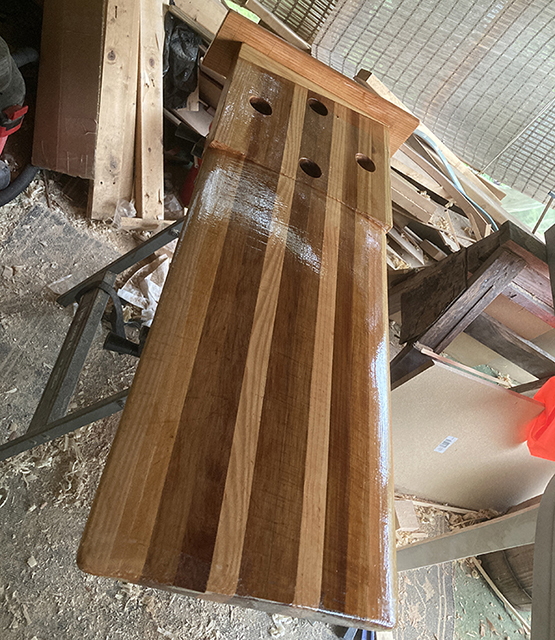
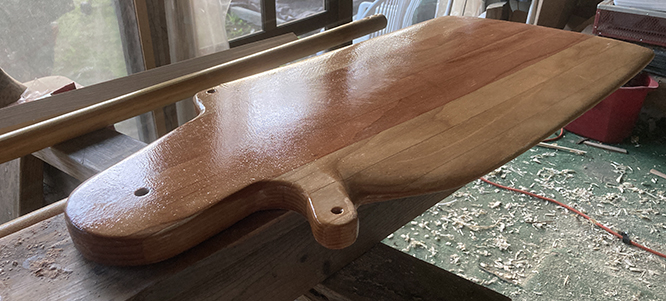
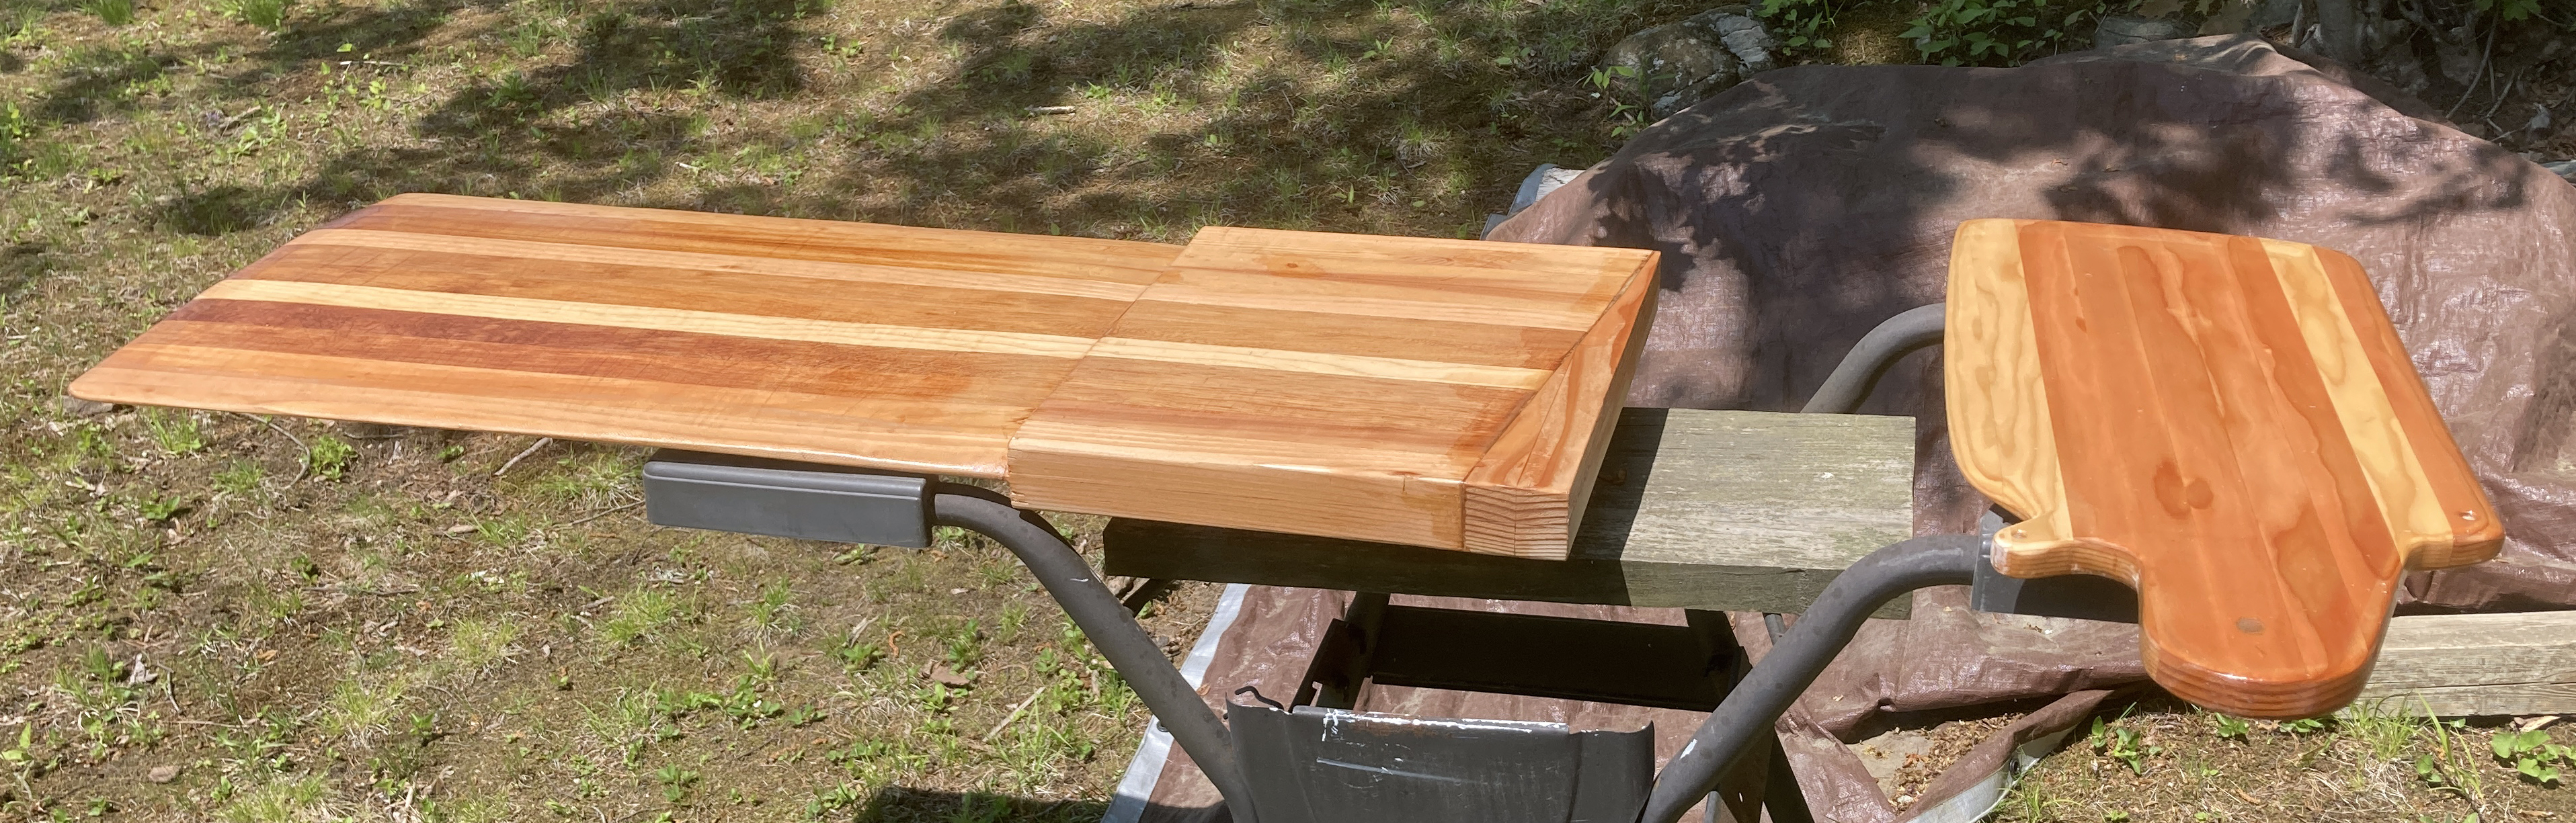
And then to wrap up the weekend, a final coat of varnish on all the components. Daggerboard completed.
Rudder housing completed.
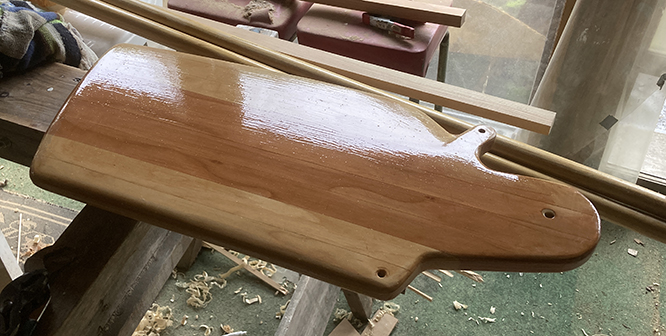
And the rudder completed.
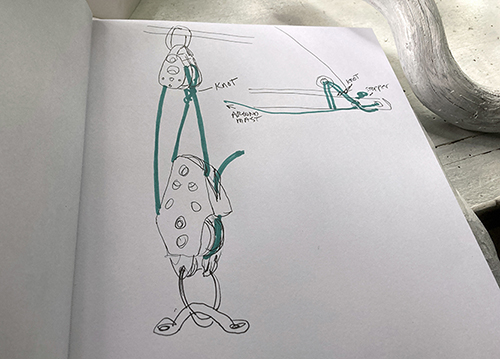
Next will be figuring out where all the lines and hardware go — I've started sketching out each segment as I begin to understand it. Oh, and there is still a tiller to make.