Installing Garboard Planks
I realize this blog may be a little tedious but I'm trying to include all the steps for those who may be looking for details on a specific task. So with that being said, let's move on to installing the side planks.
Once the planks are installed, the rest of the frame is locked into place, so now is the time to make any final adjustments to the station forms and their placement.
One item I wanted to redo was my alteration of station 3 mentioned earlier. Since I'm going forward with the sailing options and now is the last chance to make changes, I went back to the drawing board, manually modified my full-size plans and constructed a new station 3 that matches the original plan design.
The station molds now have to be permanently secured, plumbed and leveled. I've decided to glue them down with Titebond 3 glue. The glue will hold them in place during the planking and is used in leu of Welsford's directions to loosely screw them in place through the bottom. The joint will additionally be strengthened later with epoxy fillets.
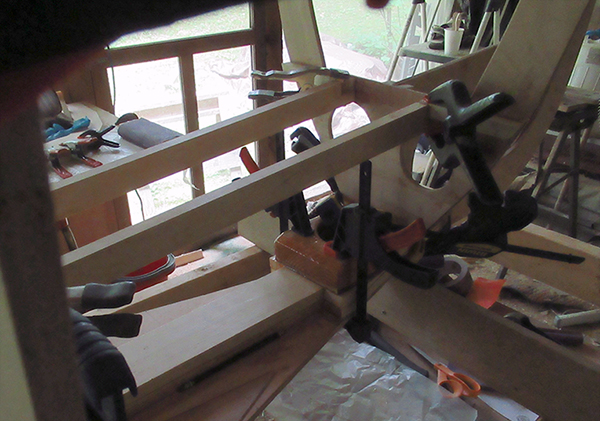
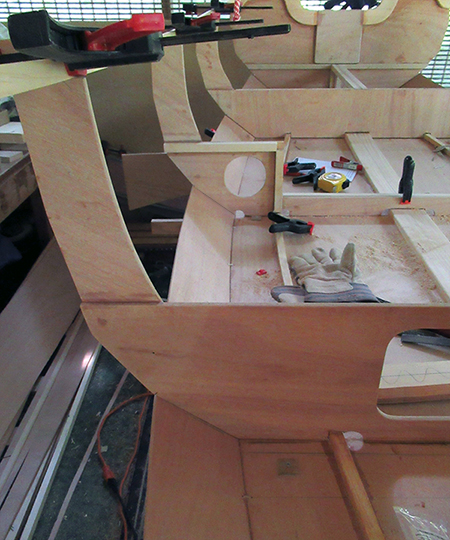
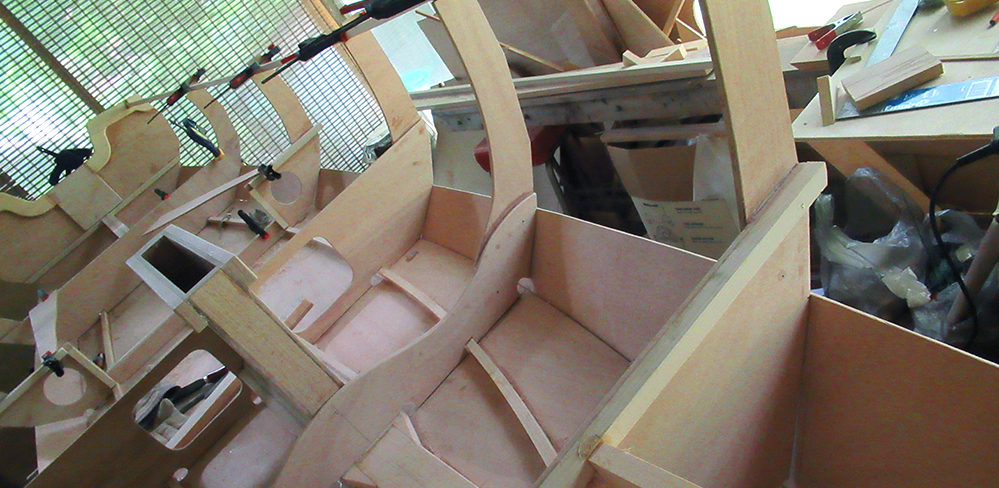
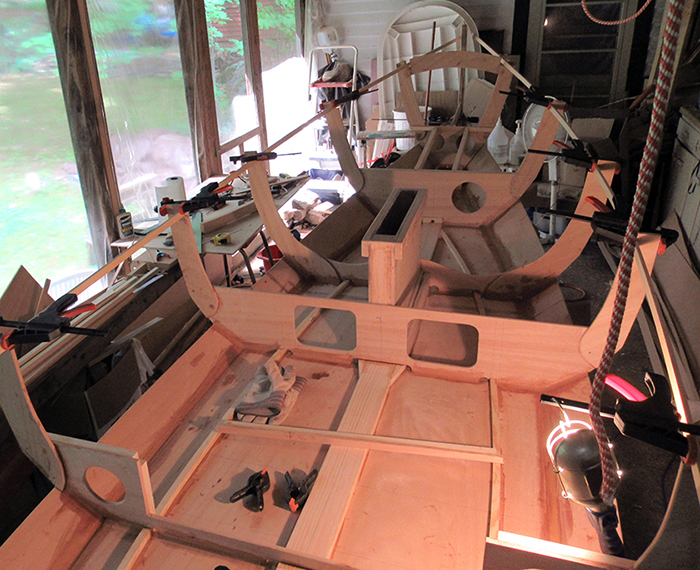
To add to the structural support, I made sure each frame was anchored to another in some way. Above you can see that Station 2 is connected to station 1 with two seat braces.
The transom and station 6 are glued down and connected with the stem web.
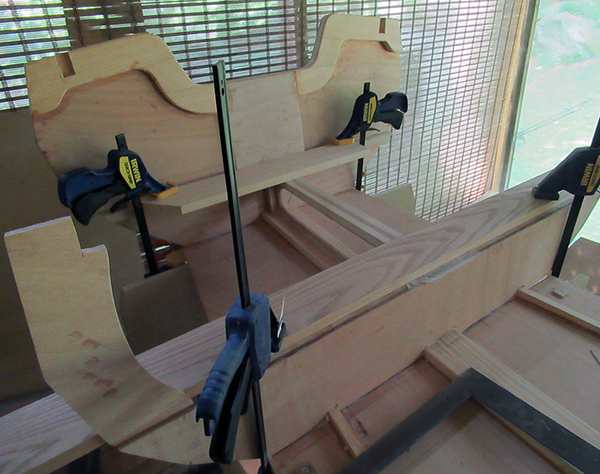
Station 5 is anchored to station 6 with some temporary scrap connectors.
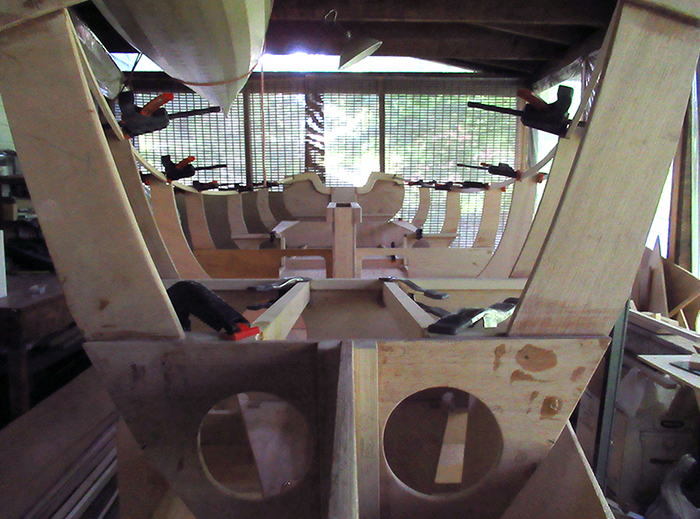
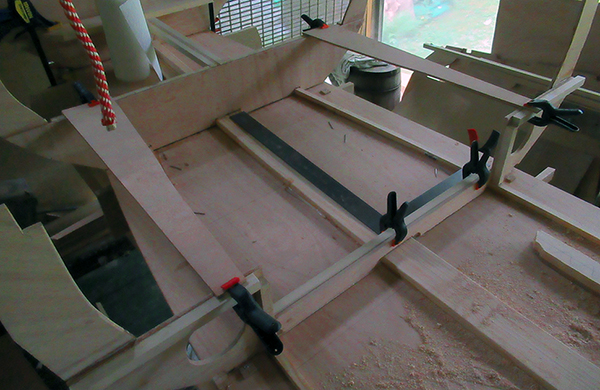
Stations 3 & 4 are anchored to the daggerboard trunk and the tops of all the forms are clamped in place along temporary stringers positioned in the inwhale slots.
So at this point, all the frames are securely glued, plumbed and ready for the planking!
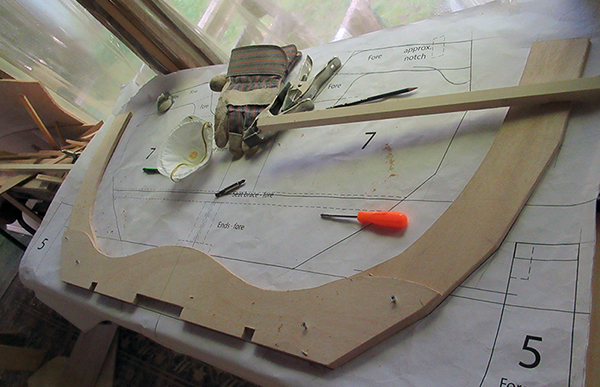
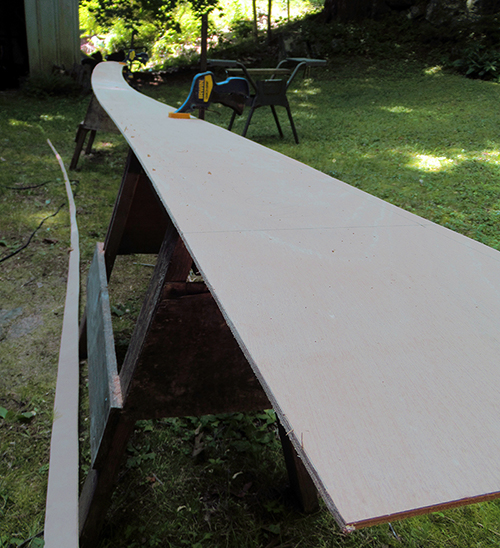
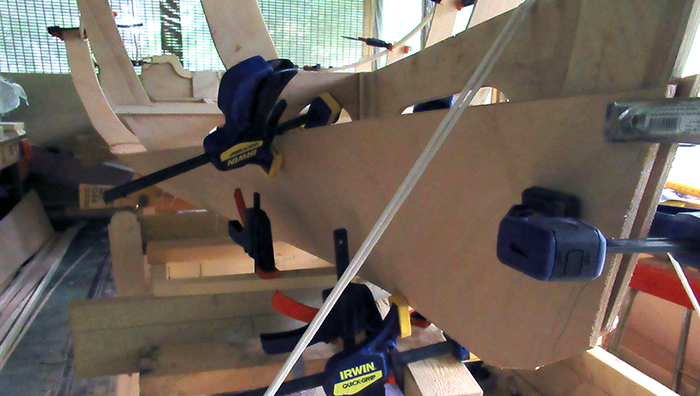
My process for the first (garboard) plank was to trim the bottom edge right to the plan line, leaving the top edge extending beyond its line. Here the plank is just loosely resting on some temporary supports clamped in place to help me manage the unwieldy plank.
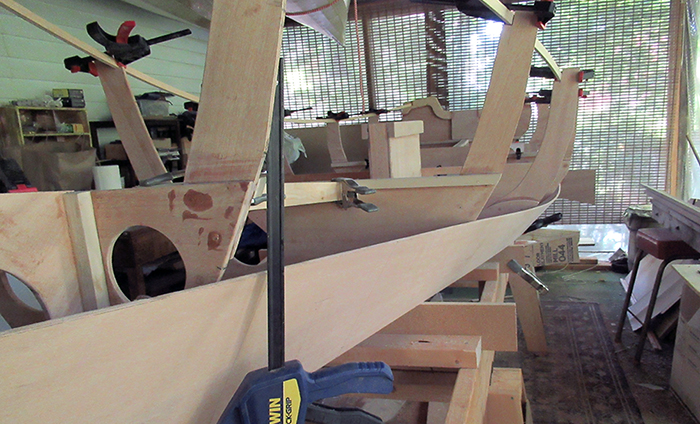
After raising the plank up into position, I marked off where the first transition on each station hit the plank, then connected the marks with a batten to draw an accurate top line that fits the molds as they're positioned rather than the exact plotted top line from the plans.
Here I've trimmed the along the top edge. It's quite a unique experience to singlehandedly maneuver these 16-foot, floppy planks in and out of doors and around corners.
I tested the plank on the opposite side of the boat to ensure all was symmetrical, then used the first plank as a pattern for its matching partner.
I used zip-ties to hold the plank to the bottom panel.
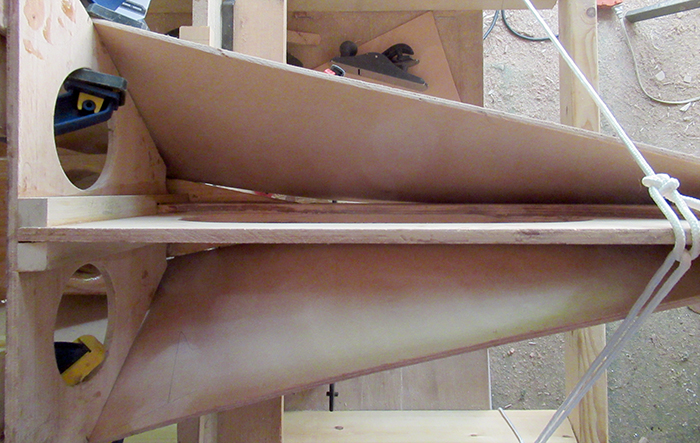
Here's a good portion of one side zip-tied into place.
And the port side all zipped up.
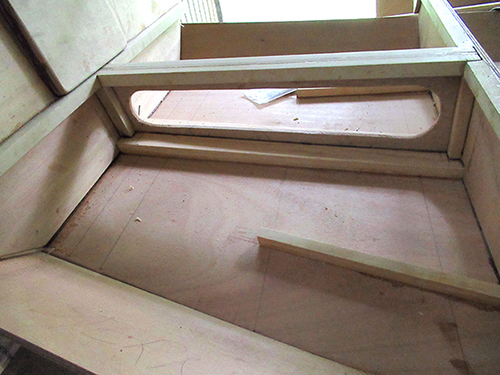
The back floatation chamber is starting to look like an enclosed area.
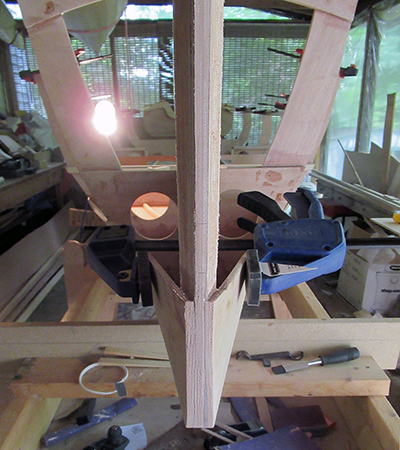
Bending the plank at the bow, where it transitions to a complete vertical, is purportedly one of the most difficult tasks in this build. I was at about 80% there when I had to quit for the day.
Here's a view looking straight down at the bow.
There is still some adjusting to do all along the joint and some tightening up here in front. Of course, every time an adjustment is made, it affects the alignment of someting else down the line.
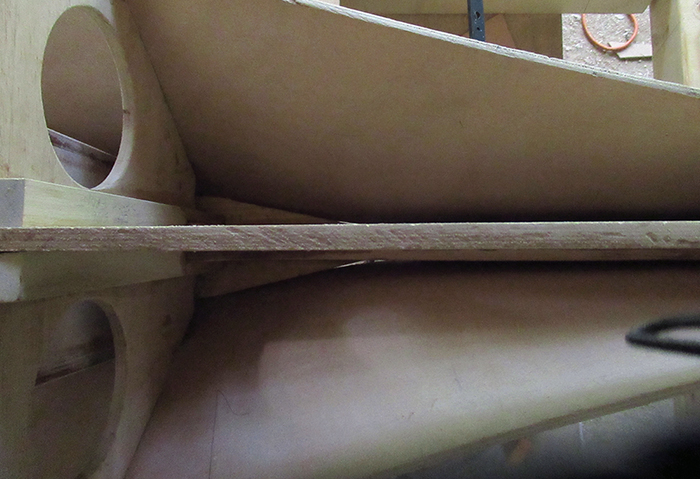
The goal for the seam along most of the boat is for the top edges to meet, resulting in a smooth inside joint. But, the boards have a tendency to pop out of this alignment and one will ride over the top of the other.
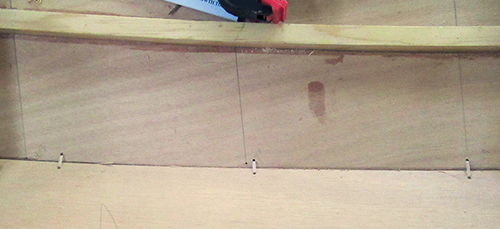
I came across a tip reprinted on the Jamestown Distributors website showing the use of a dowel to help secure the alignment.
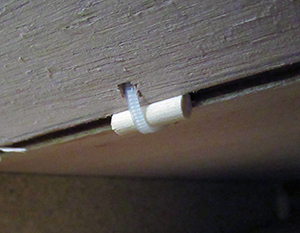
That exact method didn't work for me (granted I'm using zip-ties rather than copper wire and the dowel I had on hand was a smaller diameter) but a variation did work — my dowel fit right in the groove on the outside!
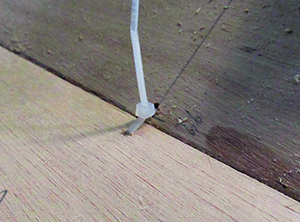
When the zip-tie is pulled tight on the inside, the dowel locks in and is so far holding the planks in position.
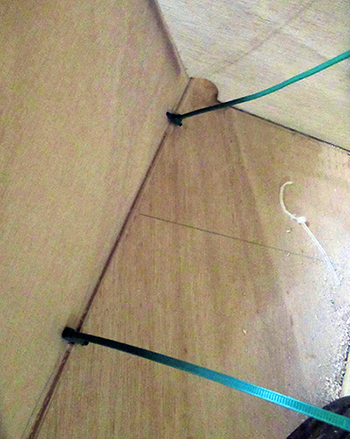
The dowel method worked in the back half of the boat where things are relatively flat but near the bow, the best method was just to use larger, stronger zip-ties.
I spent a whole day clamping, positioning, re-clamping and repositioning the planks to get them to align properly. I finally had to accept it was as good I could get it.
Looking down on the bow, I think epoxy can fill the slight gap at the bottom.
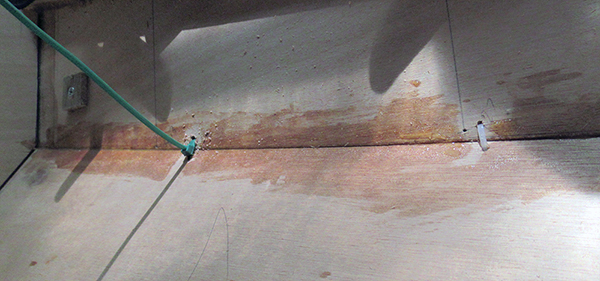
I tacked between the zip-ties with unthickened epoxy. The tacks should secure the joint well enough to allow removal of the zip-ties before filleting.
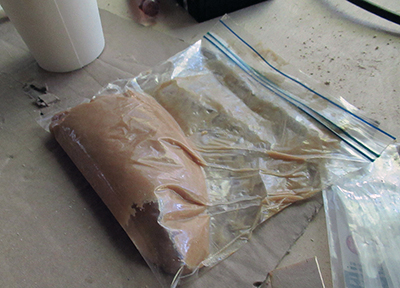
To lay down a bead of epoxy along the seams before smoothing with a filleting stick, I used the technique of filling a zip-lock bag with thickened epoxy, clipping off a corner and using it like a cake decorator .
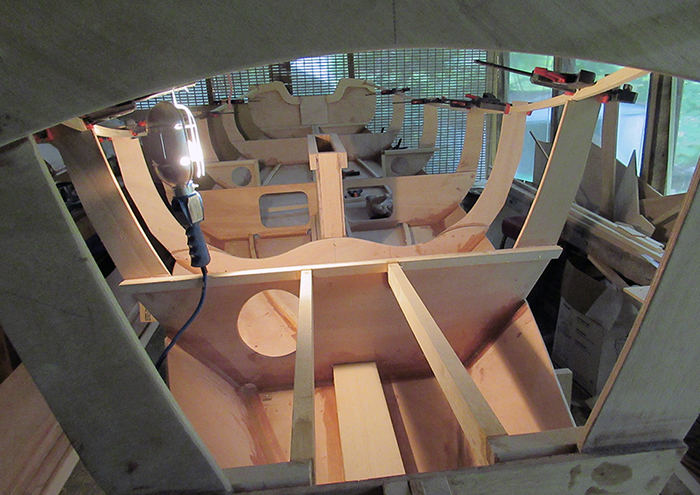
While this photo may look similar to previous ones, it represents the culmination of three days of work positioning the first plank on each side and filleting all the seams.
I'm real happy with the way the bow came out. I put clear packing tape across the bottom then poured slightly thickened epoxy down into the cracks to fill those gaps pictured above.
I won't be able to work on the boat next weekend so this will be a good stopping point.
Coming up next — sanding all the fillets, adding fiberglass tape along the seams, then on to the second plank!