Intro & Getting Started
It's not a super light, skin-on-frame boat this time, but rather a 15-foot, glued lapstrake wooden boat.
Designed by New Zealand boat designer John Welsford, the “Rogue” is a versatile boat that can be sailed, rowed or powered. My wife and I are looking for an easy-to-manage, adventure/sight-seeing boat for exploring lakes, rivers and coastal areas, and this design seems to fit the bill.
I'll be documenting construction similar to the other builds on this site and hope it will provide some useful information to other prospective builders — although keep in mind, it is a “here’s what I did” not a “here’s what to do”.
To get an idea of the finished product, here are a few photos of completed Rogues culled from the internet:
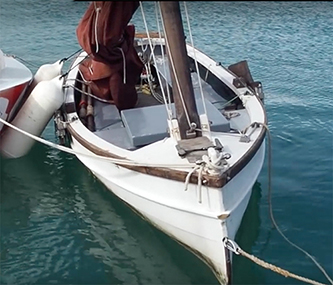
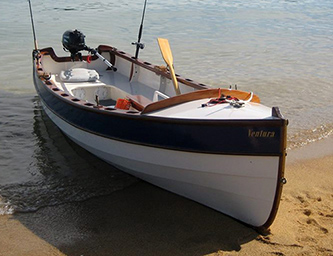
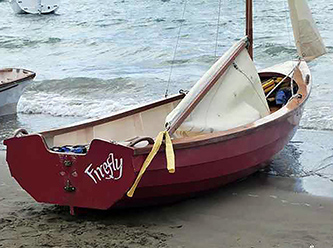
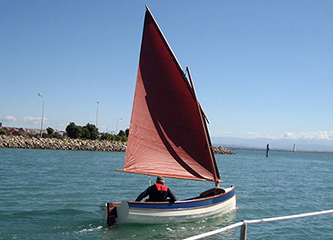
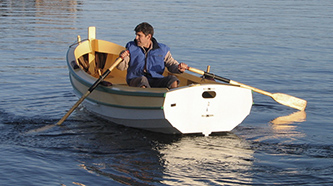
You can see its classic work boat lines in these photos and notice how each builder has modified the design.
For me, the project began several months ago when the plans arrived in the mail.
There are 4 plan sheets included along with a general building guide consisting of few typed pages of notes and an order of operations.
I spent most of late Winter perusing the plans and working out details on the computer.
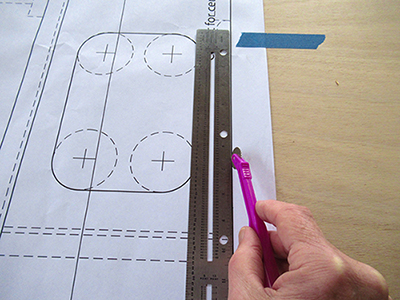
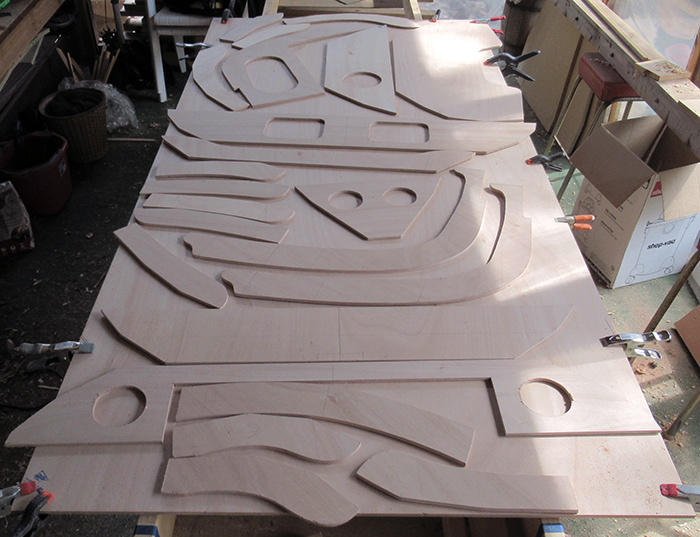
I scaled up the plans for some of the components and created my own set of full-sized patterns (see below) for the stations, stems and transom.
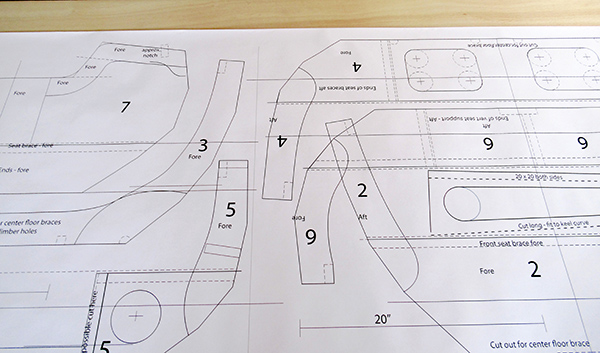
Then printed them out at an office supply store
As Spring approached, I decided to take the plunge and pick up the first batch of plywood.

This is my “truck”. Is it capable of transporting 4x8 sheets of plywood? Maybe on the roof racks?
I don't know. The internet provided advice ranging from “Don’t even think of it” to “I do it all the time”, so I decided to go with “I do it all the time”.
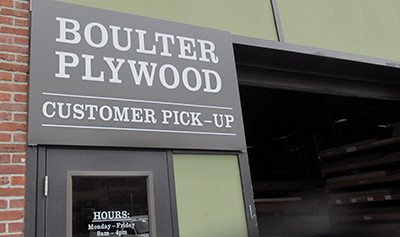
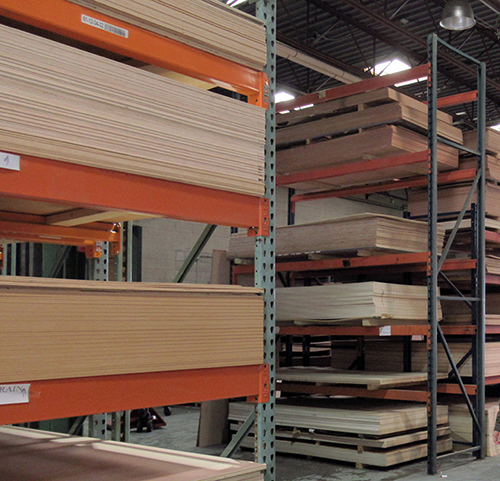
I headed off to Boulter Plywood right outside Boston. It's a 70-mile drive but they are a major supplier of high-grade marine plywood.
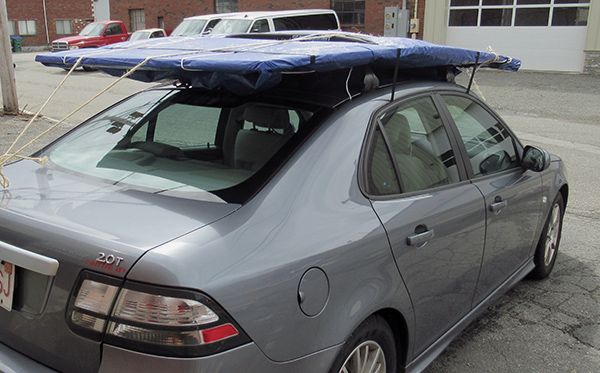
After a brief tour of the warehouse, I purchased and loaded three 4’ x 8’ sheets of beautiful, 9 mm Okoume plywood onto the car.
The stack was firm enough to prevent flapping or buckling but as a precaution, I put duct tape along the front edge to keep the wind from separating the sheets.
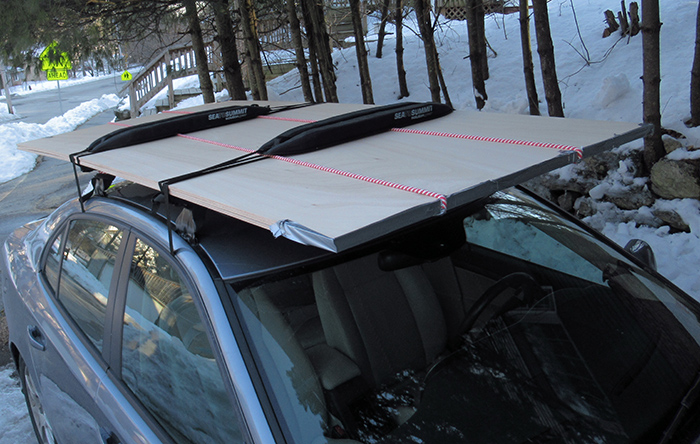
Then I secured the sheets to the racks with 2 buckle straps, added some rope to prevent front-to-back motion and used some kayak mounting pads with straps that go through the door openings to hold everything to the car.
Maybe overkill but all went well and arrived home safely with no issues - even at highway speeds!
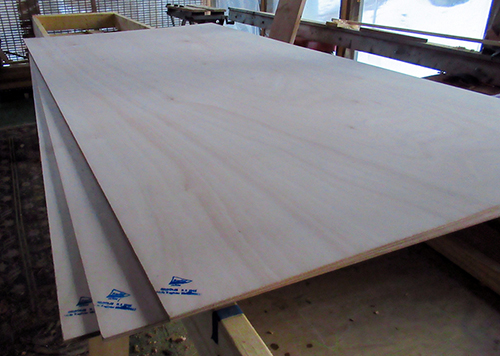
The frames, stems, transom and bottom panel are all cut from these 3 sheets – I'll be busy for a while!
Lines from my full-sized patterns were transferred to the plywood using a serrated tracing wheel and graphite carbon paper purchased from a fabric shop.
The process worked well and produced these dark, sharp dotted lines to work from.
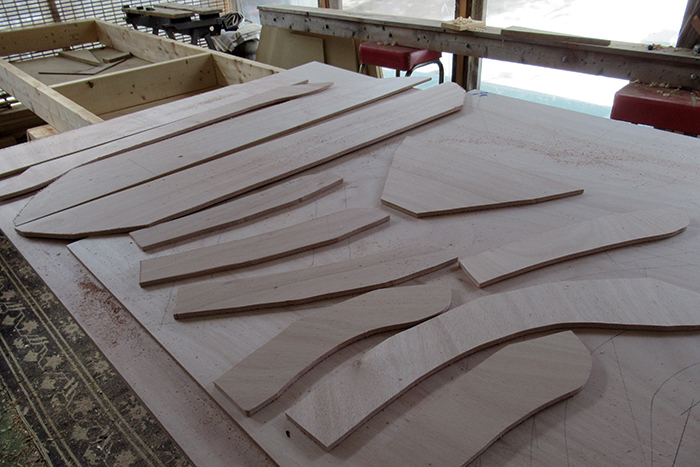
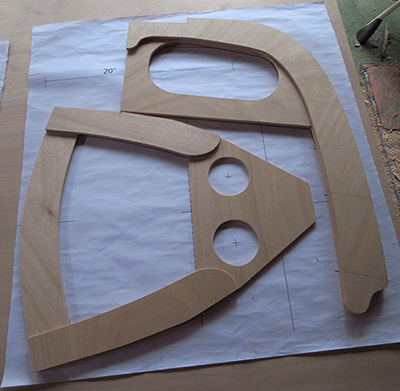
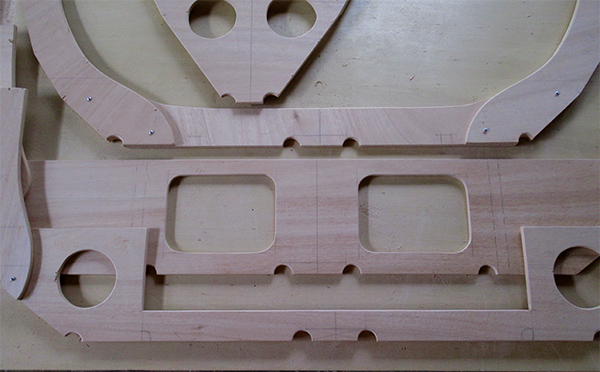
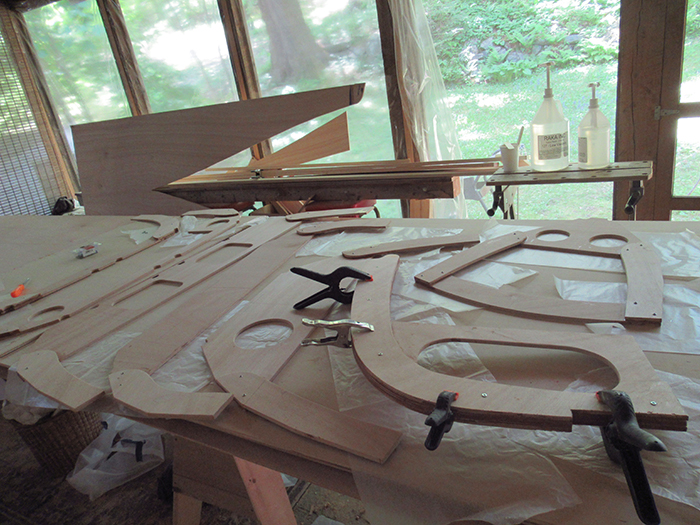
After some "quick" work with a jigsaw, the first batch of station components are roughly cut out. The edges will be cleaned up with a block plane, file and sandpaper.
Little reward: the first matched pair of station “arms” sanded right to the lines – symmetrical and stacked on top of each other.
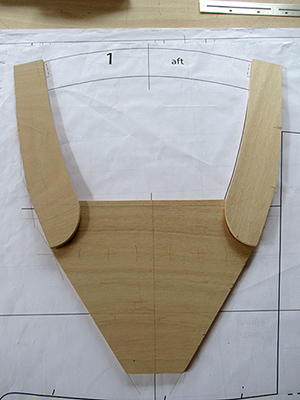
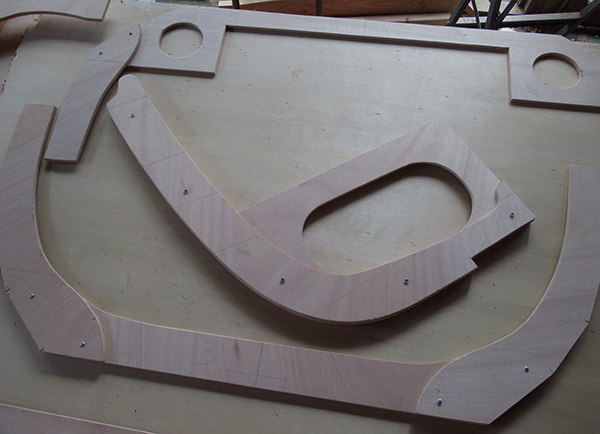
Those full-size plans I made are helpful for checking the accuracy of each component and will be used to align the station segments at assembly time.
Little reward no. 2 - all the pieces cut out and sanded to the lines.
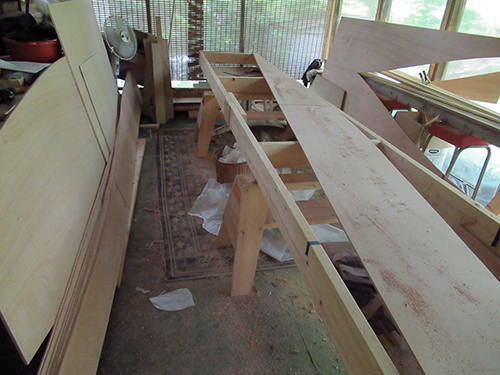
While there is a suggested order of operations, I need to consider efficient use of my limited workspace. Currently the only large, flat work area is the plywood itself, and once I set up the framing, I’ll lose that. Hopefully the Spring weather will arrive and I can move some tasks outdoors.
In the meantime, I’ve moved on to cutting the scarf on the remaining 2 sheets of 9mm ply in preparation for laying out the bottom panel.
If you've viewed my other building blogs, you may have gathered this is a very low-tech operation. The only power tools I'm using are a jigsaw and a drill. I favor the handmade look and enjoy the pace and feel of non-power tools. I'm also not in a big hurry (It’s early April and I’m shooting for a launch in the Summer of next year).
The epoxy I ordered hasn't arrived yet, so I moved on to some final work on the station frames.
There are still some cuts to make (limber holes, inwale notches, etc.) and it will be easier to do with the pieces assembled, so I’ve dry fitting the pieces together temporarily with screws.
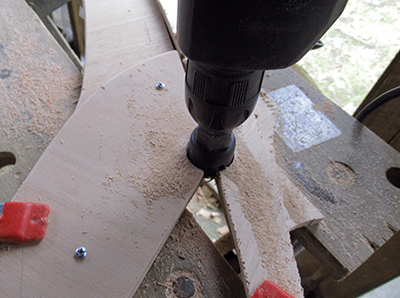
I should have drilled the limber holes before cutting out the pieces since the hole cutter starts with a drill at the center point of the circle, which now falls somewhere off the edge of each piece.
I resorted to clamping a second piece of scrap wood alongside to provide enough of a footing for the drill bit to get started.
That method worked. Here are the results.
While in Boston again I took the opportunity to visit Boulters a second time to pick up four sheets of 6mm Okoume to be used for the side planking.
This time, rain and heavy winds were predicted. So with some help from my son who lives just a few miles from the lumber yard, we took the extra precaution of duct taping a tarp around the four sheets and tying the ends down.
Again, no issues on the 70-mile drive home. And good news, the epoxy has arrived!
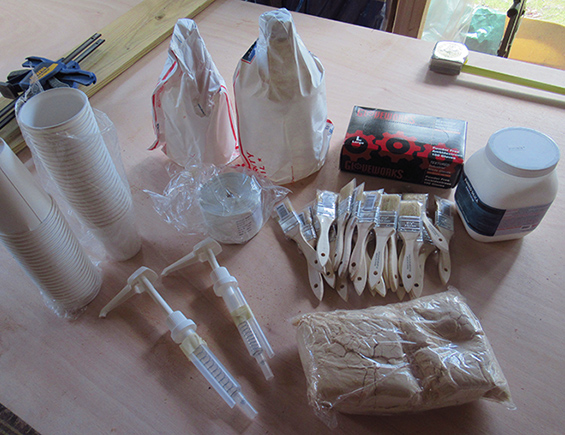
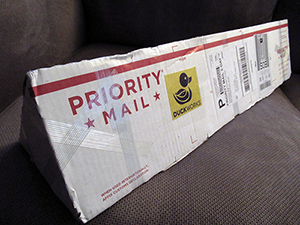
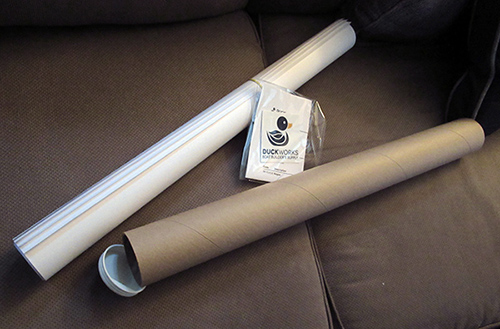
I ordered a pre-packaged, design-specific epoxy kit from Duckworks that includes epoxy, hardener, fiberglass tape, wood flour and silica thickener in appropriate amounts for a Welsford Rogue build - also purchased some other needed supplies (mixing cups, brushes, measuring pumps, etc.).
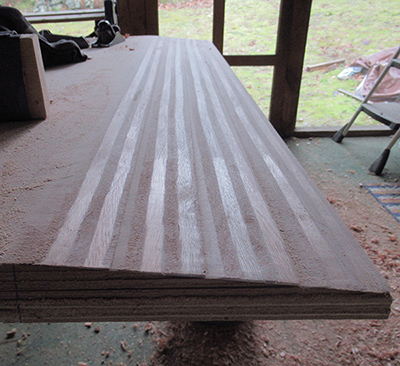
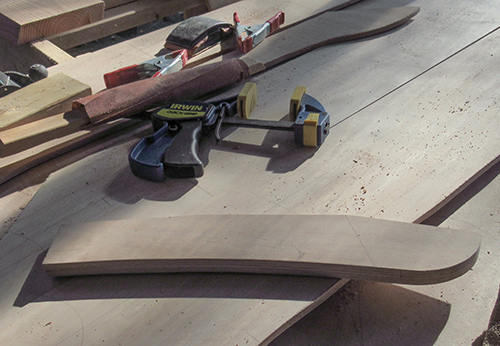
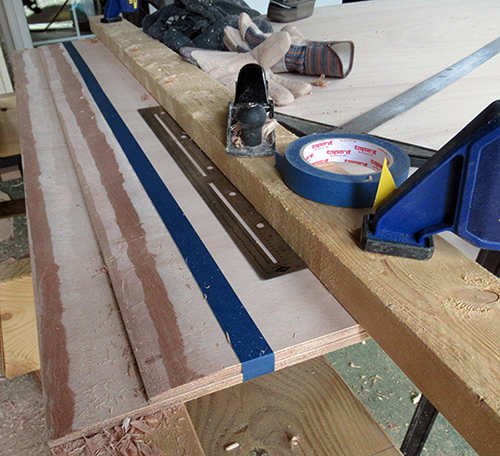
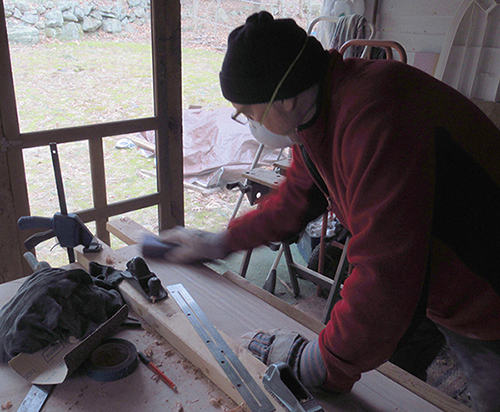
The 6mm plywood requires scarfing too, so out come the plane and sanding block again.
It’s been a cold and damp spring but I’m taking advantage of a 2-day window of dry 70-degree weather to epoxy the first scarf.
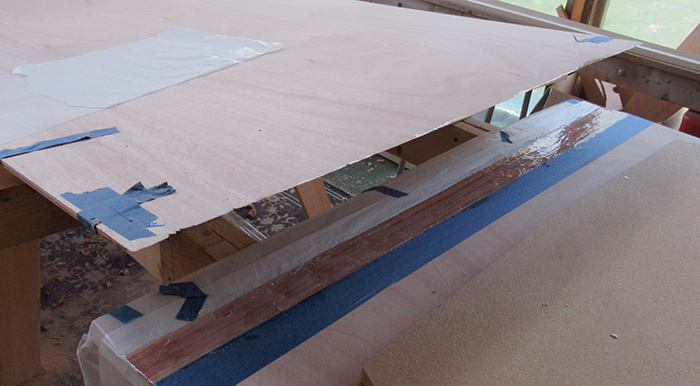
I accurately aligned the panels and temporarily secured them to the underlying support frame at the far ends so the top panel will fall right into place when lowered (it's propped up on this end with scrap 2x4s).
After applying a layer of epoxy to the scarfing surface of the bottom and top panel, I applied an extra layer of thickened epoxy along the bottom joint.
With the top sheet lowered into place, a flat panel of heavy 3/4” board was placed across the entire joint (there’s a similar board underneath) then a 2 X 4 was clamped directly above the seam with some shims inserted to add even pressure across the entire joint. There is also waxed paper positioned on both sides of the joint to keep epoxy off of the surrounding wood. Because of the cooler weather I let it set for about 2 days before removing the clamps - not sure if the extra day was required but the scarf came out great.
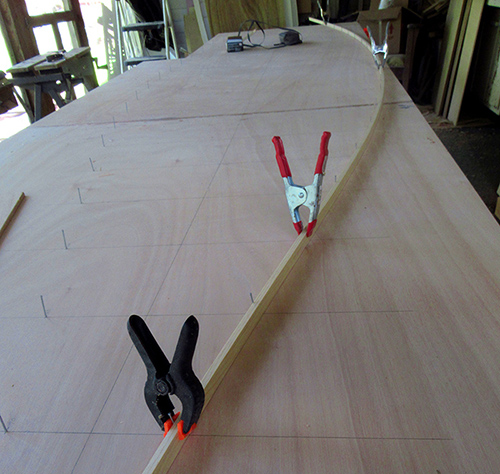
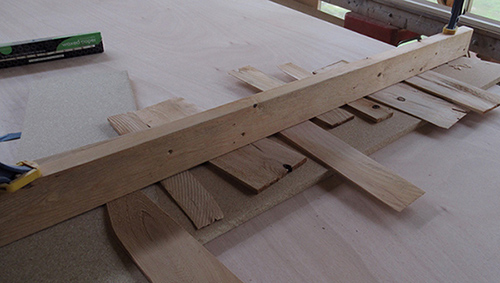
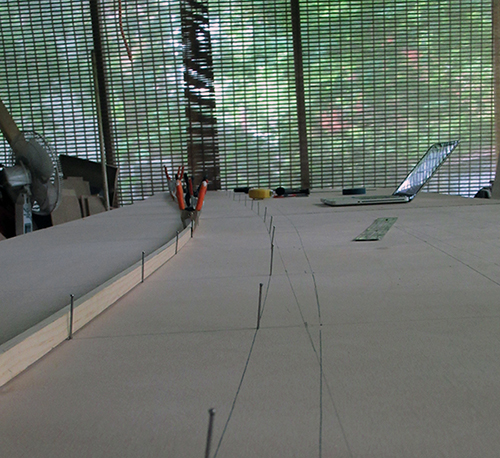
The next job was to lay out the lines for the bottom panel.
I found a good 16-foot batten in the trim section of the local lumber yard. Here it is clamped to the temporary nails marking each offset point.
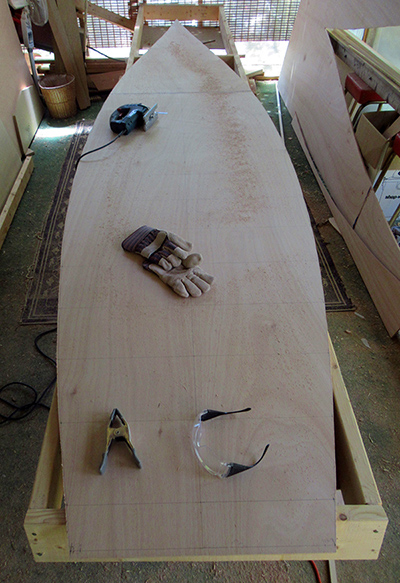
Finally something that looks like a boat!
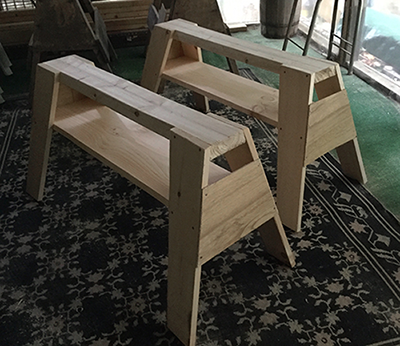
Incidentally, the underlying bracing support consisting of 2 short sawhorses and a ladder frame from a previous project I had started, then abandoned – a Hird Island Skiff.
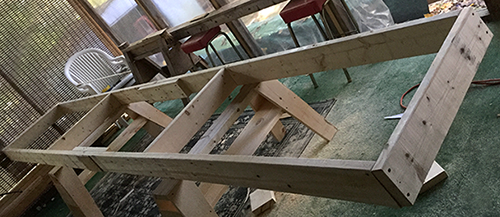
They're close enough to what’s needed here, so I’m using them for this build.
With the 6mm plywood scarfs completed, I began drawing out the lines for the side panels.
Taking advantage of another warm day, I epoxied the station frame components. Those pre-drilled screw holes and screws mentioned earlier worked perfectly to align and clamp the slippery epoxy-coated parts.
In the last few sessions (no photos) I cleaned up the epoxy and cut out the floor stem slots on the station forms, began the scarf on the floor stem and roughly cut out the side panels.
The next job is to organize my workspace. It’s beginning to feel cramped with a lot of parts and scrap wood piling up.