Seat Tops & More Interior
September 29, 2019
Since the last posting I've drawn the lines for plank 4 using my previous method for determining the measurements but I'm holding off on installing it until the interior work is finished. Access to the interior is easier with the lower side walls. I also completed taping along the joint between planks 2 & 3.

And I missed a day of building this weekend to attend a Sasquatch Festival in Whitehall, NY, at the Southern tip of Lake Champlain (hopefully one of the future destinations for this boat!).
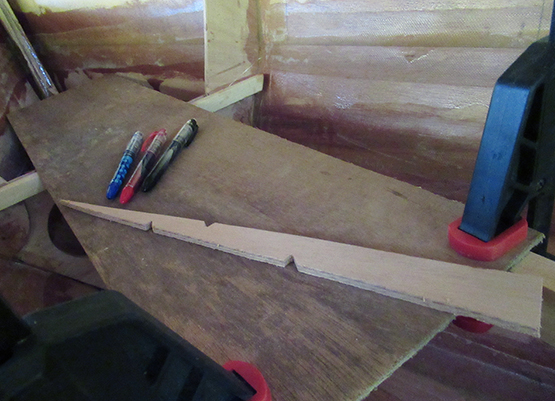
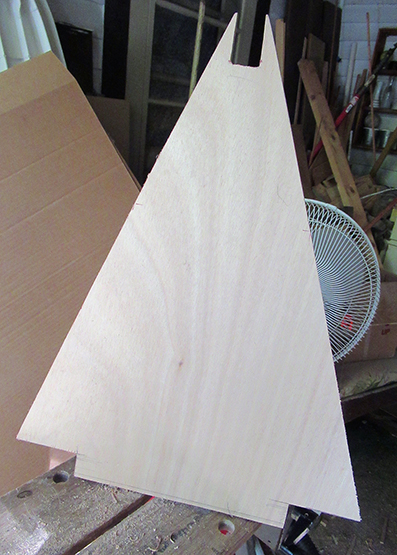
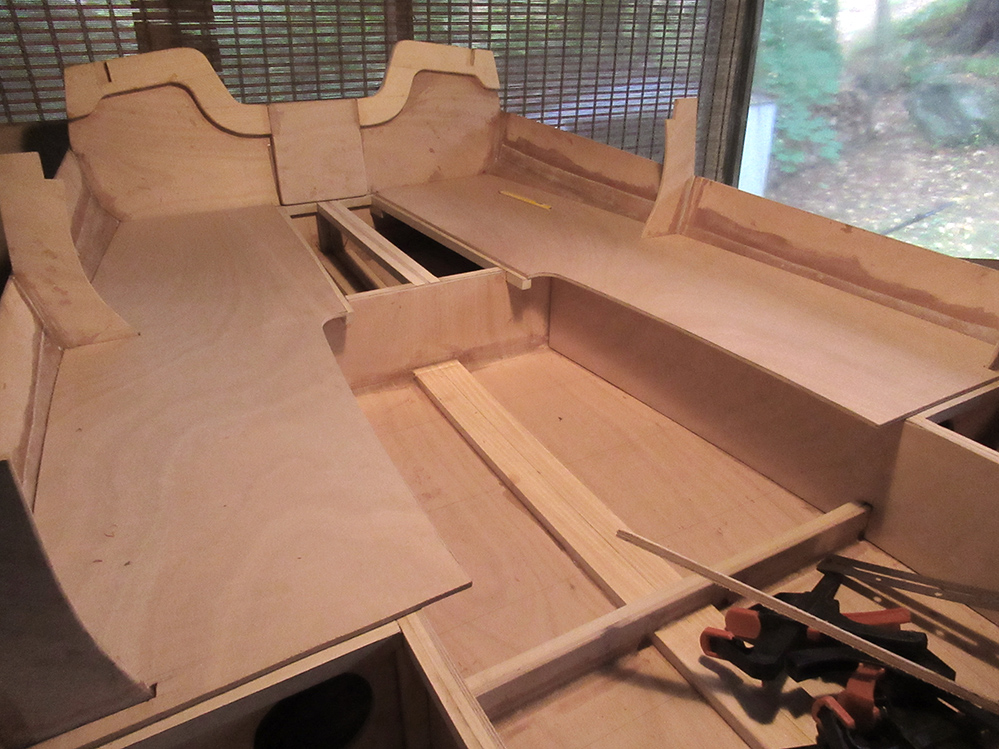
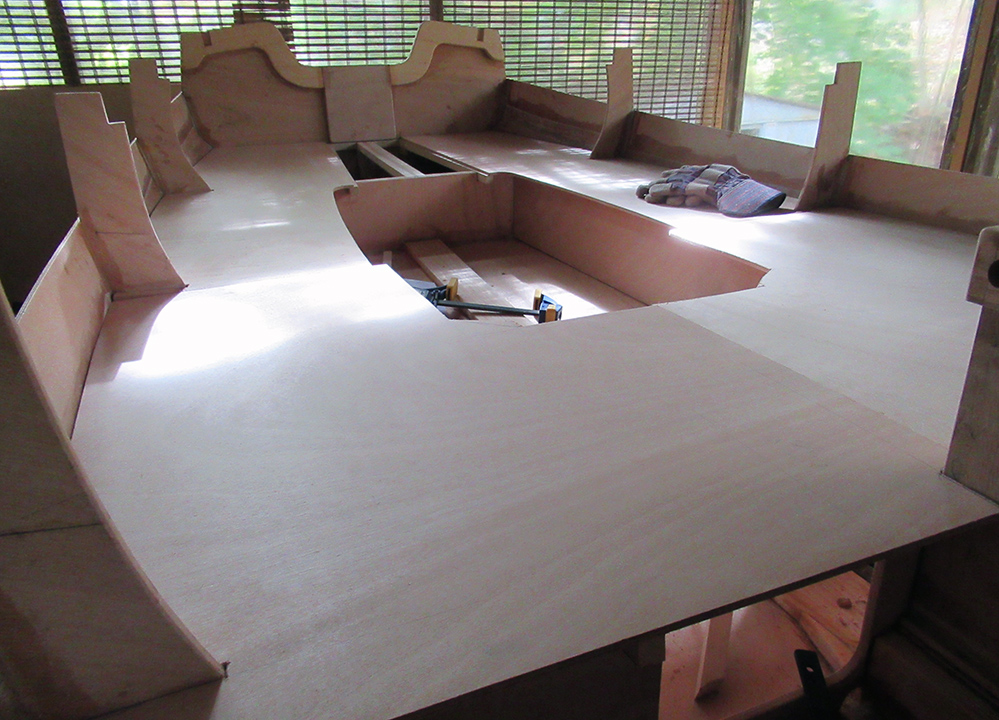
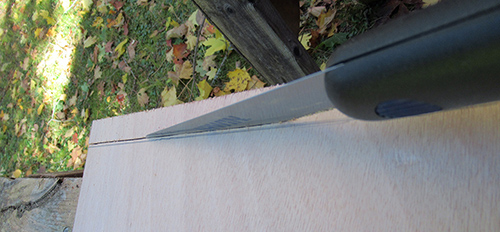
Meanwhile, back in the workshop... using the few 9mm plywood scraps I have, I started on some of the smaller sections of the seat tops. The very front section measurements were taken using a method I had seen somewhere (maybe Wooden Boat magazine?) that utilizes a uniquely shaped pointer and a secured drawing surface — the piece of luan plywood seen above.
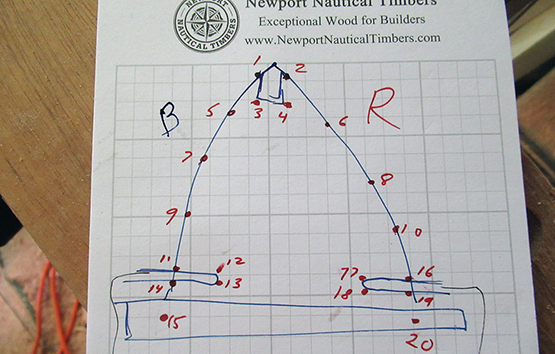
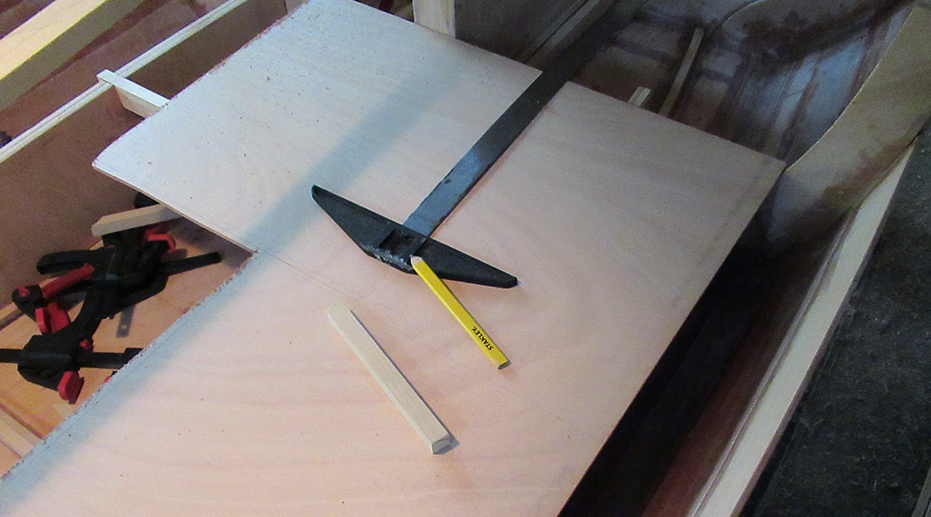
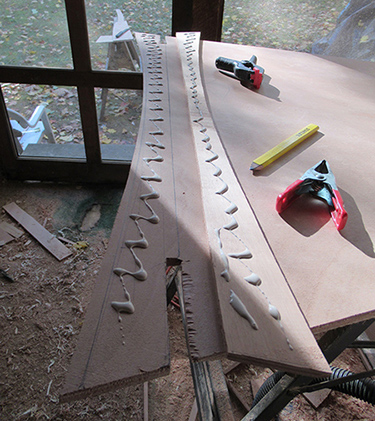
This quick sketch shows the points I'm interested in transferring, The method works by placing the pointer on the drawing surface with its point touching the desired location on the boat, then tracing the outline of the pointer stick onto the drawing surface.
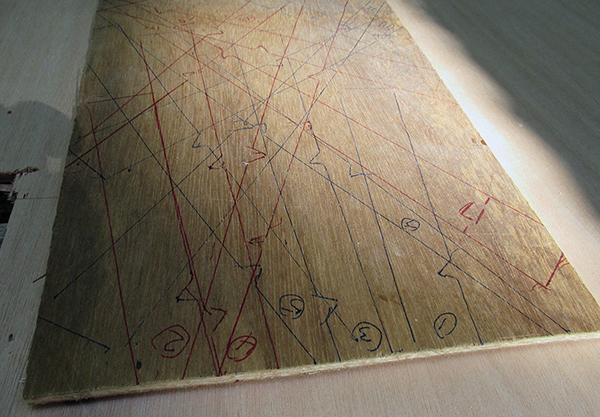
The pointer gets repositioned for each measurement. When finished, the drawing surface looked something like this. While it may appear confusing, with some color-coding and labelling each outline can easily be located.
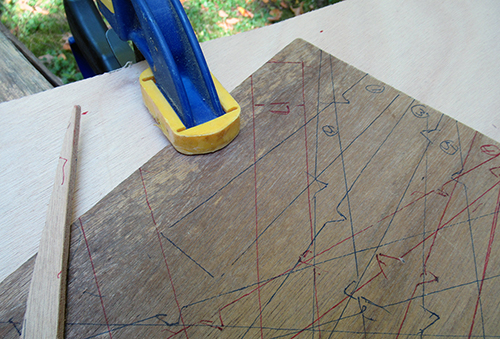
The final step is to secure the master drawing to the plywood stock, then using the traced outlines, recreate each position of the stick. At each position, the pointer will indicate where a dot should be placed on the plywood.
Just connect the dots and you've drawn a pattern. Here it is cut out.
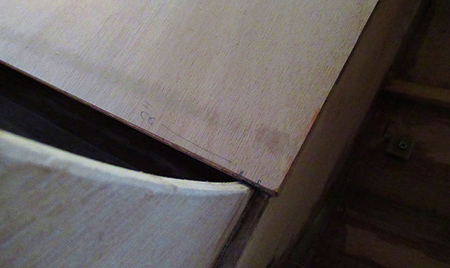
With just a little final planing on the edge bevel, I got a good fit.
I still may need easy access inside this section so the top will not be glued down yet.
I also had enough plywood left to make the aft center section. The final edge cut will happen when the adjoining pieces are ready to go.
Hopefully that will be soon as I am planning to head back to Boston for another sheet of 9mm plywood next Saturday...
October 6, 2019
RE-THINKING THE SEAT TOPS...
During the week I was thinking about the seat tops. The 9mm plywood
I'm using is going to add a lot of weight to the boat but the 6mm
seemed too weak for seats. Then I recalled a line in the list of
supplies that had baffled me until now.

It was the two sheets listed in parenthesis. Now I realize they must be for the seats and 7.5mm is the recommended size – perfect!. I assume the parenthesis indicate these 2 sheets are optional, since one could choose to use other lumber for the seat tops.
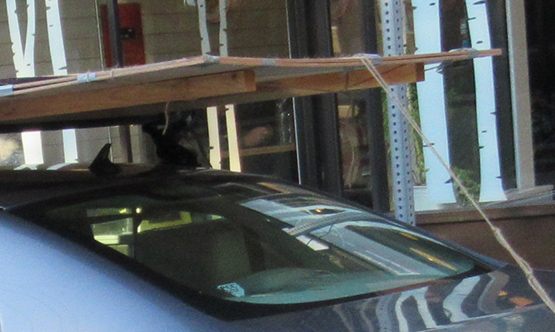
So I bought 2 sheets of 7mm Okoume plywood on my trip back to the lumber company this weekend. I'll have to redo the two 9mm seat pieces I made last week but, at least I can use them as a pattern for the new ones.
I also picked up an 8-foot western red cedar two-by-four, ripped down the center. I plan to use it for the gunwale blocks but meanwhile, the two pieces helped stabilize the plywood on top of the car.
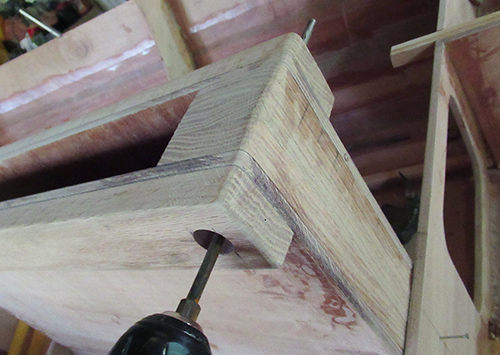
Before starting on the seats, I finally picked up some stainless steel bolts and installed them at the top of the daggerboard as specified in the plans.
It was a bit of a job as I had to countersink the bolt and the drill bit only reached half way through. I drilled from both sides and hoped I had measured and aimed accurately enough for the holes to meet in the middle. This long, circular rasp helped smooth out the slight offset.
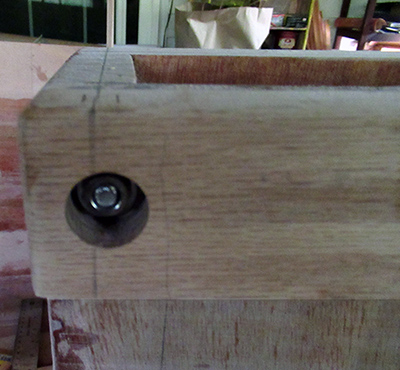
This daggerboard case is rock solid now.
Back to the seats. There is not much guidance in the plans other than a reference to photos that must be in John's out-of-print book. I decided to do the large back seating area in 5 pieces with the seams falling down the center of various support braces.
There may be a better way, but here is how I got the rear bench section to fit:

Starting with a rectangular piece cut large enough to contain the shape, I rested it on the seat braces and slid it as close to the side as I could. The largest gap was 10 inches, so I moved a ruler along the side plank and put marks on the plywood at regular intervals, 10" in from the side. This process loosely transferred the curve of the side wall to the plywood.
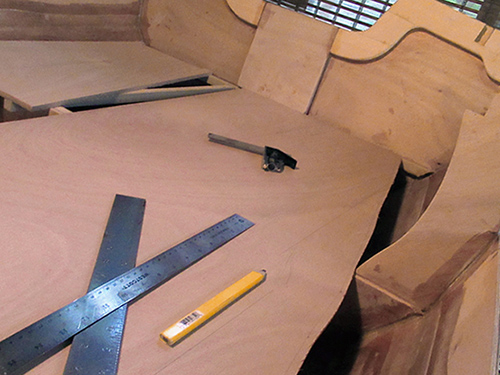
After roughly cutting the curve, I could slide the plywood in close enough to locate where the slots for the station molds had to be cut. I marked the width, then extended the lines to a measured depth.
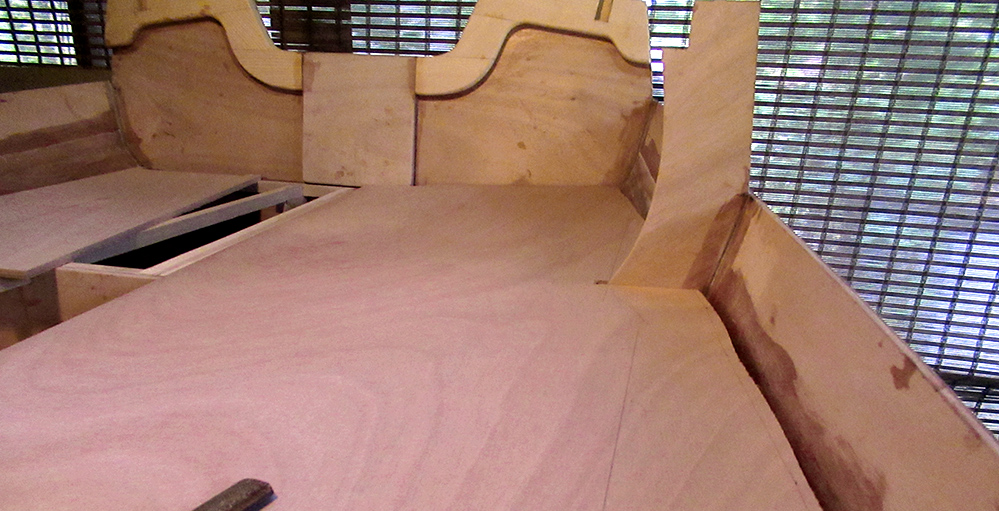
With the slots cut, I could slide the piece in even closer.
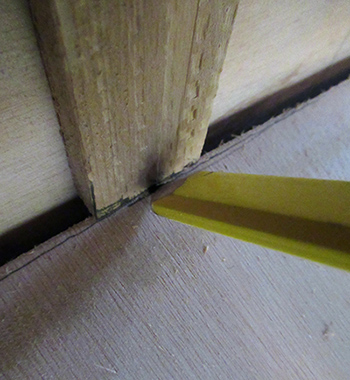
Then, using a small block of wood as a spacer, I held a pencil against one side of it and slid the block along the side wall, transferring the shape of the curve onto the plywood. (The pencil line is barely visible in this photo.)
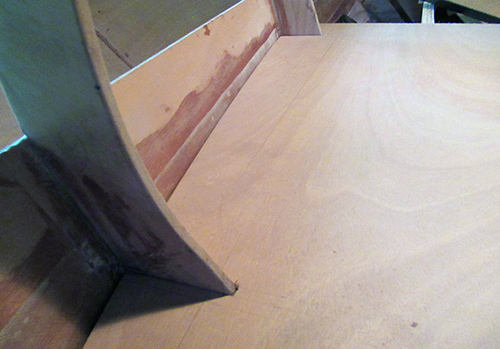
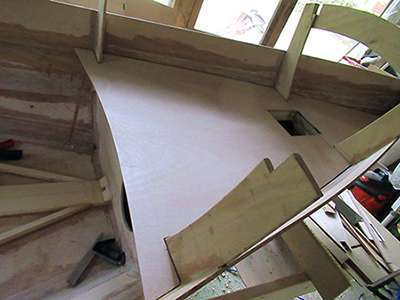
After much back-and-forth fitting and planing (must adjust for the bevel in the side wall too) I finally got a good fit. (this photo is shot from the rear looking forward)
To determine the inside cut, I traced along the support boards upward onto the underside of the seat, then measured out 2" from the line – the current amount of overhang.
In a perfect world I should be able to trace around this piece, cut out another and flip it over to get the matching seat for the starboard side. But when I flipped the port seat to test it on the starboard side, I found too many varying details. So other than being able to pick up up the rough shape, I had to go through the entire fitting process again for the second seat.
Next weekend there will be more seat tops and maybe a full weekend of work for a change (The trip to Boulters Plywood ended up as a full day in Boston this weekend)...
October 13, 2019
This week I continued with the "measure, cut, fit, measure, cut, fit..." technique on the seats. Maybe making cardboard patterns or using the pointer method I used up front would be quicker, but this method is working and feels like the way to go on these larger pieces. So moving on to to the front portion of the rear seats...
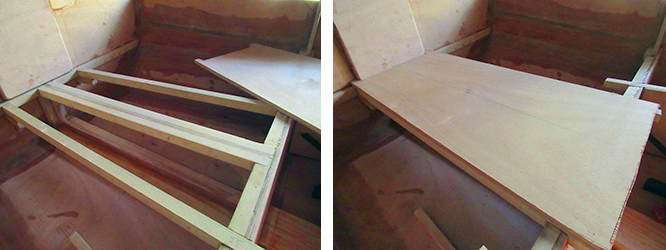
Measuring directly from the boat, I cut a piece of plywood large enough for the final seat shape, then positioned it as close to its final location as possible.
Next was to mark and cut around the obstacles. Here I've marked the current location and width of the station slot but note, its final position will be 2 inches to the left when the board is repositioned to clear the centerboard trunk.
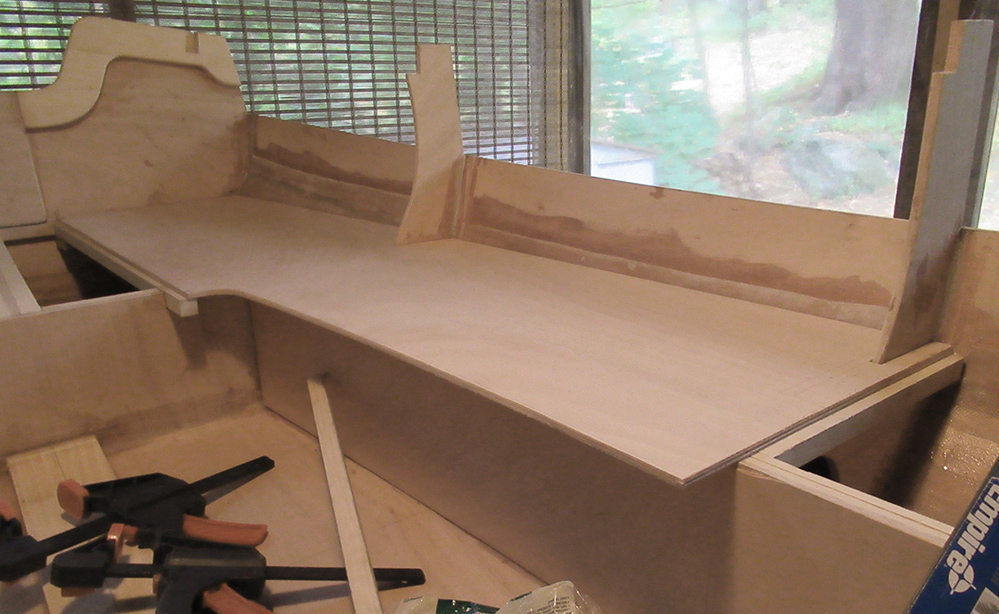
After making some cuts, I can position the piece closer to its final location to make additional markings and cuts. Eventually... it fits right into place!
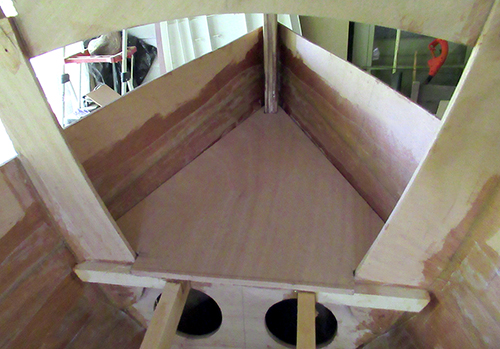
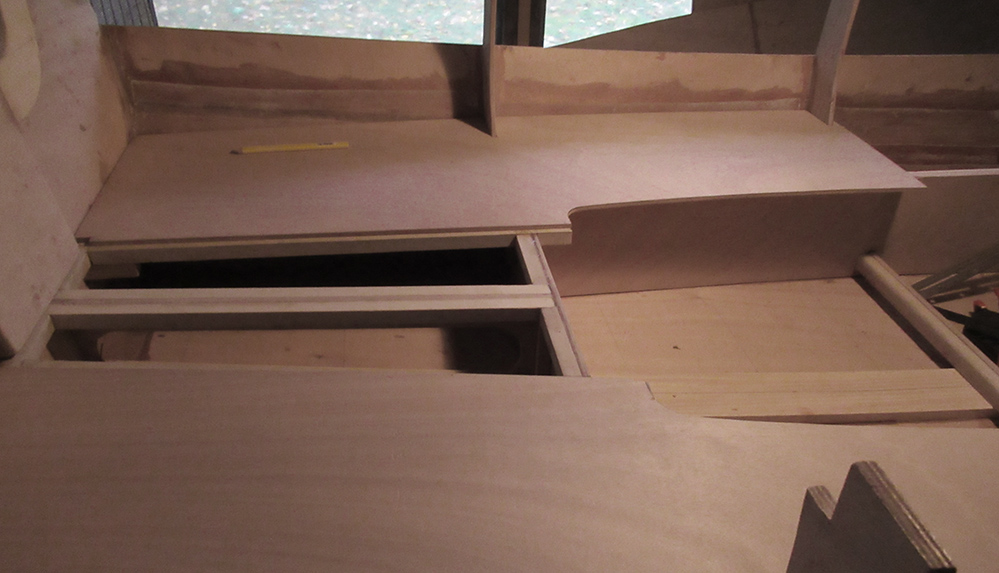
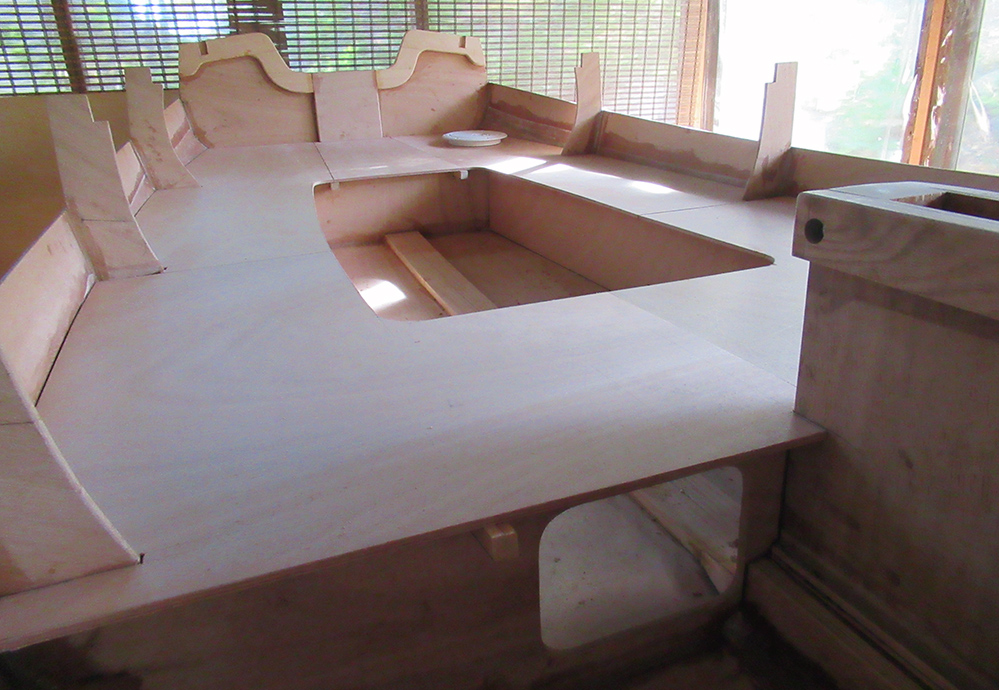
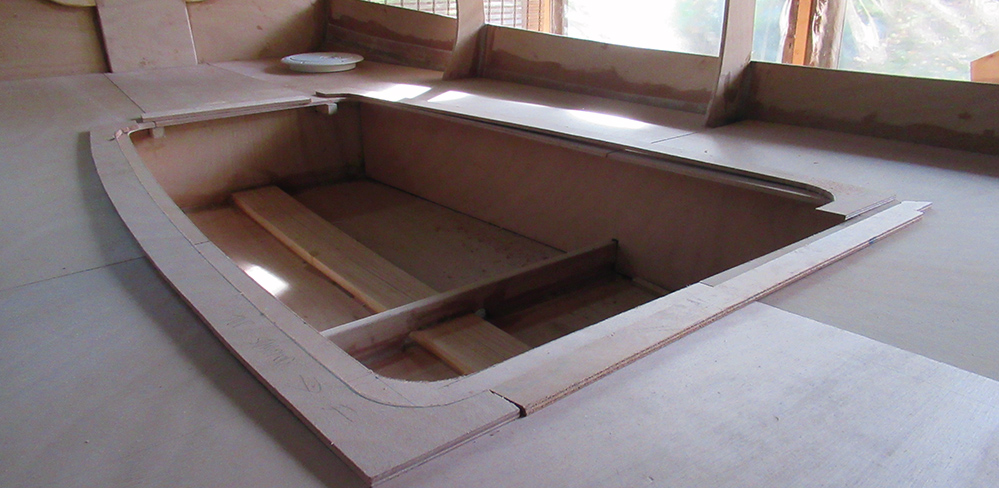
Here's the current status of the aft seating area. I still have to cut the rear center piece and determine the final size and shape of the large center opening.
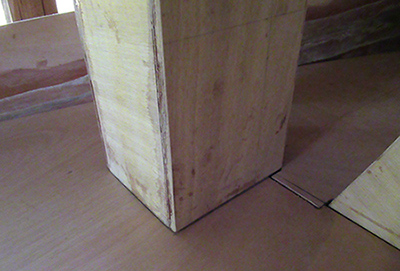
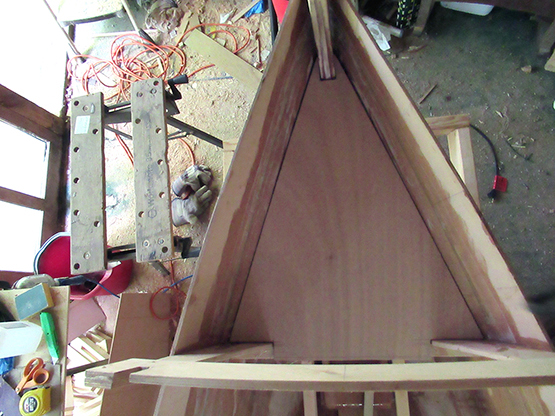
Moving up to the front... remember the box that surrounds the mast? It has to pass up through the front seat. Here it is sitting on top so I can trace the contour.
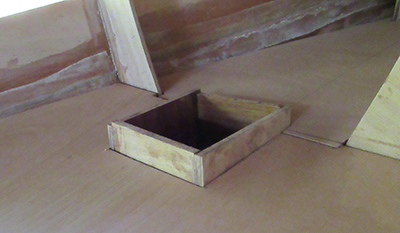
The hole has been cut and the box dropped down into place.
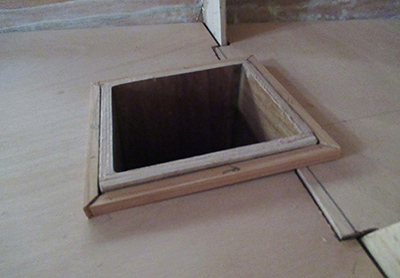
I've trimmed the top, leaving it proud of the seat and cut some pieces to make a small frame around opening. When all is eventually secured in place, I'll sand the frame and the top of the box down a bit and smooth over all the edges.
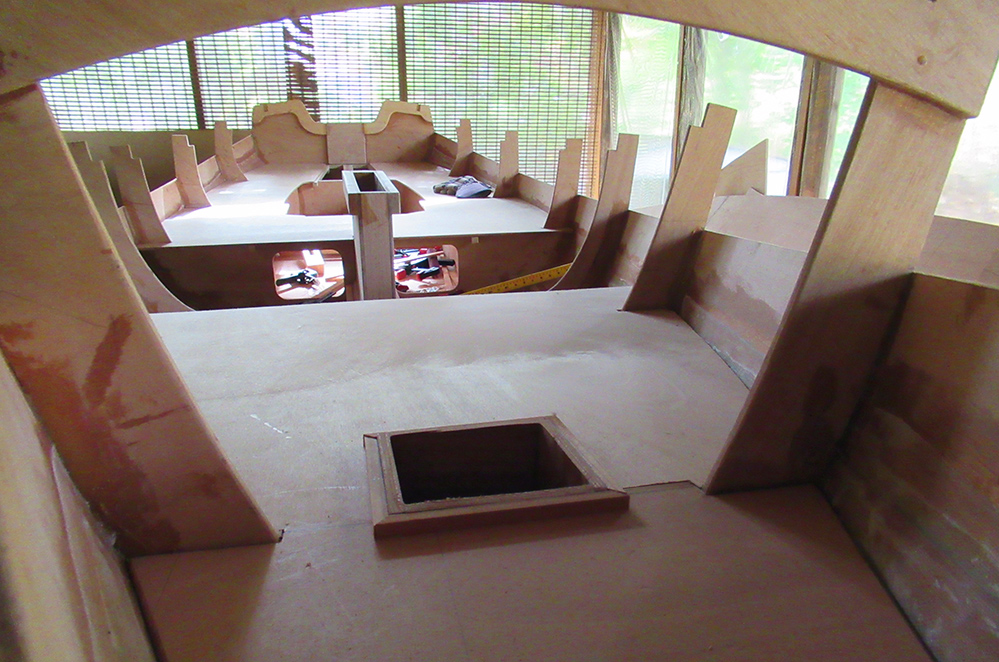
Here is the current status of the progress at the end of this weekend.
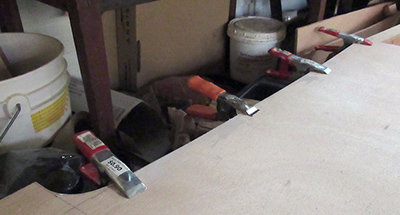
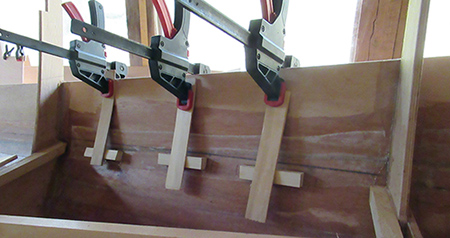
But right before quitting, I removed all the seats to begin one more necessary step – adding additional seat supports around the perimiter of the boat. I'm testing some clamping methods in this photo.
Upcoming tasks: Finishing the seat details, painting the under-seat compartments, installing a couple inspection ports (still need to order them), gluing down the seat tops and then on to side plank number four!
October 20, 2019
I moved some operations outdoors this weekend to take advantage of the nice Autumn weather (although we had serious power outages in the area from heavy wind and rain a couple nights ago),
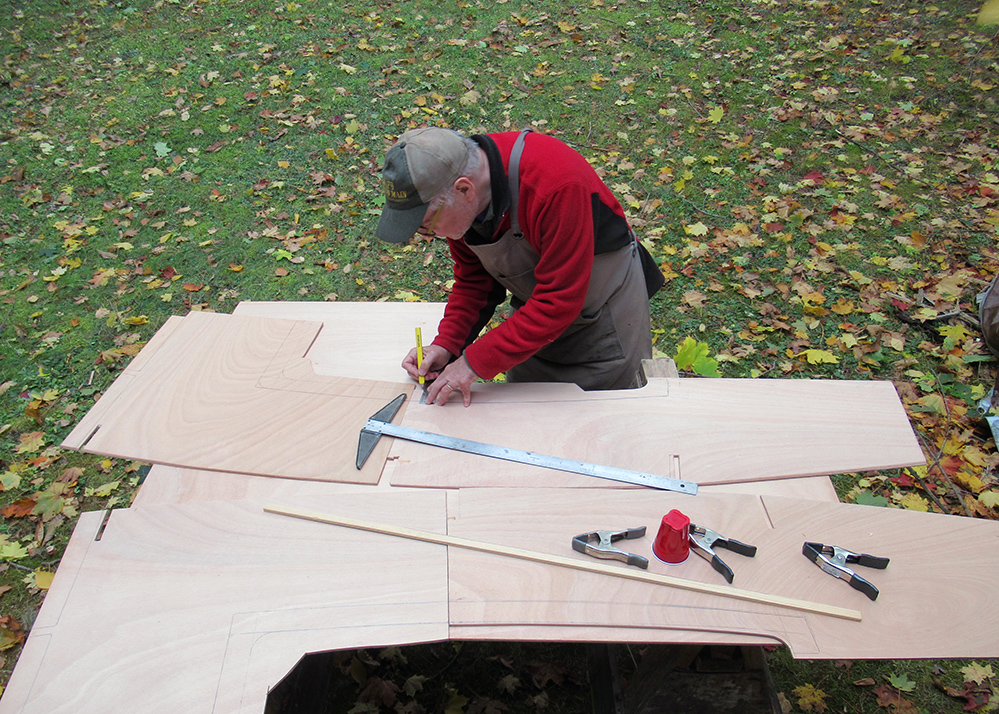
Working on these large plywood seat sections is more manageable when I can spread things out a bit.
Here's the front seat in place with the overhanging edge trimmed to a slight curve.
While looking for a replacement blade for my old pull saw I ended up getting this small finishing pull saw instead. I used it for all the seat trimming and fitting – perfect for cutting smooth curves and straight lines.
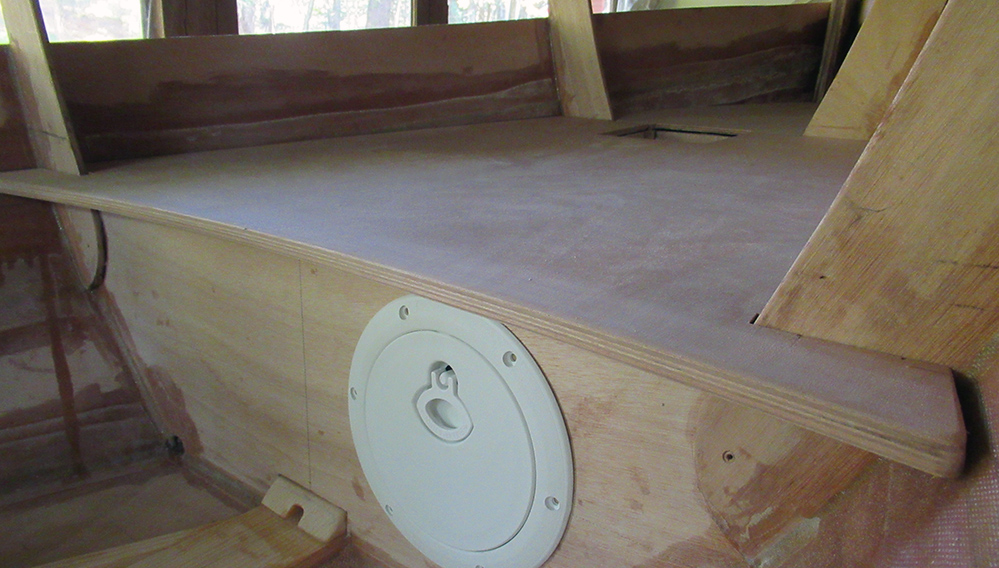
The rear seating section is complete with the edges of the center opening trimmed.
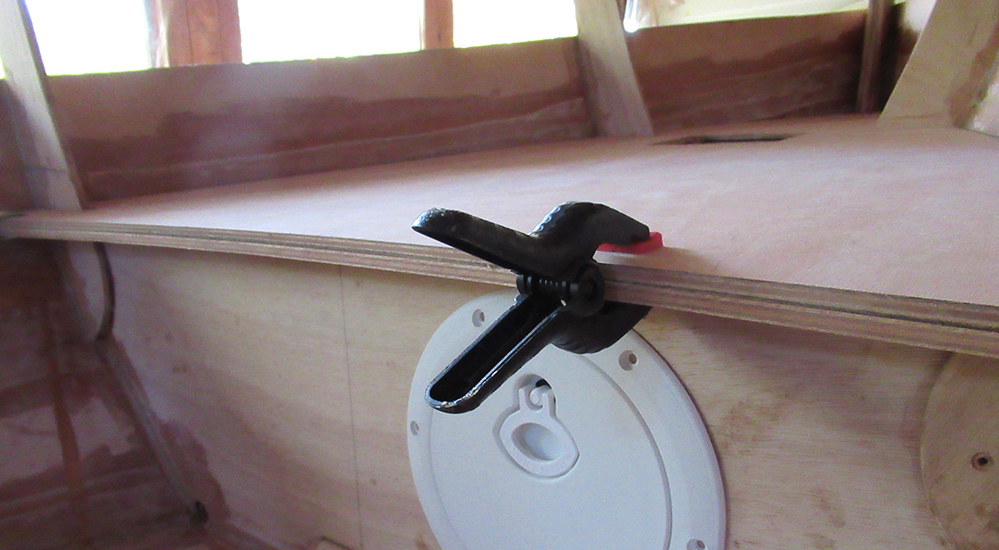
You may notice an inspection port resting in the back corner. I purchased two this week, one for up front and one for the rear. I'll probably install the aft one near where it is positioned in this photo. It will make a handy dry storage area as well as provide access to the rear floatation chamber.
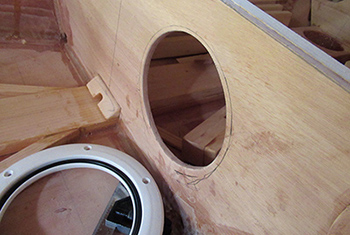
The 6-inch opening in front had to be enlarged a little to fit the port housing.
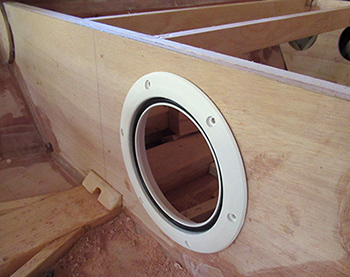
I used the Shinto rasp and a file to expand the hole until I had a good fit.

Here's the port in place. Final installation will be done after the interior is painted.
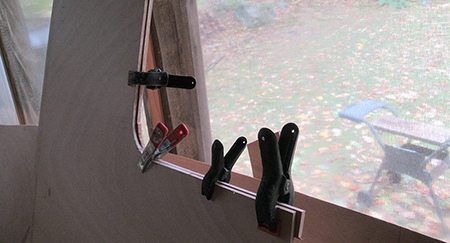
The seat tops are softened a bit by adding a doubler under the exposed edge. It adds some strangth and the thicker shape can then be rounded off to a smooth edge.
Applying glue for the doubler before spreading, positioning and clamping.
Here's the edge after the glue has dried and a little light sanding.
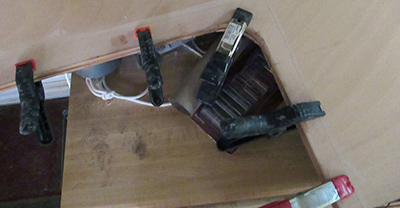
These are the doublers for the underside of the center opening in the rear section.
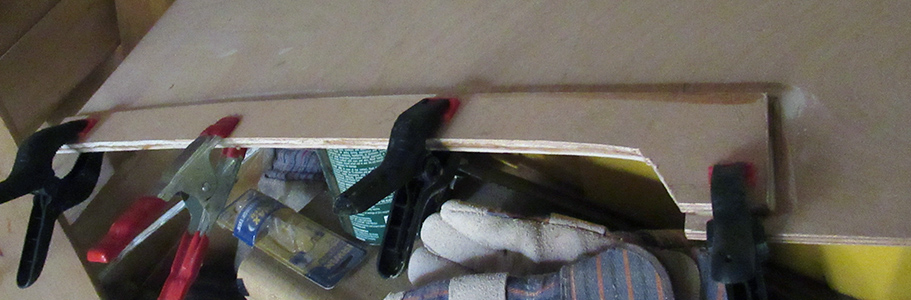
I've begun gluing them to the various seat segments and they are currently clamped and sitting around the workshop as the glue dries.
Once the glue sets, I'll work on cleaning up the edges.
That's a slight trace of glue you can see around the edge of this seat. I fortunately caught an error in time to pull the parts apart, wipe the glue off and start over (glued the doubler to wrong side).
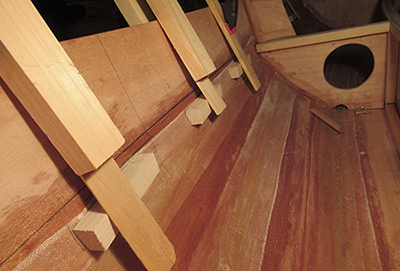
In addition to the seat doublers...
...I also epoxied all of the perimeter seat supports into place.
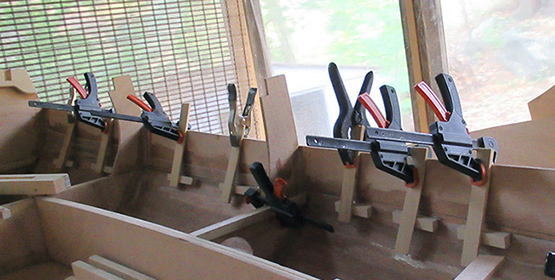
It looks like this weekend is going to end up as a waiting period for glue and epoxy to set up.
Next weekend I'll be working on the seat edges and maybe even break out some paint for the inside of the floatation chambers!