More Winter
 February 2, 2020
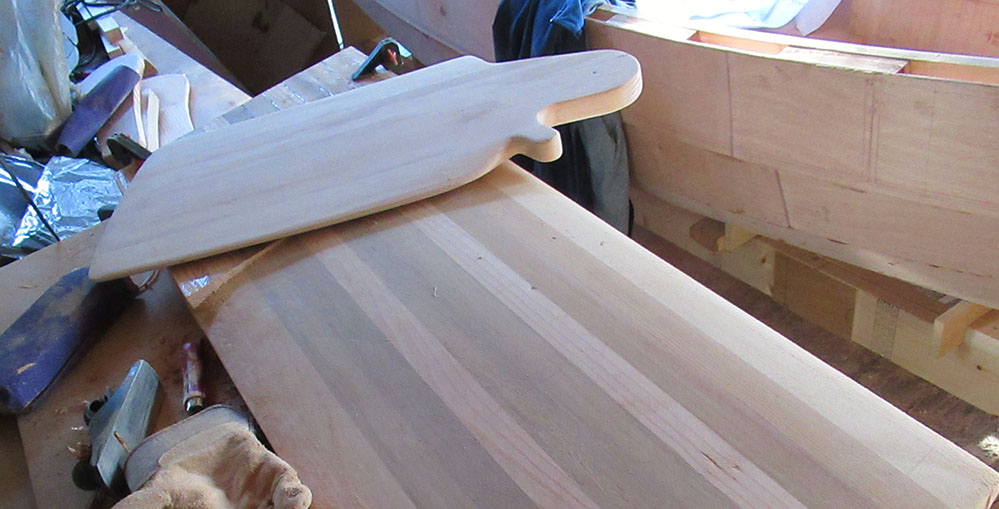
Some not-too-bad weather brings me back out on the porch. The end of the melting snow can be seen at the right of the yard in the photo below.
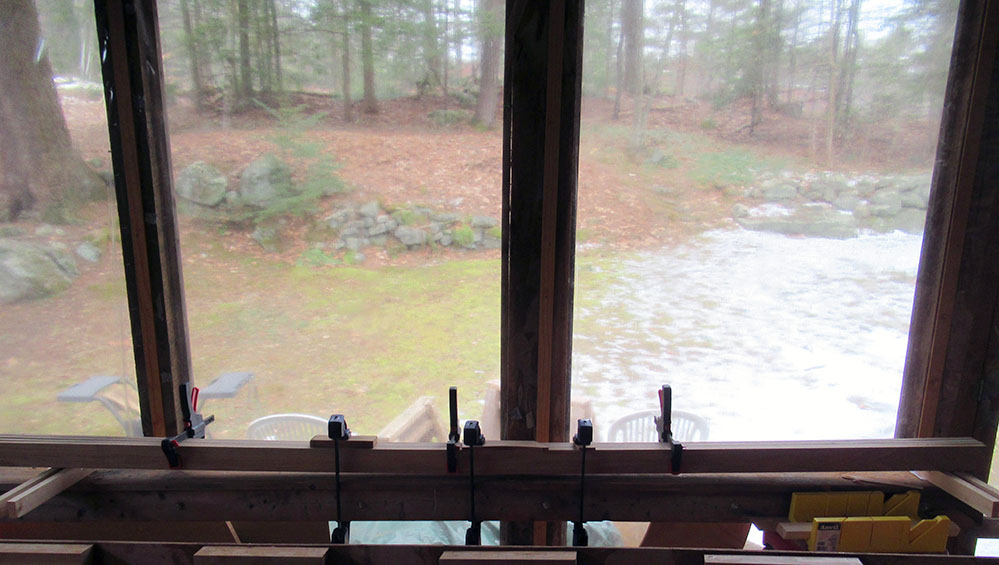
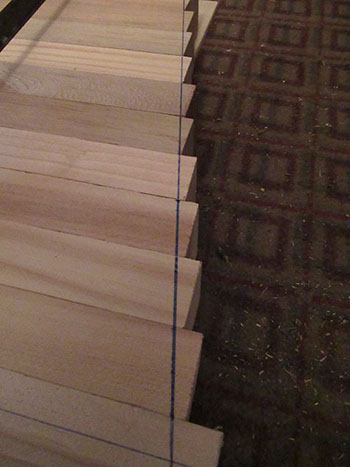
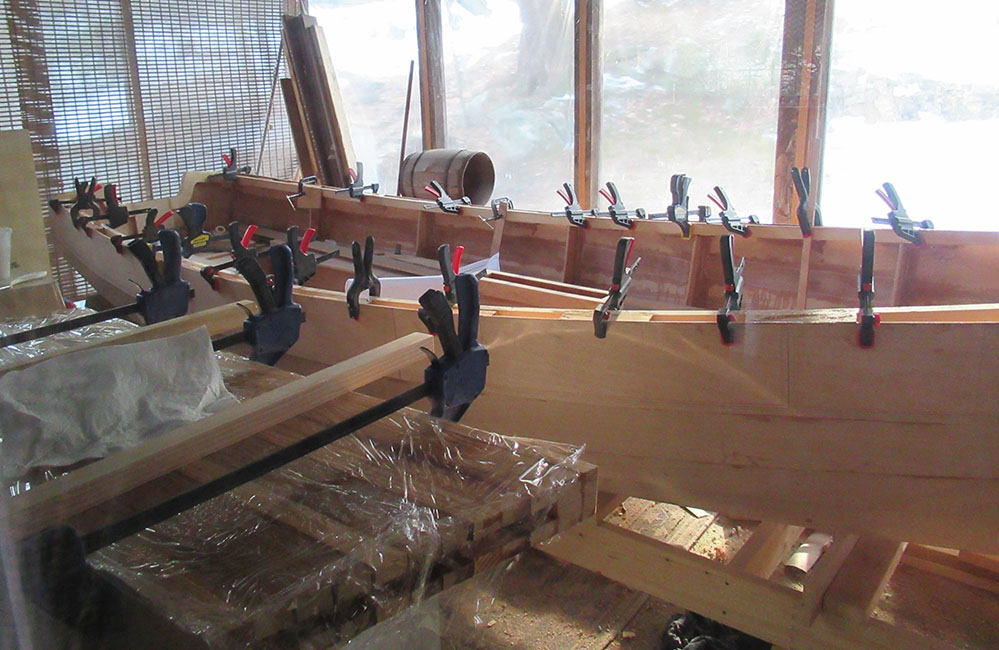
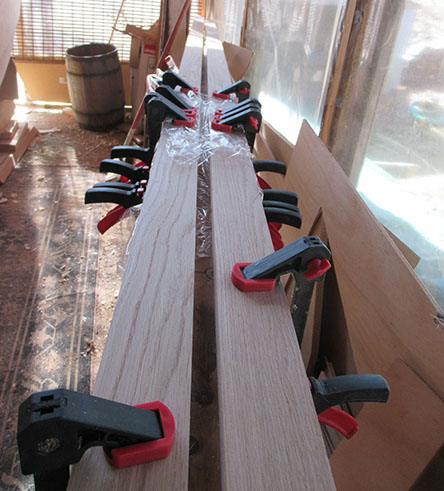
I had the outer gunwales clamped in place for a couple weeks and found they retained some of their horizontal bend when I unclamped them. That gave me the idea to try to add a little vertical bend. (lower part of photo.)
Positioned on top of my old kayak strongback, I raised the ends and clamped down the center section. I will probably need steam or heat for the final shape, but this may provide a bit of assistance.
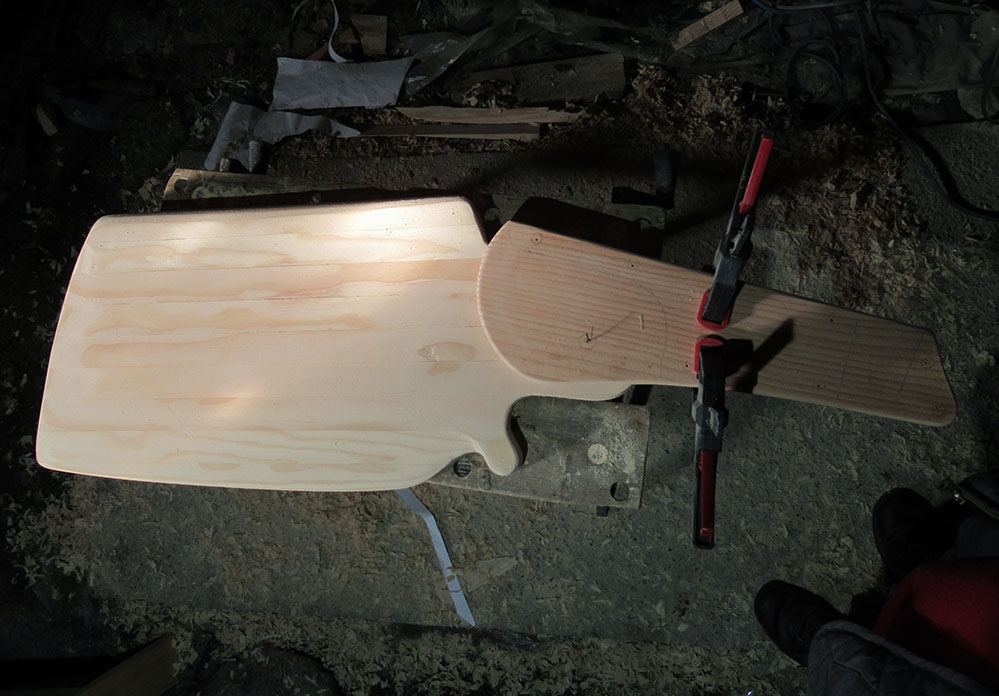
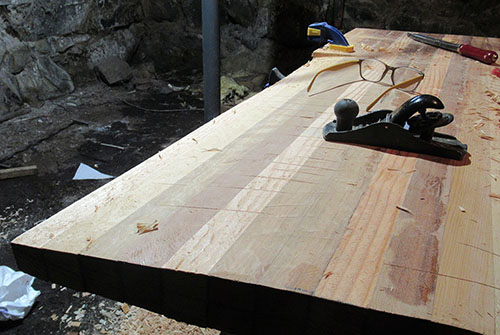
Meanwhile things are progressing in the basement. Still shaping the rudder, I sharpened up the plane and have been removing a lot of wood.
Doing this job manually takes a while but I'm getting close to the template lines on this side.
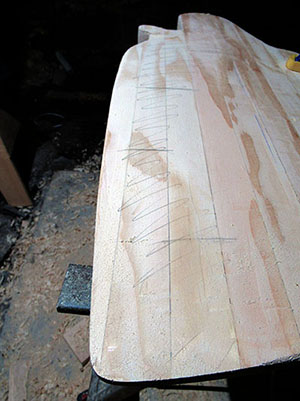
The pencil lines will get planed off – they indicate the high areas. Unfortunately the other pencilled guidelines get planed and sanded off too as work progresses, so I drilled small pilot holes to mark the locations of the pivot and screw holes.
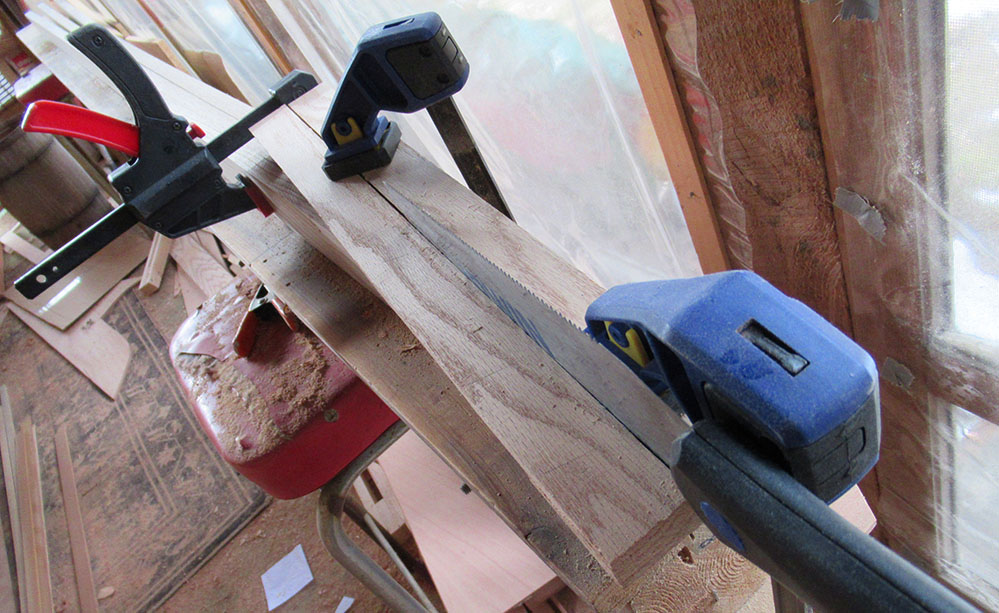
Back on the porch I started cutting the scarfs for the outer gunwale rubrails. I set up this jig for an eight-to-one angle and started by clamping a board on top of the stock, angled to align to the pencilled scarf guideline. Then placed the saw right on the line and slid a second guide board in place. The guides kept the saw vertical and at the correct angle while sawing through the stock.
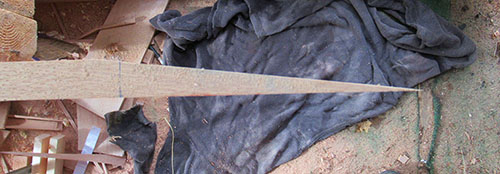
Here is the result.
Repeating the same process on a second piece of stock yielded this clean scarf.
The next project is to get the daggerboard glued up this week so it can set up while I'm completing the rudder and the rubrails.
February 9, 2020
Cold temperatures moved in again this week and prevented epoxy work. But, I figure as long as I can do something that must be done at some point, I am making progress.
Continuing on the rudder assembly, the shaping is about 95% complete. I still have to install the pivot bolt, glue and screw the case and apply a finish.
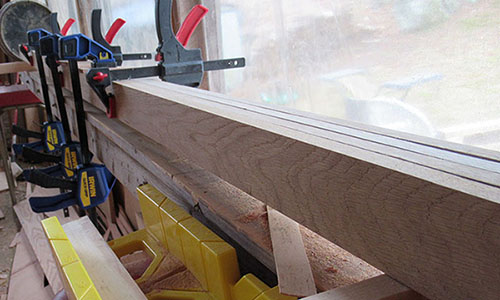
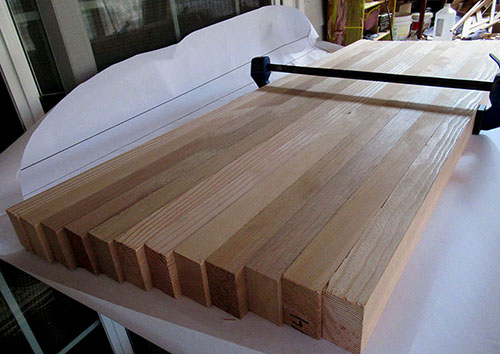
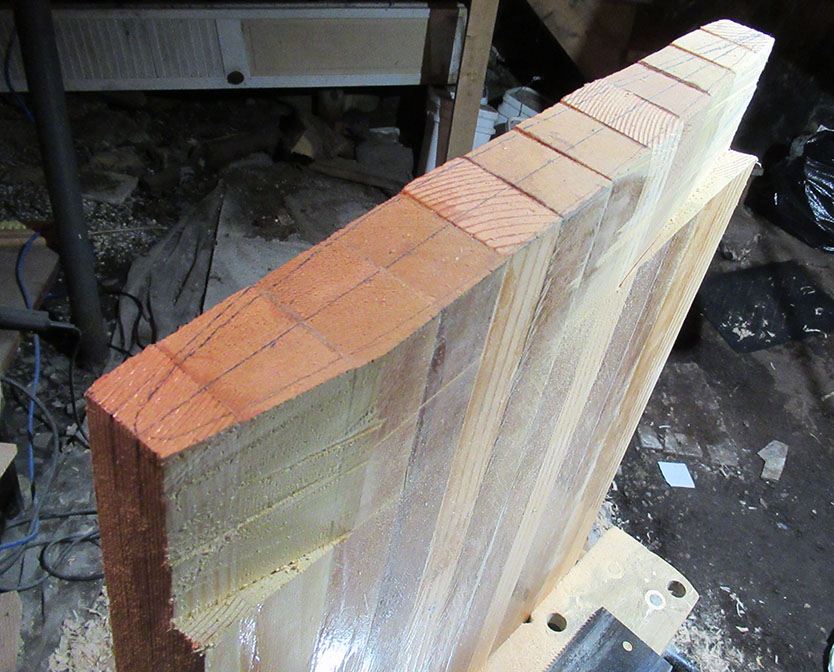
Moving to the daggerboard – it's four feet long, so the eight foot stock, when cut in half was just the right length. But, the board is angled so the laminates had to be staggered to fit the shape.
Here's the pattern in position.
You can see how close the tolerances were. Now to trim off the jagged edges.
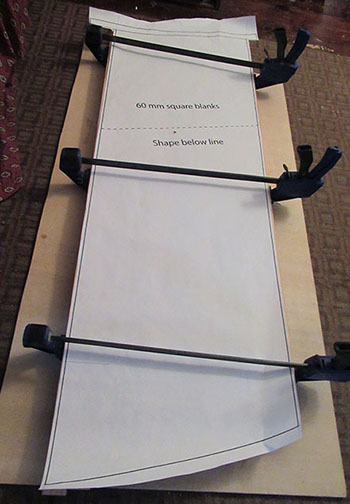
Here's the final shape. [Edit from the future: over optimistic statement.]
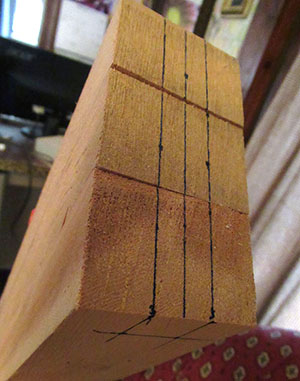
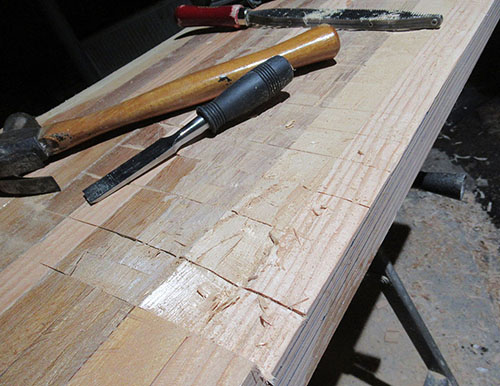
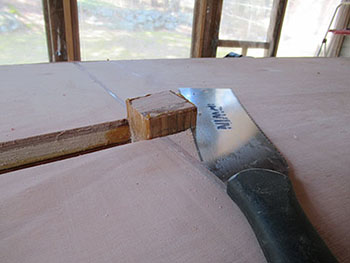
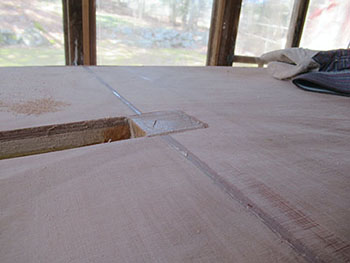
The plans call for a slot, centered at the top of the board to accept an end cap. I decided it would be easier to cut the slot now while I could still use a saw and chisel. Working on 3 boards at a time, I first drew out the slot dimensions...
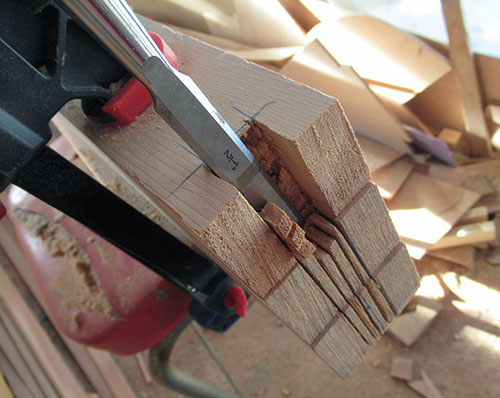
...then sawed and chiseled out the slot.
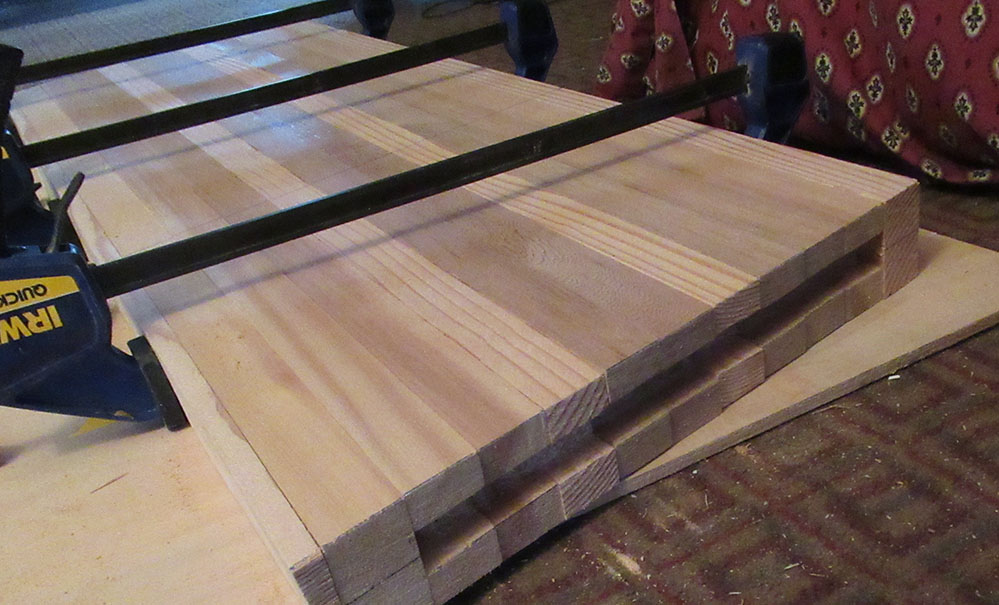
Here is the end result. I'll clean it up a bit during the week and hopefully get started on gluing it up and shaping
February 23, 2020
I didn't have a chance to work on the boat last weekend or most of this weekend but I managed to complete a couple tasks that will move things along and give me something to do in the upcoming days.
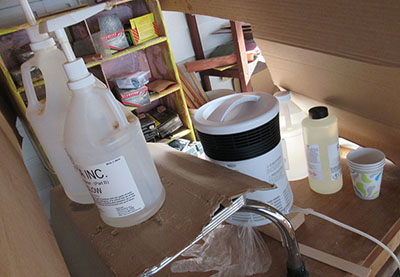
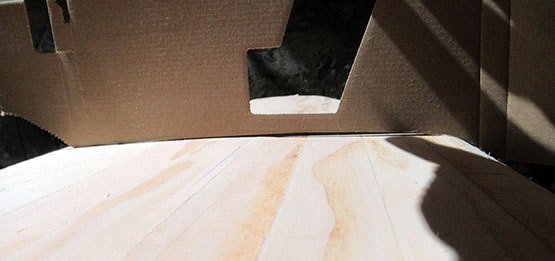
In preparation to get the dagger board laminated, I warmed up the epoxy using a space heater within a loose cardboard enclosure.
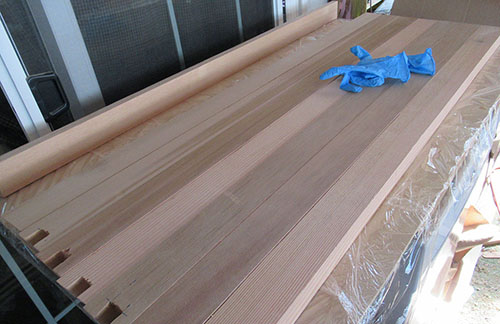
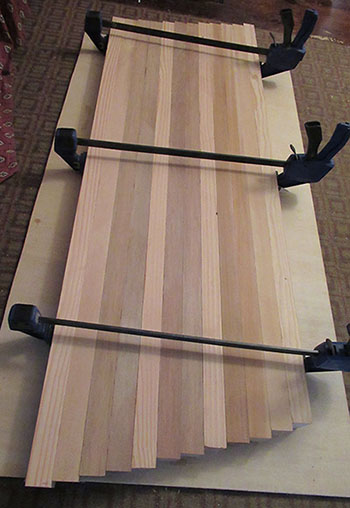
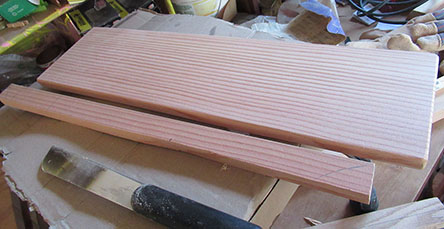
Here are the first few boards with the glue side facing up.
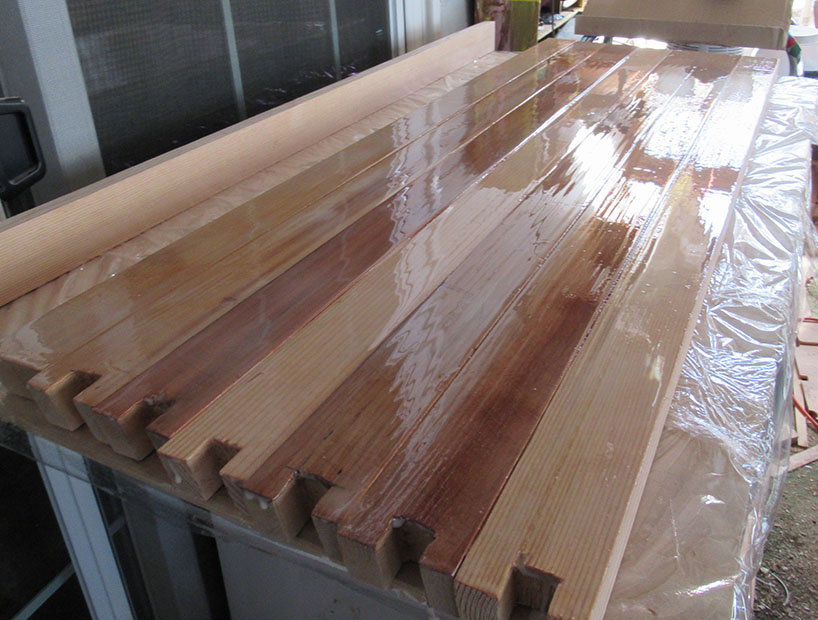
Coated with thickened epoxy, they're ready to rotate and laminate into place.
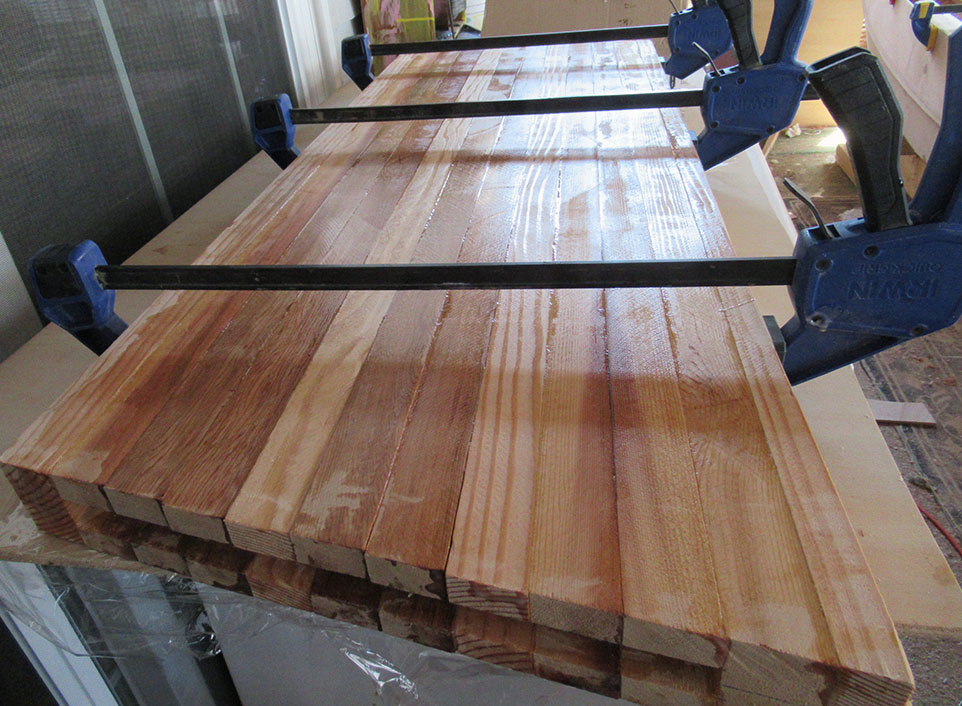
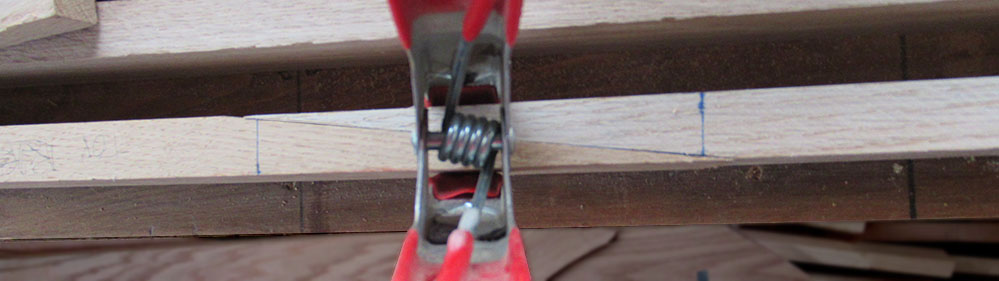
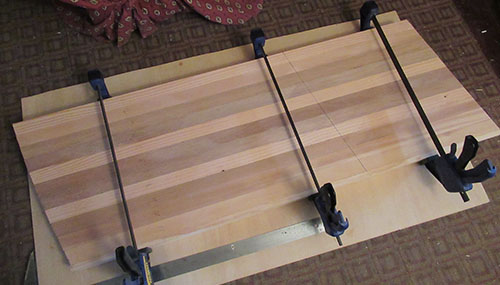
Here is the complete board glued up, clamped and all the squeeze out cleaned up.
I overestimated the amount of epoxy needed for the daggerboard. So with the excess, I went ahead and glued in the inwales. Now I can proceed with installing the outwales, cleaning up the entire gunwale assembly and shaping the daggerboard.
Time has been tight and progress has been slow over the last couple weeks... but Spring is right around the corner and I begin taking Friday vacation days soon – things will pick up.
March 1, 2020
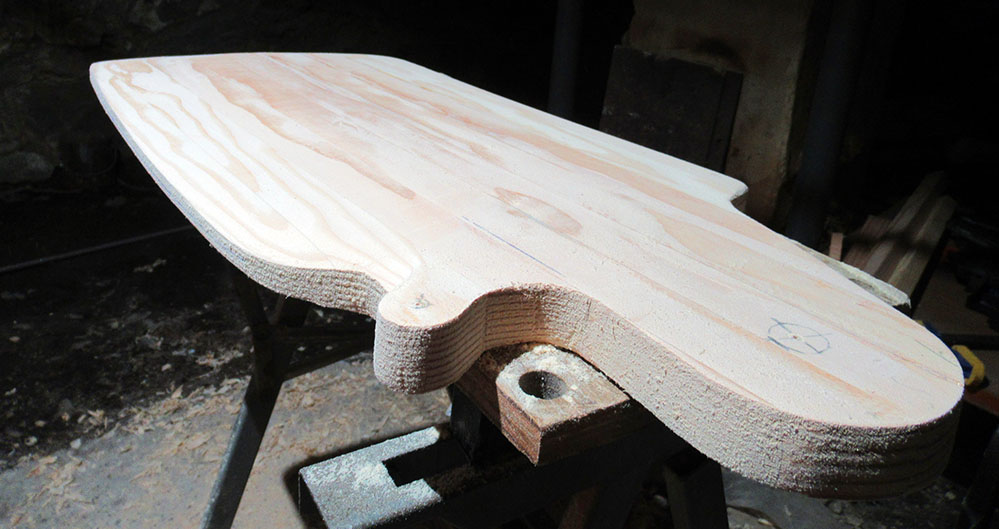
This week saw much manual labor but not a lot in the way of exciting photos. I made more headway than I expected on shaping the centerboard.
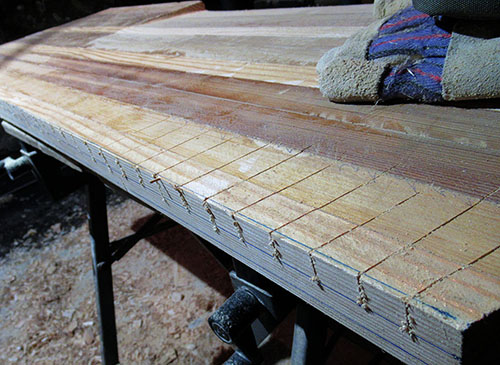
After transferring the foil shape to one end, I drew a straight line just outside the pattern indicating where most of the material was to be removed. I transferred one end of that line down the face of the blade and the other end down the edge, which provided end markers for a right-angled saw cut.
Repeating that cut every inch-and-a-half or so down the length of section to be tapered, I then chiseled from cut to cut to remove the wood.
Followed by more accurate shaping with a small block plane. (Still some saw cuts visible in this shot.)
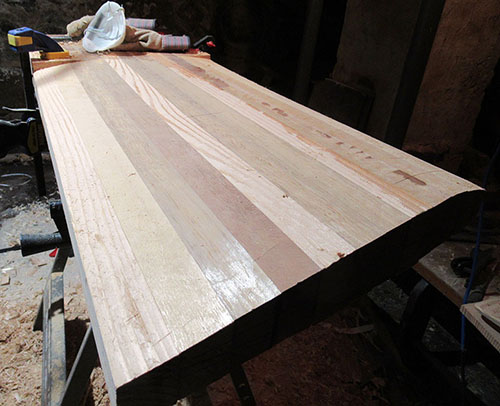
After several sessions with the plane it's getting closer to final shape. Of course this is just one side of the board and it took several evenings and most a Saturday to get this far. With mini sessions throughout the week, I hope to be close to finishing by next weekend.
March 8, 2020
The rudder and daggerboard are taking a while but I'm thinking of them as sculptures and trying to do a good job.
One last edge, cut and ready for the chisel.
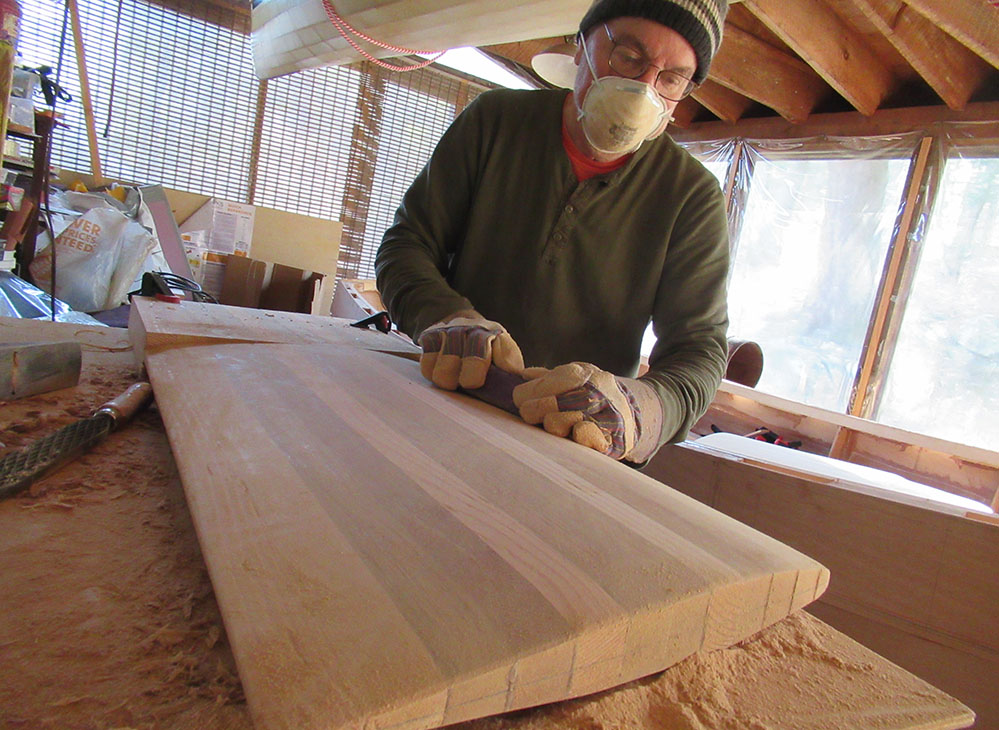
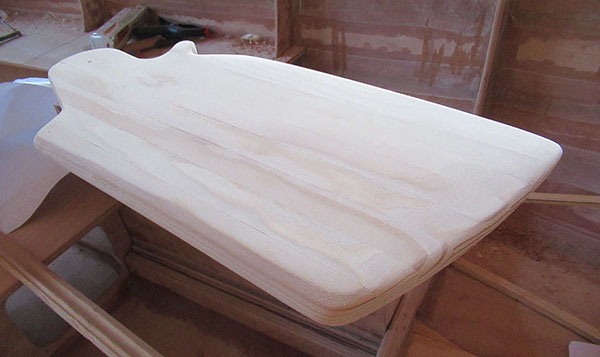
Finished with the chisel, plane and rasp and finally doing some sanding. (Back up on the porch, temps in the 50s.)
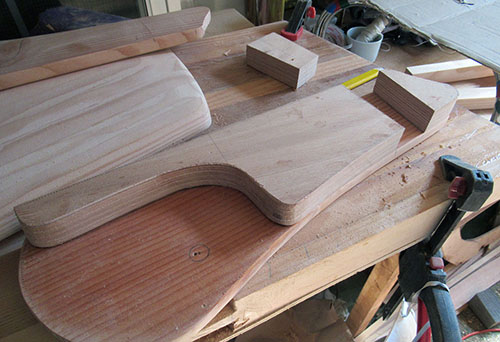
Here's the rudder resting on the daggerboard, both about 3/4 complete.
I took a break from sanding to start work on the daggerboard cap.
Cut the tiller slot in the rudder case.
Then planed the tops of the sides to be flush with the blocks and inwales.
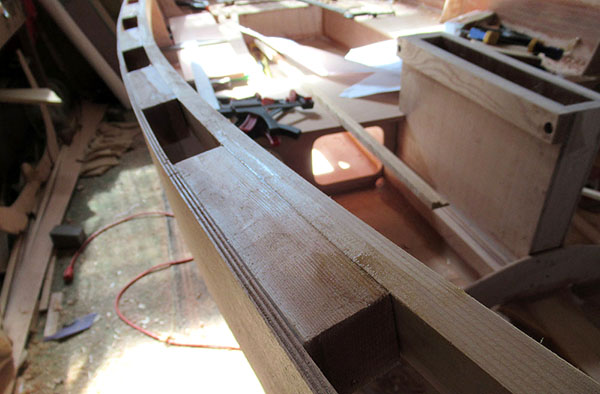
Epoxied the scarf in the rub rails, outwales, outer gunwales – whatever they're called.
Then back to finishing up the rudder sanding.
Next week I'm hoping to install the rubrails, then I can flip the boat and start work on the bottom.
March 15, 2020
Regular readers of this blog will notice I often announce a next step then proceed to do something entirely different. Well, it's happening again and that is usually because during the week I realize my initial plan was not be the best course of action. This week I'm jumping directly to flipping the boat over.
I was a bit apprehensive about doing this job single handedly — envisioned the boat crashing and splintering to pieces or bringing the roof down, but spoiler: all went well.
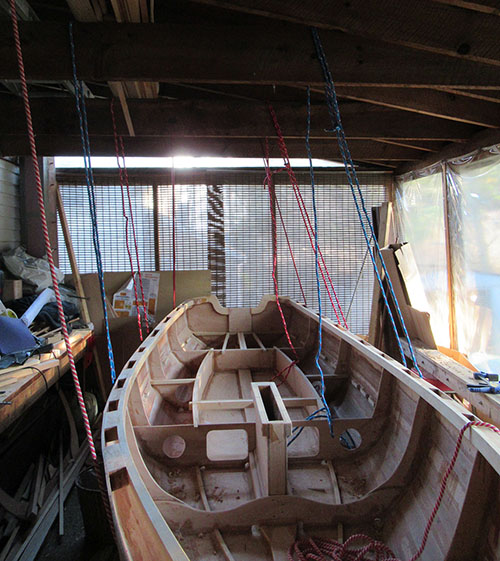
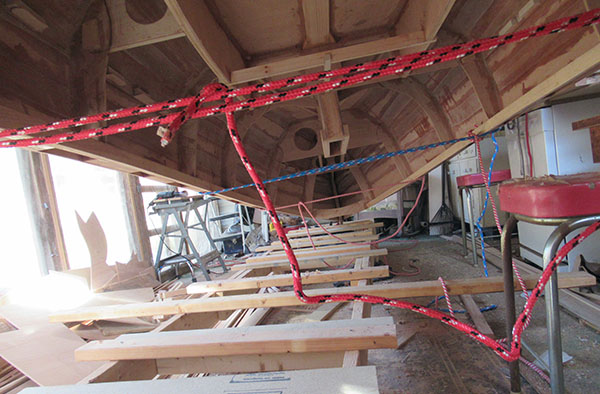
I looped a series of ropes under the hull and up over the porch rafters.
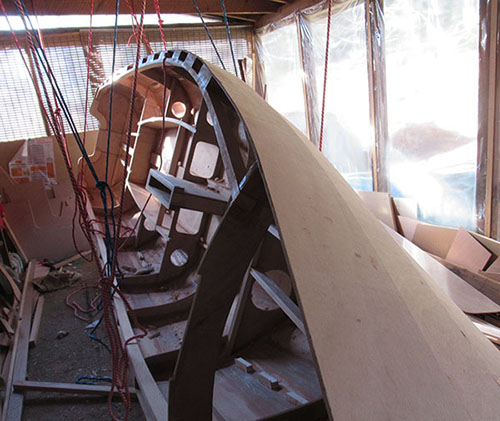
Then while making repeated trips from side to side, slowly rotated the boat and adjusted the lines accordingly.
Finally across the critical balance point.
And then just a matter of slowly lowering it into place.
But, before the final drop, I took advantage of the hovering boat to slip under it, remove the risers and make a flat resting place.
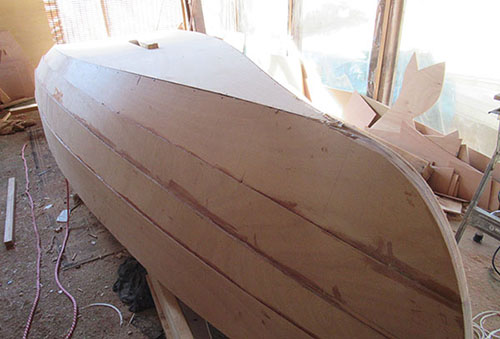
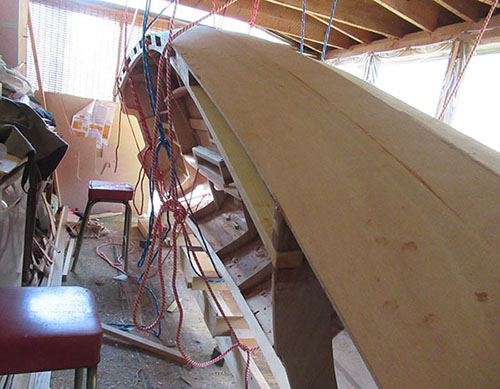
Finally, success!
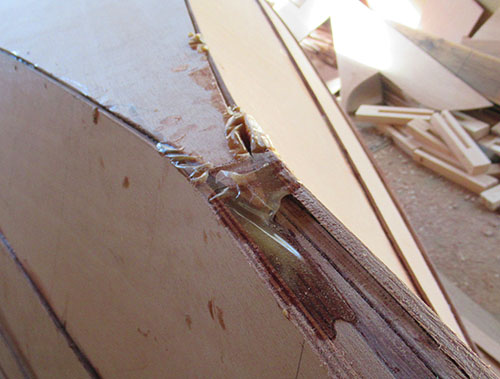
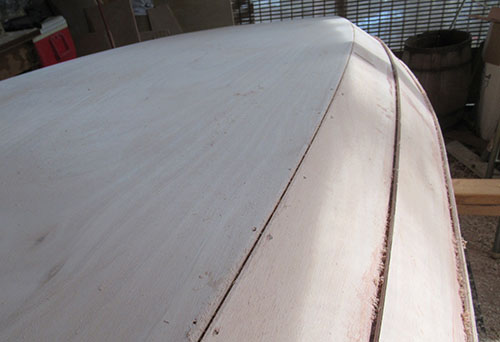
Here is the first surprise: a good look at the bottom of the bow where I had poured the thickened epoxy. It looks like a disaster here but...
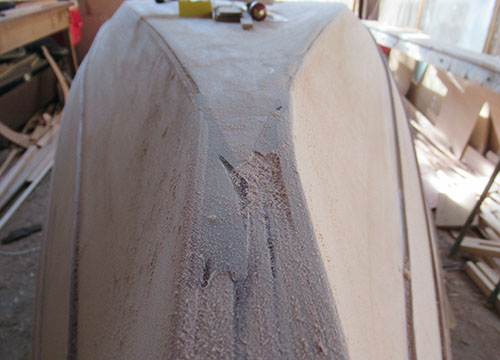
...after a little work with the Shinto rasp it cleaned up nicely. And a little epoxy filler should take care of the rest.
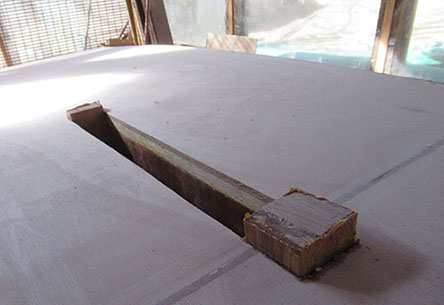
The protruding daggerboard trunk sides need to trimmed off too. I'd forgotten about them.
Quick work with the pull saw.
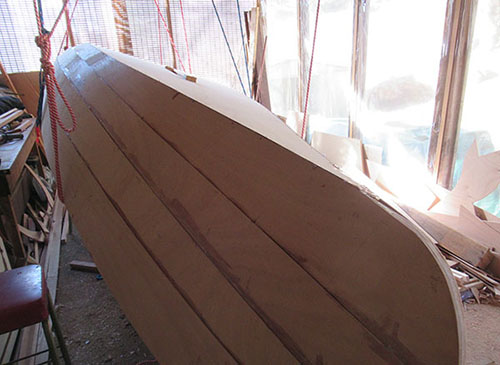
I'll be cleaning up the edges and the underside of the side panels throughout the week.
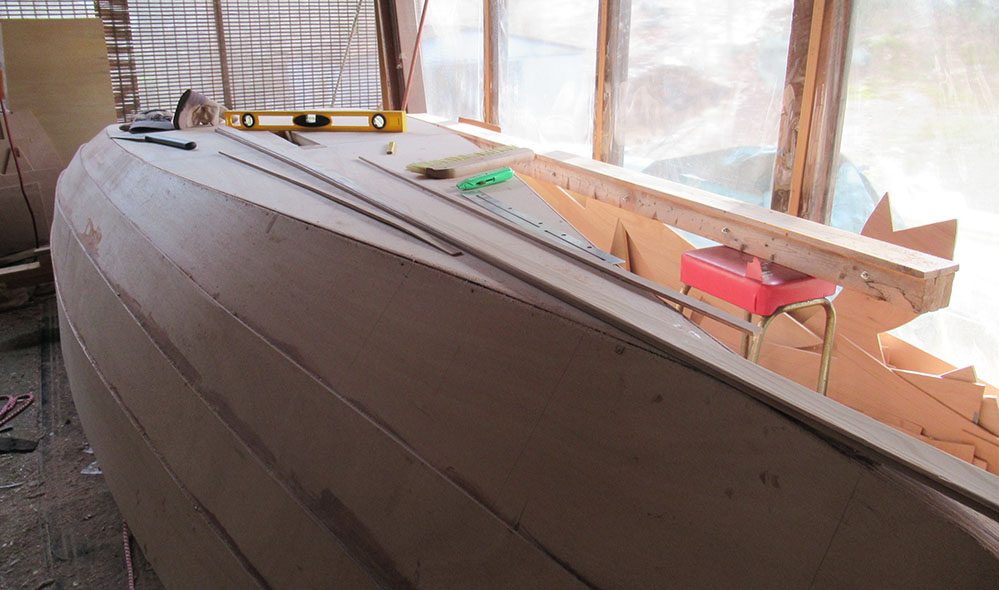
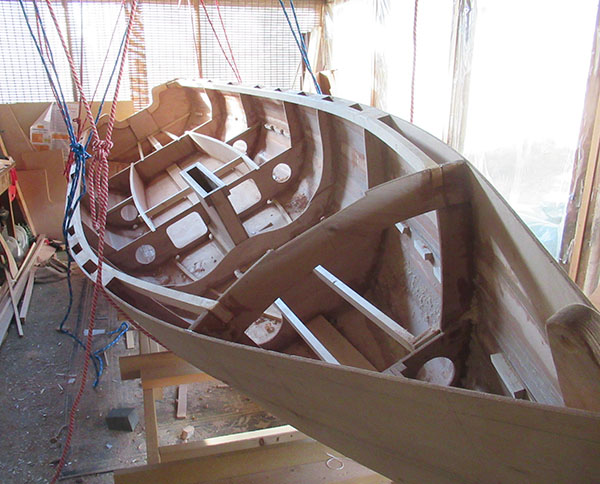
So this will be the new sight in the shop for a while.
I'll be taping the seams, filleting the laps, fiberglassing the bottom, installing the keel and painting the hull before flipping it right side up again.