(Fall 2013 - Summer 2014)
Custom Kayak Project:
● Intro & Cross Sections● Stringers
● Ribs
● Half-Ribs & Inwales
● Deck
● Coaming
● Frame details
● Skinning
● Waterproofing
● Launching
● First Race!
● Season 2 updates
● Paddling in Mystic Harbor
● Connecticut River 2-Day Trip
● Truck Carrier Bar
Intro & Cross Sections
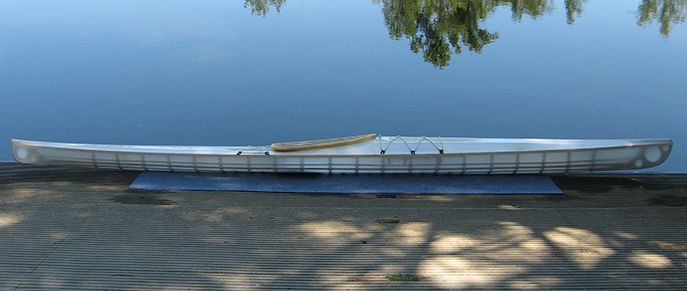
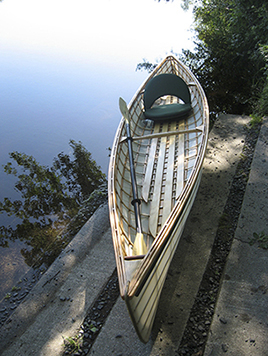
Here is the finished kayak at the dock on its maiden voyage. The story of how this deign developed and the details of its construction are presented here:
Last Summer I had the chance to try a couple Surf Skis and racing kayaks at a local boathouse.
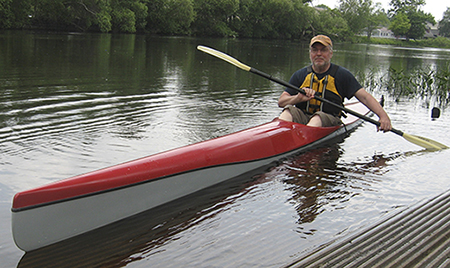
Here I am just trying to stay upright!
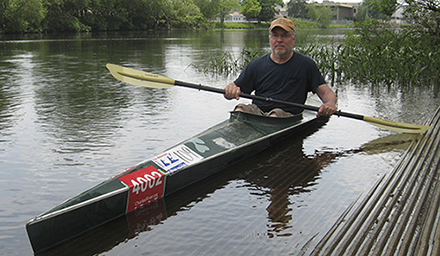
It didn't seem like I'd ever get comfortable enough in these tippy racers to paddle them for enjoyment... but the experience gave me the bug to build something with the features of both a racing boat and a regular kayak.
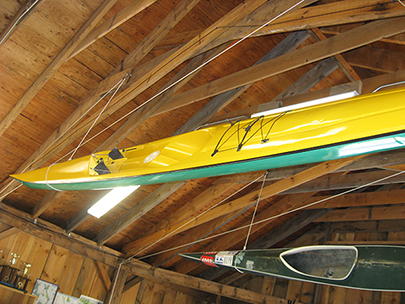
I also had a chance to check out this skin-on-frame racing prototype. It was built similar to a Tom Yost boat only with much lighter weight components.
I got a feel for how light things can be with my last build, a Platt Monfort Geodesic Airolite canoe. At my age, lightweight trumps all else, so I decided to use a similar type of construction on this new kayak, building the hull first – canoe style, then adding the deck.
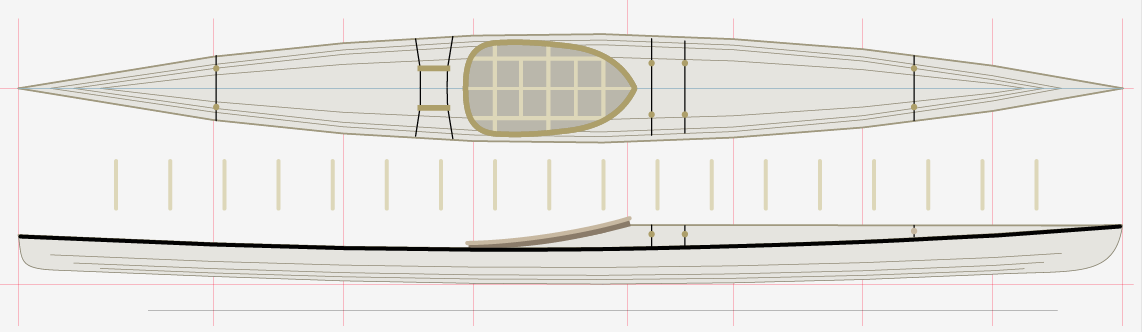
Here's the design I came up with. I began with the hull offsets for Tom Yost's Sea Rider multi-chine — then altered them to fit my body size based on traditional measuring techniques from Robert Morris's book Building Skin on Frame Boats (thankfully purchased before it went out of print). The coaming was shaped to allow knees to be drawn up when desired, the hull width ended up at 20" and the deck and end stems were redesigned to allow more legroom and a longer waterline.
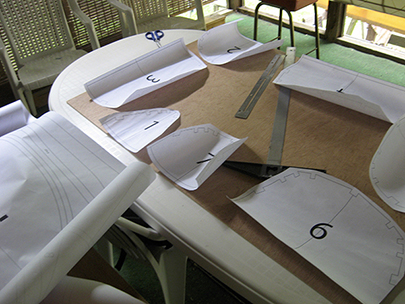
I drew up and printed some full-size plans, then glued the temporary station plans to a sheet of luan plywood.
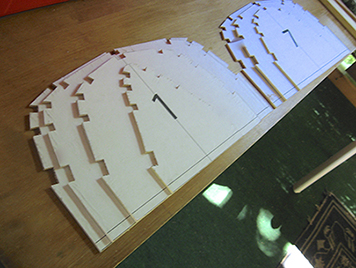
Forms were cut out with a jigsaw.
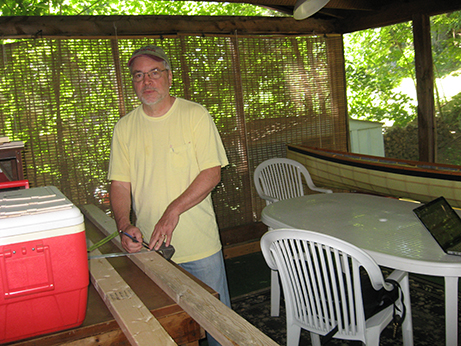
Getting started with the strongback by penciling in the locations of the cross section stations.
The strongback is my own simple design – all 2x4s.
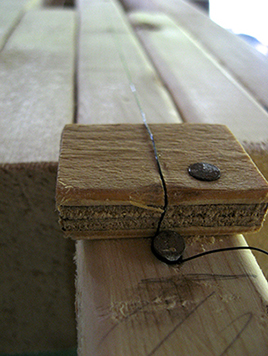
A wire stretched down the center was used to align the stations.
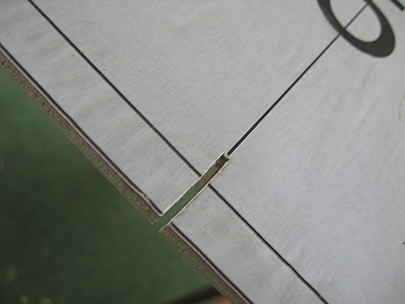
A slot cut in each station allows the wire to pass through, aligned with the crosshairs.
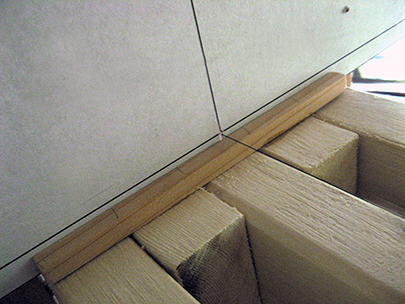
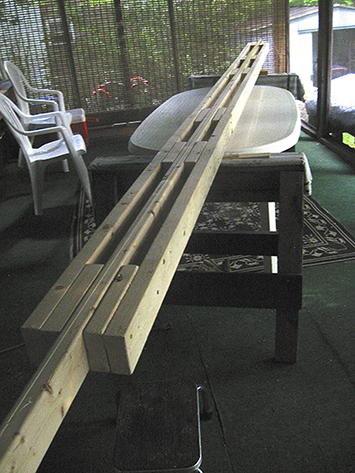
A mounting strip was glued 90 degrees to the strong back at each station location.
Supports on the rear allowed for vertical alignment.
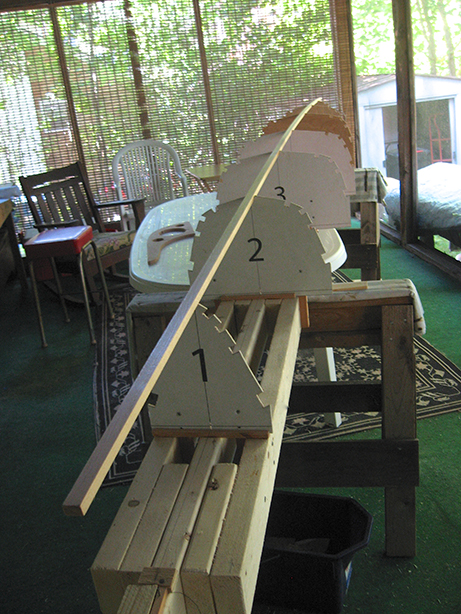
Here the stations are all mounted with the keel resting in place – it was a 16' precut piece of trim molding from the lumber yard. I'm going to try to complete this build with just my own limited tools (a powered jig saw, powered drill and hand tools).
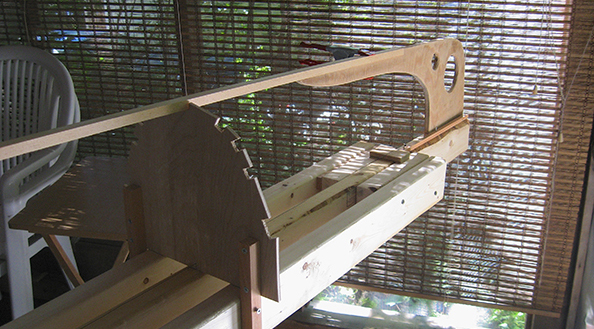
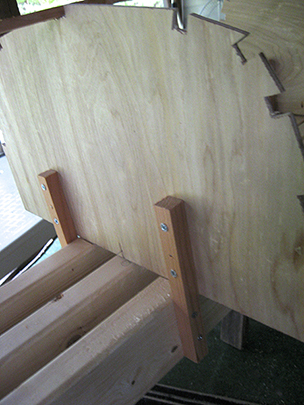
The end pieces are 1/2" marine plywood. Both are notched to mate with the keel.

I designed the end pieces to be properly aligned when resting on the strong back. Later when the frame is released and flipped right-side-up, the tops will be trimmed off.