Framework Details
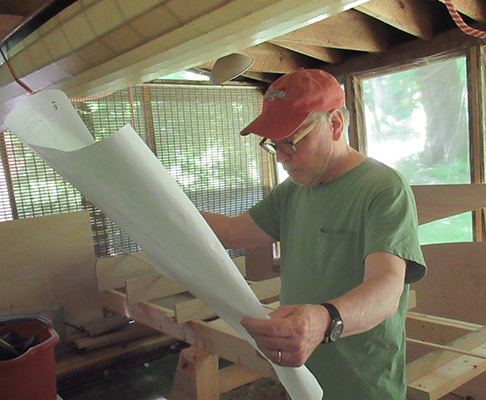
Tired of working on flat components, I'm ready to take things into the 3-D phase. So after a big cleanup I moved on to leveling the platform, double checking the plans...
...and installing the risers that determine the curvature of the bottom.
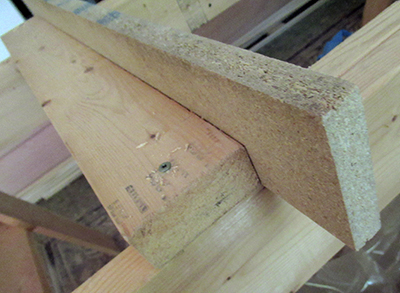
Each riser was leveled and plumbed before being attached to its supporting 2x4.
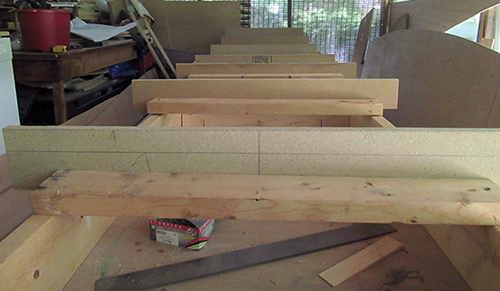
All seven in place.

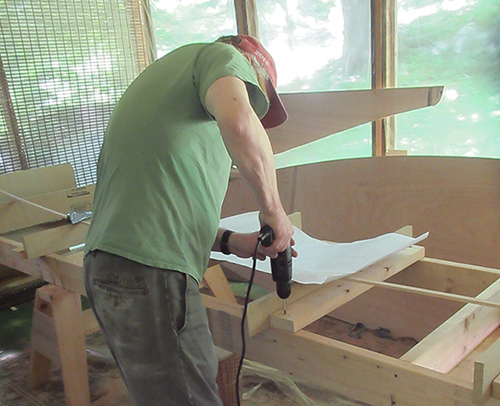
The bottom panel is secured to the risers with temporary screws. Although not evident in the photo, the risers force the bottom panel into the proper curvature when the screws are tightened down.
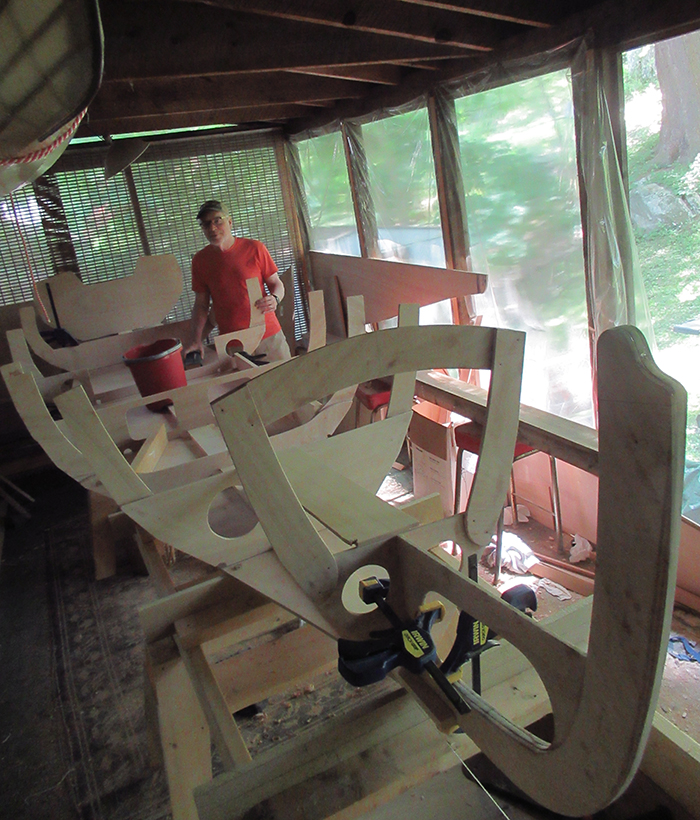
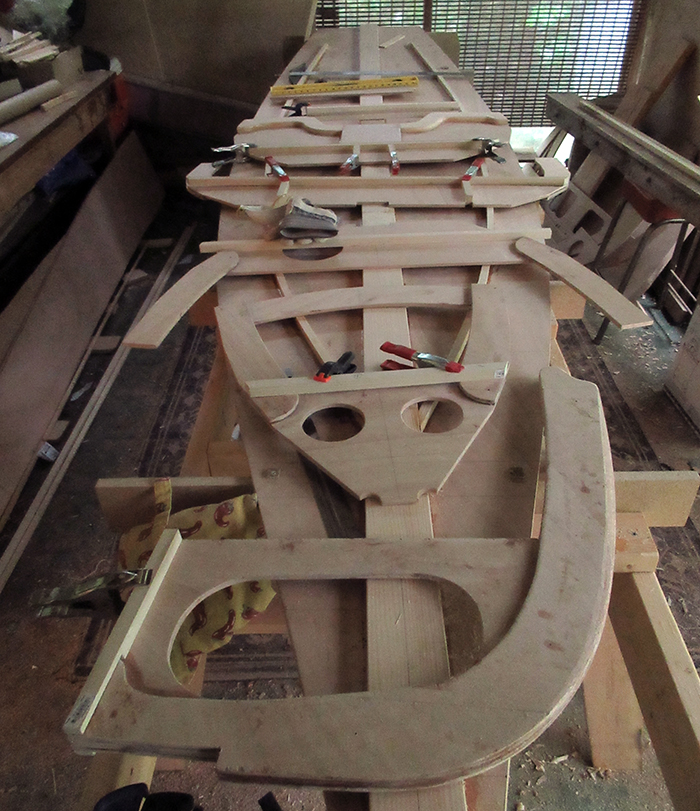
I couldn't resist jumping the gun a bit.
All the stations forms are temporarily supported and clamped in place just to get an idea how things are going to look. It's exciting to see the full size and shape come to life!
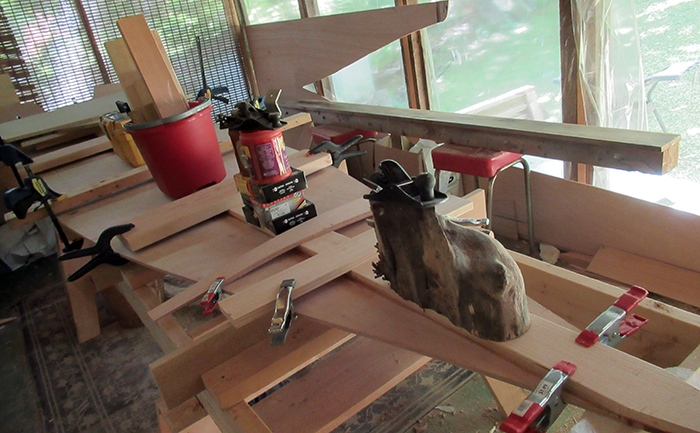
Back to reality - glueing the floor stem to the floor panel. In addition to using clamps, I gathered up anything of weight including a tool box full of tools, a bucket full of 2 x 6s, boxes of nails, containers of scrap iron and a piece of firewood that was too interesting to burn.
I try to conserve epoxy so whenever I mix up a batch for one job, I try to have few other projects in the wings in case there is excess to use up.
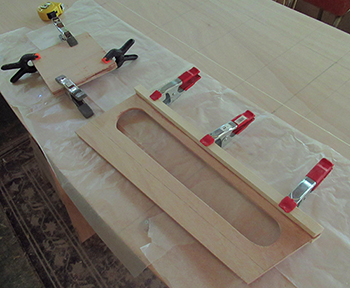
Forcing a curve into the side seat support stringer.
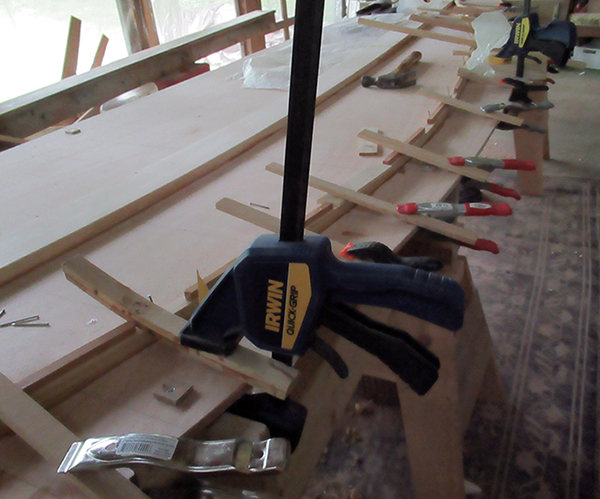
Clamped while the epoxy cures. I had to do one side at a time because of my current limited supply of clamps
A bit of abstract art? No, it's actually an odd but successful clamping job on the transom trim. Each piece is composed of three sections.
After some final shaping, here's how they look in position on the transom.
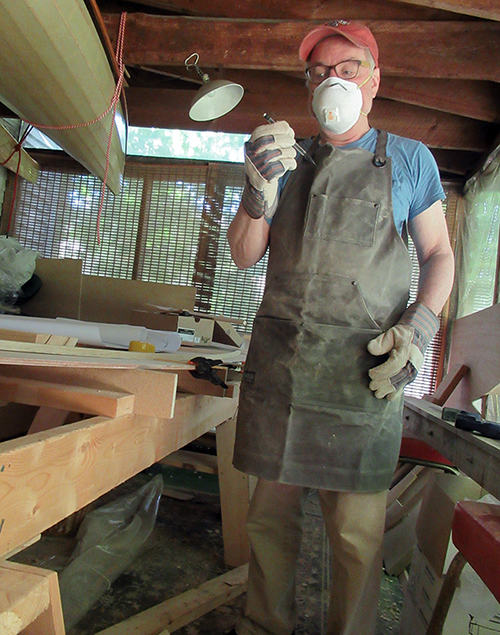
A really nice, rugged shop apron was this year's Father's Day gift from my wife. It's already covered with sawdust but I know right where my pencil is! It's great having things at hand in a pocket rather than where they used to be - on the other side of the boat.
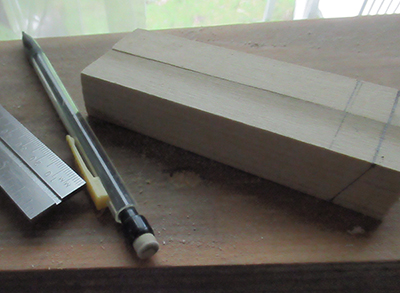
In addition to big projects there are small details too. I spent a few hours working on some of the trim, joinery and seat supports.
These little pieces from above are part of the transom.
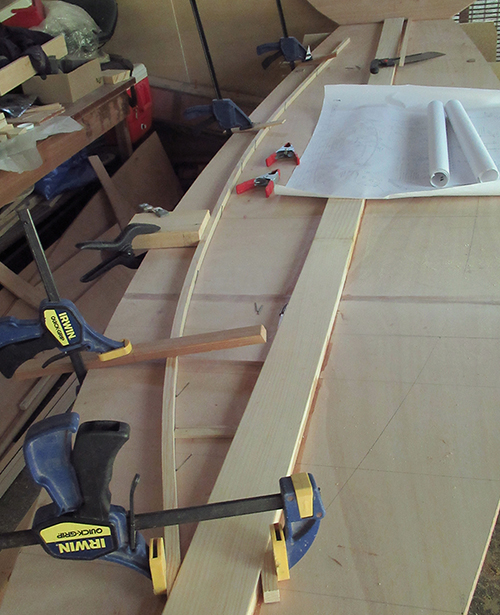
Here are some of the stations with the trim clamped in place awaiting a batch of epoxy to be mixed.
I've reached the point where the stations have to be erected and everything has to be aligned and plumb.
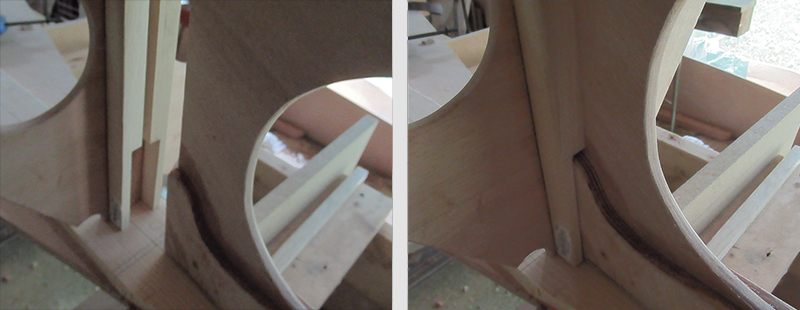
To get started, I used the trim to create interlocking structures at the bow and stern. True alignment is easier at this stage where I can still conveniently draw accurate horizontal and vertical guidelines. The two photos above show the transom and stern web, first apart then assembled – like puzzle pieces.
Here you can see how I joined the bow stem to station 1.
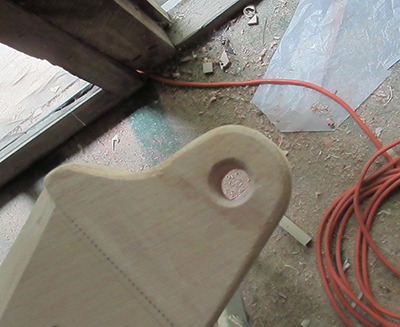
Also easier at this stage was drilling the hole at the head of the bow stem.
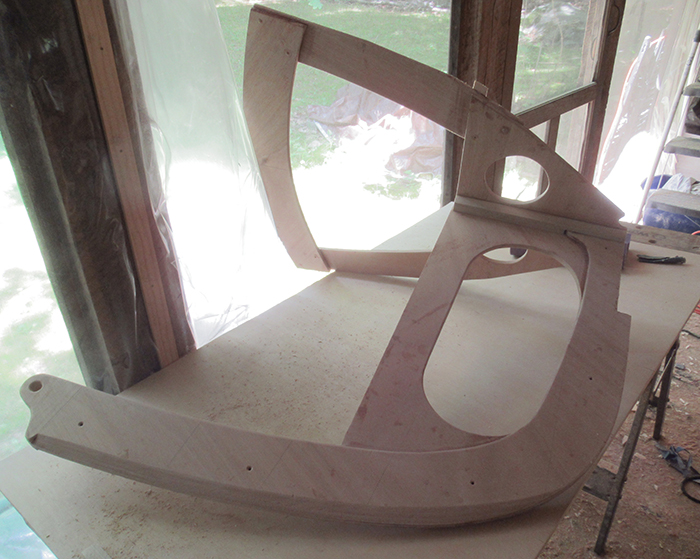
Here is the complete bow support structure.