Finishing Interior
 June 7, 2020
It's getting down to final sanding and finishing and a lot of little details. I'm hoping to get it on the water soon while completing the sailing components as time allows. In addition to the deck and front seats, the only major tasks are acquiring a trailer and getting the boat off of the porch — not an easy task. Thankfully with social distancing easing up, there may be some extra hands available.
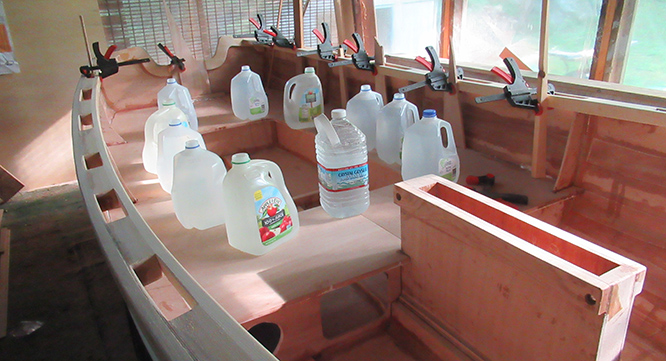
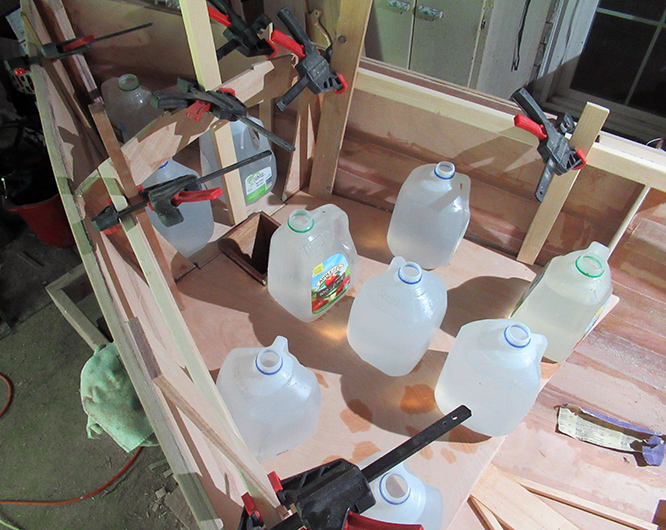
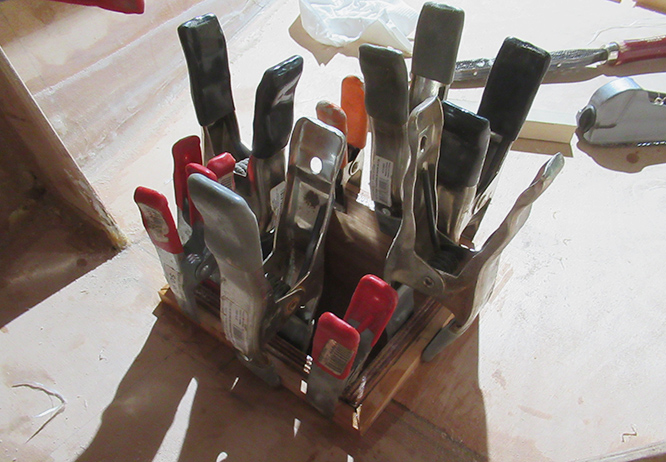
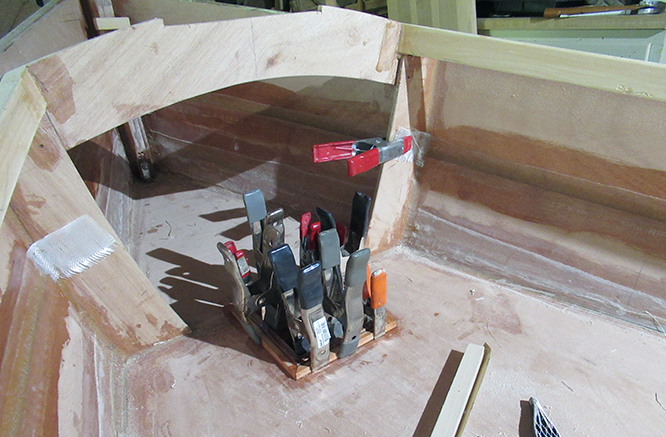
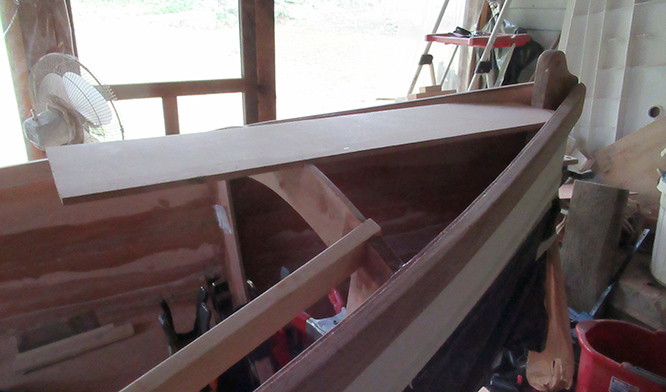
I wanted to start off this week with an image of all the seat supports loaded up with thickened epoxy ready for the tops to be installed, but I forgot to take the photo. So, here's the next shot – the seat tops in place with "weights" and clamps holding them down securely to their supports.

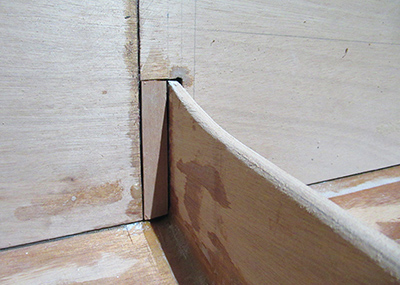
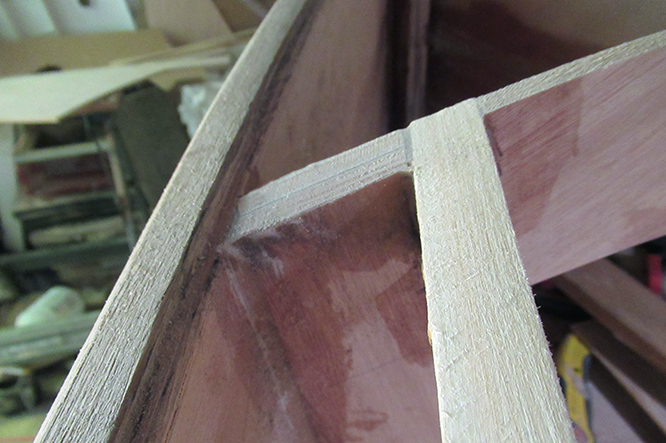
I've also tackled a couple "I'll fix that later" details I've been putting off. I had cut a couple cross section vertical stems too short so I've added a filler piece to bridge the gap to the inwale. In this photo the filler piece is extending outward toward the camera — it will get trimmed when the glue has dried.
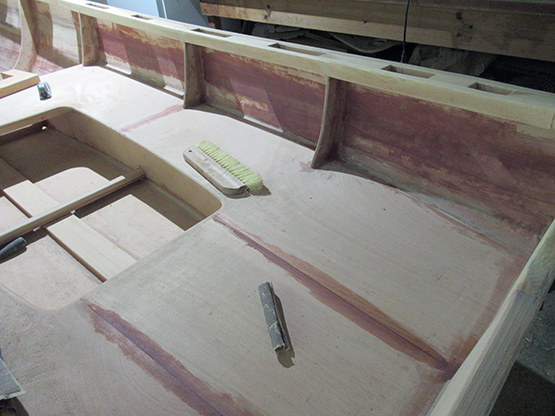
And a couple patches for the seat tops. The little pieces next to the slot broke off both similar seat tops months ago. I know I set them aside in a "safe" place but now of course, I can't find them. So I had to make some new pieces. (Looking over gunwale down toward seat)..
I completed filleting around the seat tops.
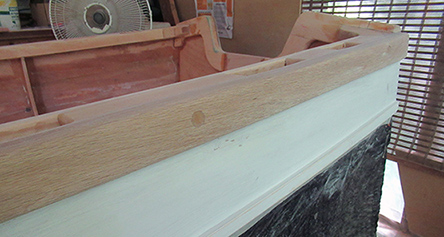
And sanded the first coat of primer on the top strake.
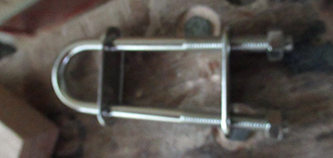
Next was installing this U-bolt through the front stem.
The drill bit was just long enough to make it through to the other side.
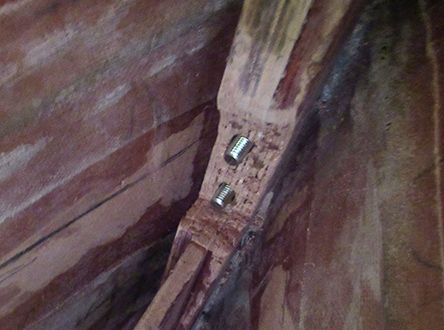
Although I had to chisel back the stem a bit to make enough space for the backing plate and nut.
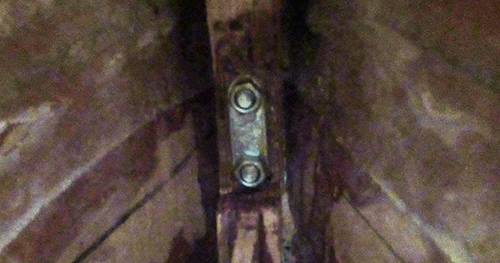
Here's the inside view after installation.
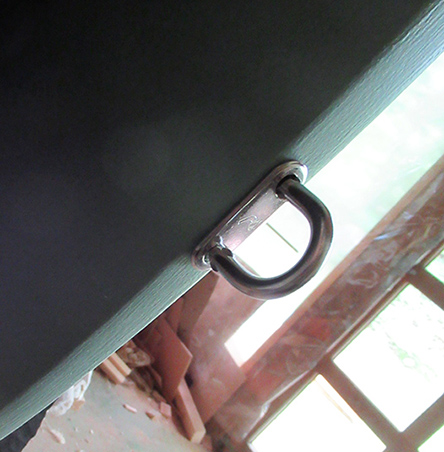
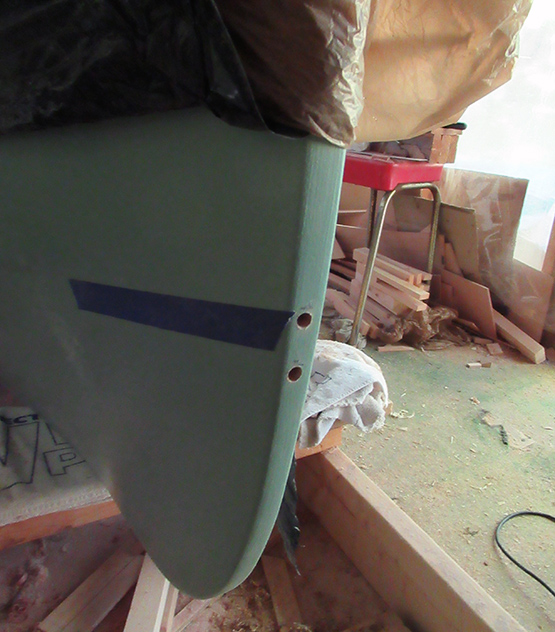
Here's the exterior view. I coated the holes with thickened epoxy before inserting the bolts.
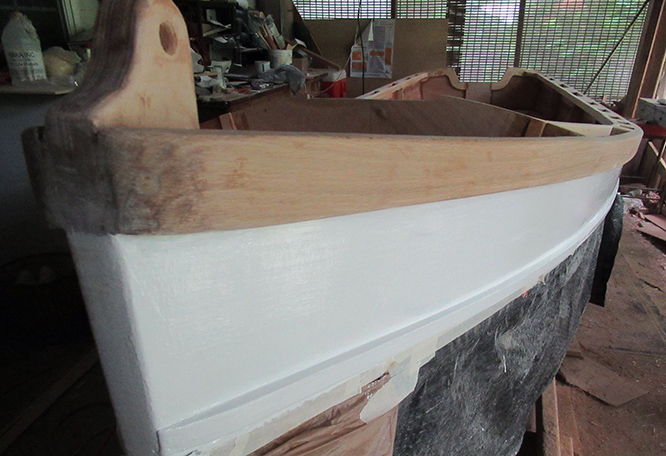
And completed a second coat of primer.
 June 14, 2020
With the end almost in sight, I just wanted to thank the folks who've been following this project. Having to come up with new content each week always adds a little motivation to keep forging ahead.
I've started to think of the boat in three sections to make the final tasks more manageable – the aft seating area, the bow seat and deck, and the open section in the center. Working on one section at a time allows me to focus on that area, while the paint or epoxy can be drying in another.
So the front section got 2 coats of paint under the seats.
A little fairing compound went in the aft section to fill and smooth out the tape lines.
Back in front, the seats are epoxied in place (and again, I forgot to photograph the epoxied support tops!).
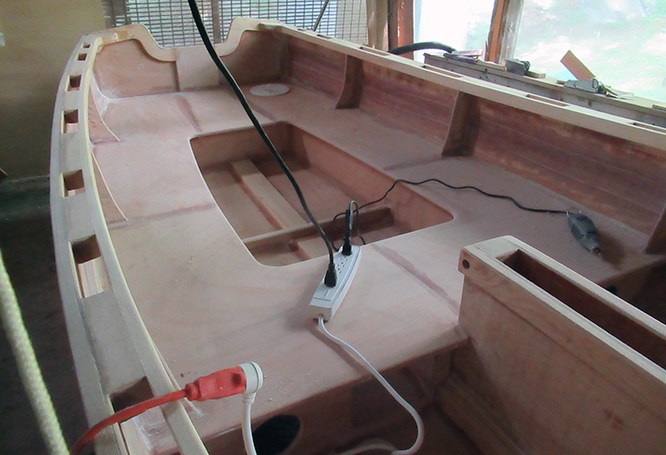
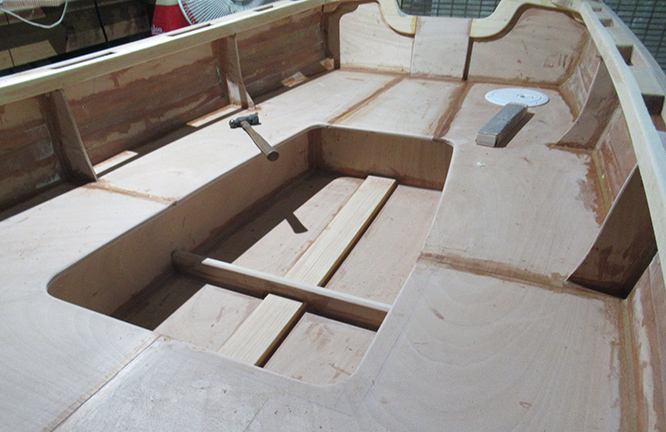
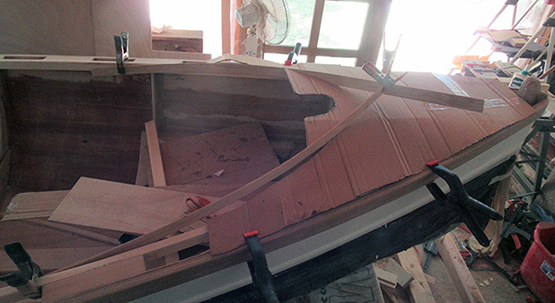
Here's the aft section after a round of sanding and a once-over with a Dremel tool (early Father's day gift — good for cleaning up corners and miscellaneous epoxy drips).
Front seat filleted.
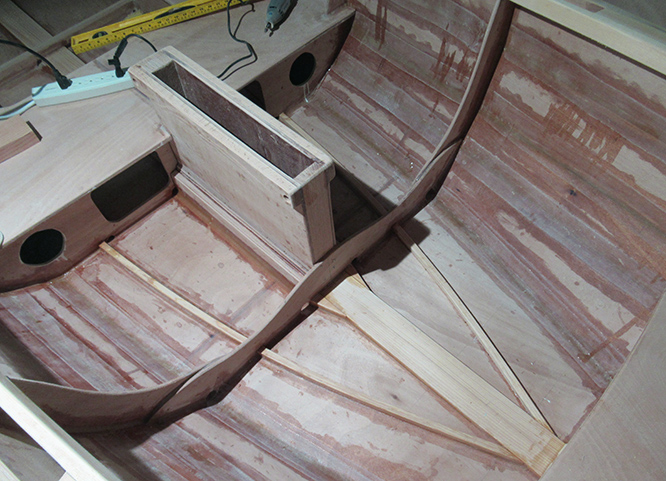
The frame surrounding the mast passthrough box is epoxied in place...
...and I finally got around to taping the joint between strakes 3 & 4 (where I had previously run out of tape).
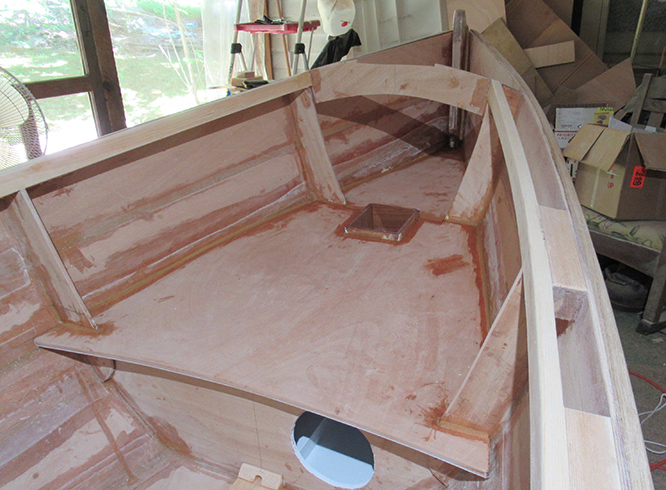
Moving on to the the long-neglected center section — it's still a little rough, so maybe a few hours of sanding and a round of fairing compound to smooth out the tape edges is needed.
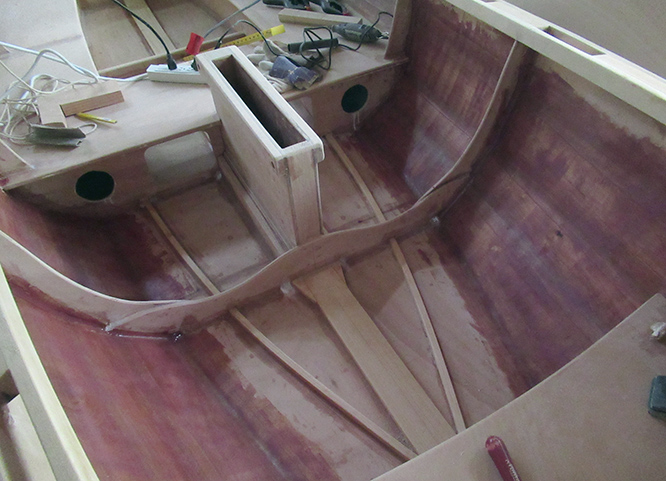
Sanding and fairing completed — had to fill some weave too.
The next major project, installing the deck — coming next week?
 June 21, 2020
Back to the drawing board to figure out the deck treatment.
I've been liking the idea of an open, gated mast partner.
Or maybe enclose it and not have to worry about a gate treatment — something to think about.
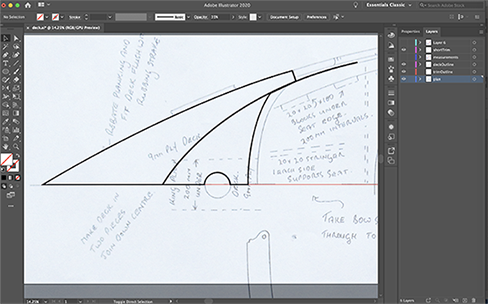
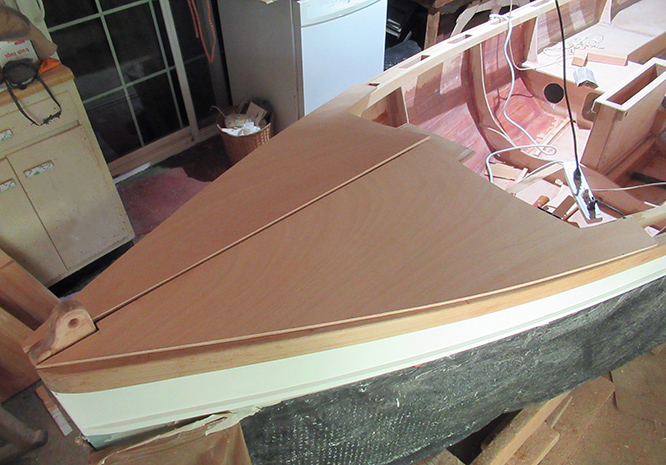
Here's a basic shape to start with — I can modify it later.
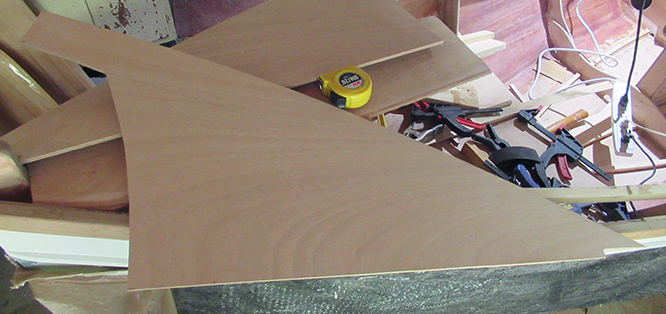
The basic deck panel roughly cut. The plans call for 2 pieces split down the center line.
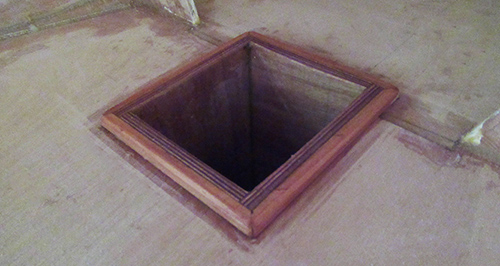
A quick shot of the completed frame around the top of the mast box.
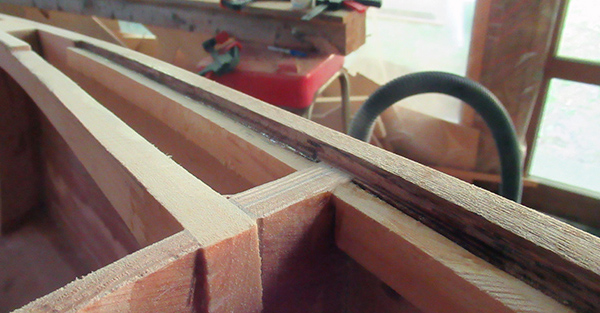
Another one of those little lines in the directions, "Rebate the top plank, inwale and frame 1 so the deck will fit flush". That may be a simple task with a router but it took half a day without one.
And of course the other side has to be done too.
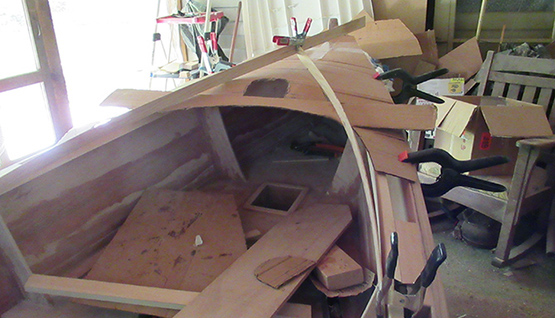
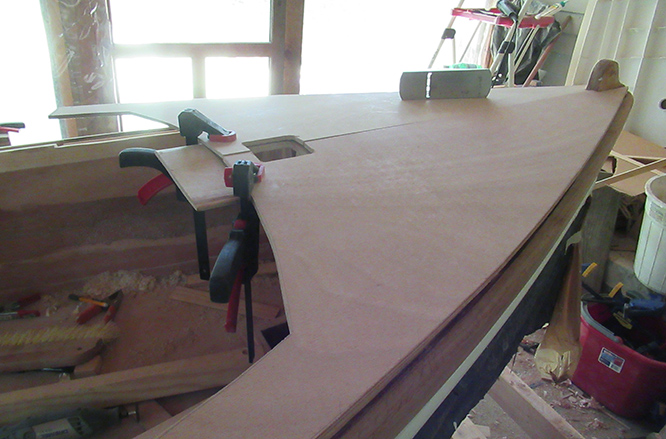
The plywood deck is bent from a horizontal position along the top center line, down to the curved sides.
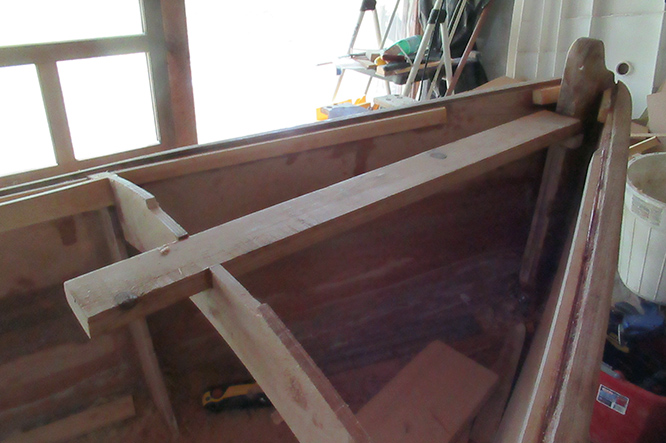
To provide a footing for the screws needed to secure pressure of the bend, I added extra supporting braces along the inside of the inwales and a narrow strip under the king plank.
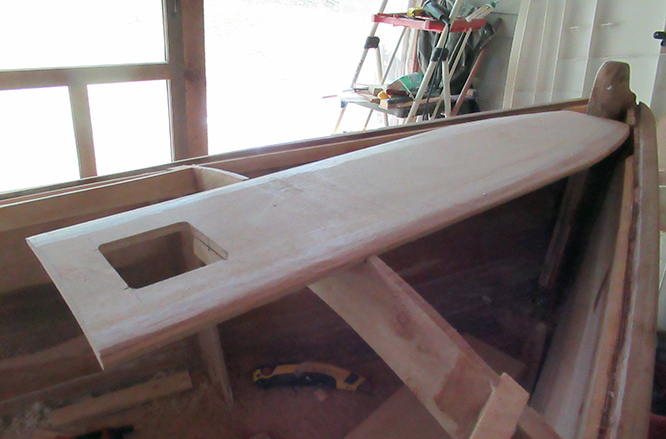
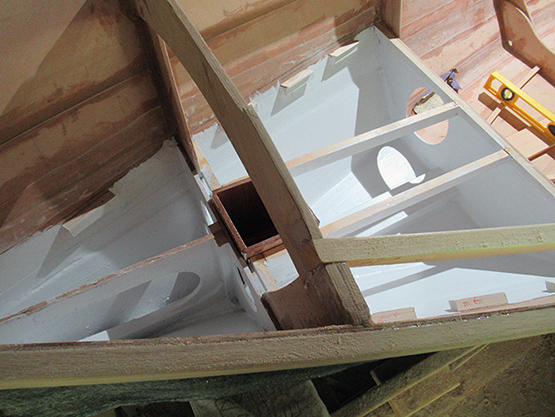
Here's the king plank in place. Why the rectangular mast hole? Well, my current plan is to use a Goat Island Skiff sail from RSS and and to construct the mast using Michael Storer's square mast plans.
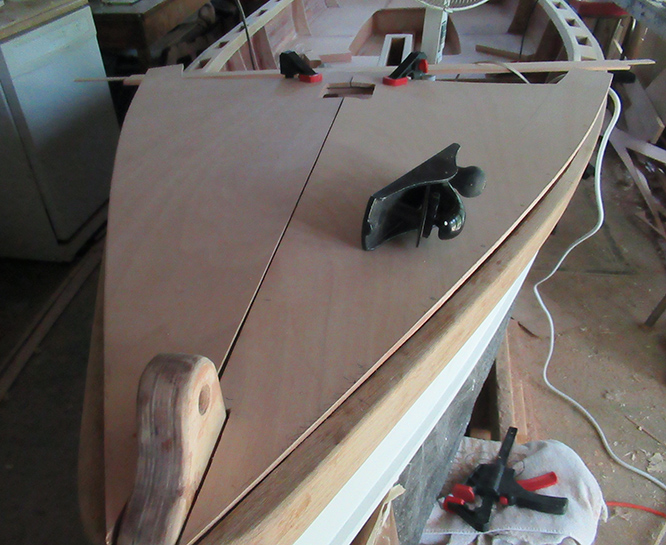
After much back and forth measuring and planing I got a good fit along the inset gunwale.
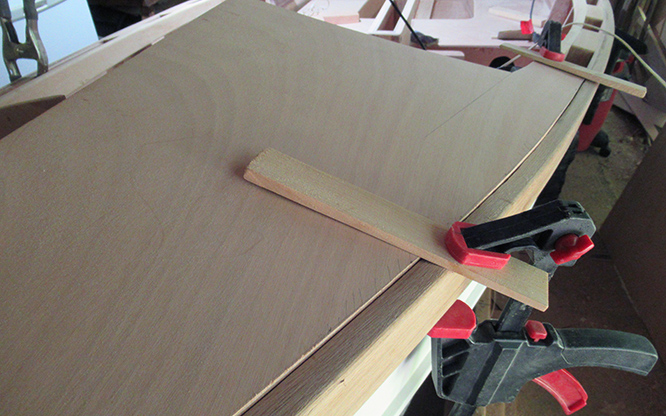
Although I'm now trying to figure out the best way to proceed. I guess the best method would be to screw and glue down the center joint, then bend down the sides and try to screw and glue along the gunwale edge. But I'm wondering when to drill the screw holes, how well the edge will fit after the bend and if I can do a trial run before adding the epoxy.
It also occurred to me that maybe I should finish sanding and painting the inside front section before the deck goes on. But by then my work time for the weekend had ended (other plans prevented work on Father's day) and the month of June is rapidly coming to an end. I guess all I can do is keep forging ahead and hope we make it to the water before Summer ends.