Winter projects
 December 30, 2019
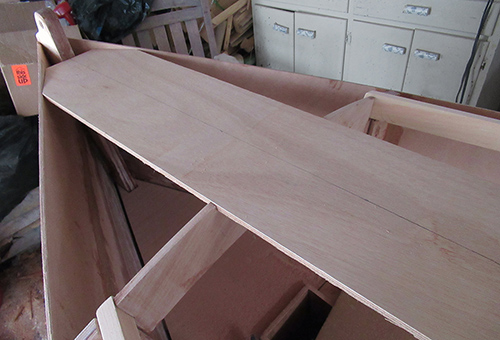
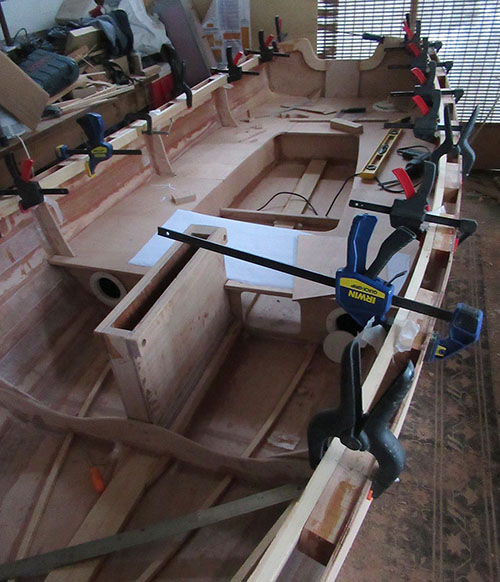
There are still some unresolved issues with the gunwales. The top of the inwales, top of the blocks and sheer line of plank 4 must all align. I cut slots in the underside of each block to adjust its height, secure it to the station frame it rests on and align it to the inwale top.
Each block is now numbered and unique because of its slot location.
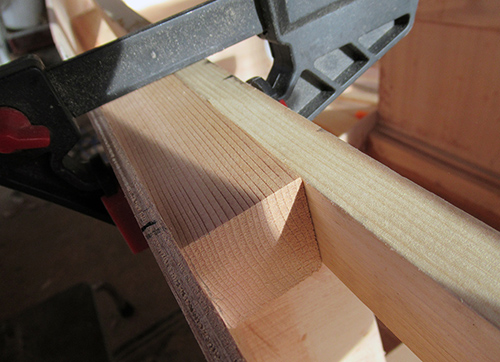
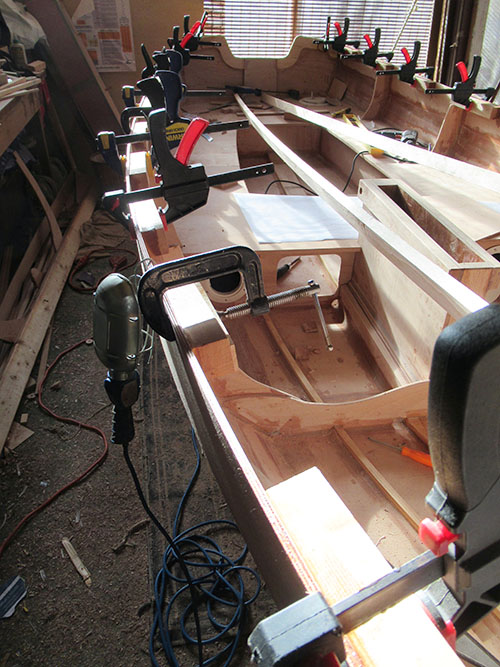
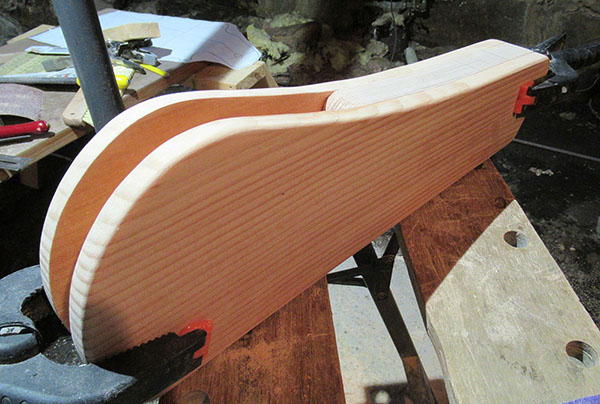
Here the block is flipped over and aligned to the inwale. The top of the side plank is the "wildcard" that will be planed to match.
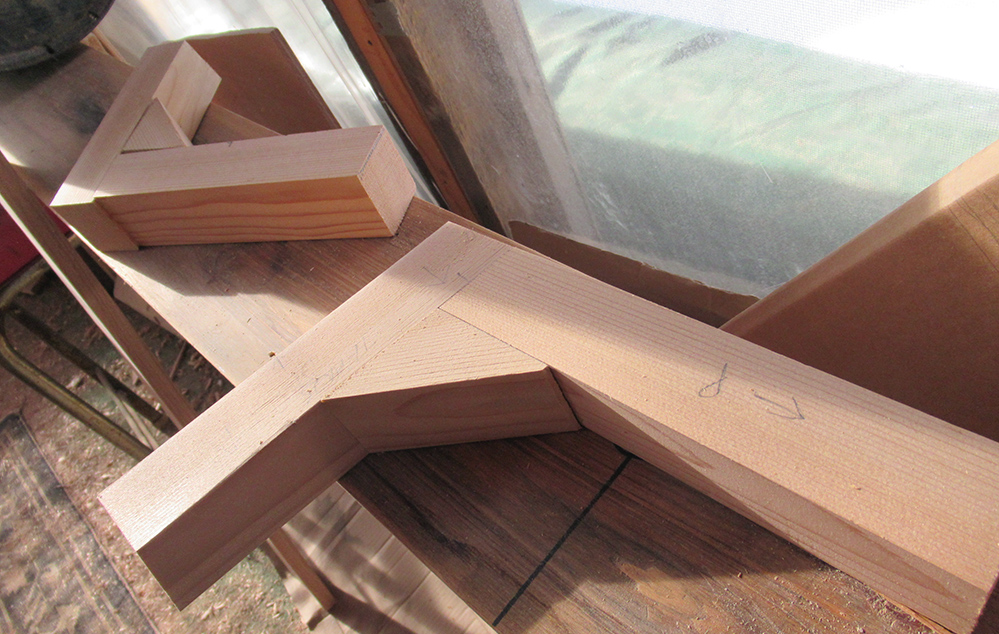
Now, back to the quarter knees... After all my designing and fiddling with them (see previous posts), I decided to scrap the effort and start over. The old design did not seem strong enough and didn't connect well physically or visually to the hefty gunwales. So here are the components of the new design. Once they are glued, I'll cut the vertical transom and side angles to fit them in place, then integrate the inwales and add some curves similar to the old design.
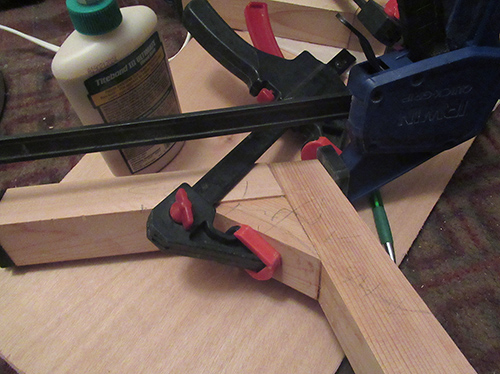
Finally something small enough to glue in the warmth of the indoors!
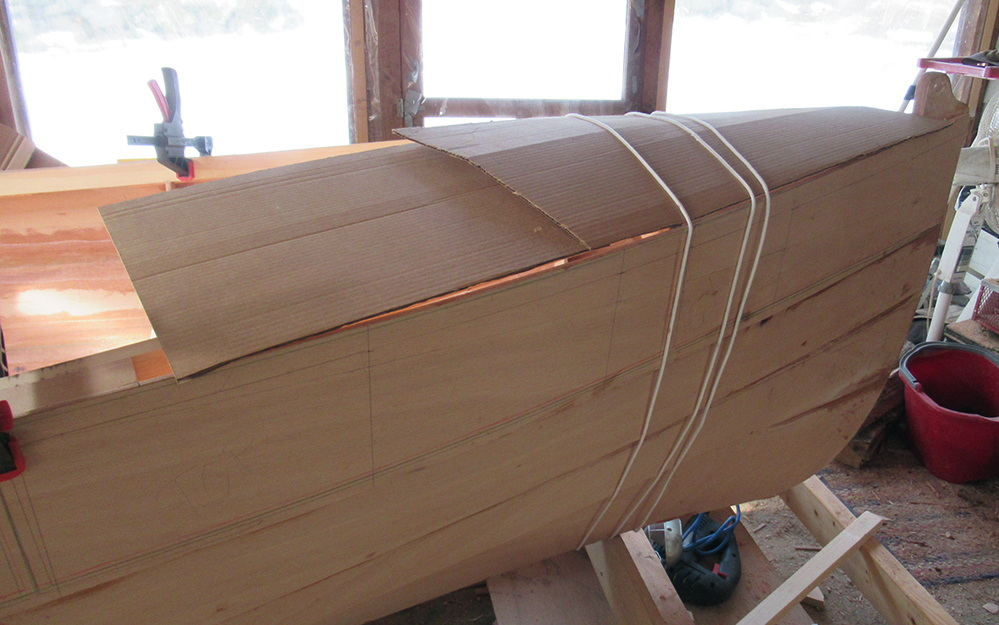
And I'm starting to think ahead to the deck treatment. A couple sheets of cardboard give a rough look into the future.
January 5, 2020
I'm still shooting for a Summer launch this year but there are times when the tasks ahead seem overwhelming. There are still the sail, spars, rigging, rudder, tiller, daggerboard, trailer and oars to deal with in addition to further sanding, filleting plus painting. And, I haven't even turned the boat over yet to finish the hull, fiberglass the bottom and add the keel.
But the only way to proceed is to focus on the next project, so that seems to be the daggerboard and rudder. I can work on them indoors while I'm kind of at a standstill with the boat. I've been weighing the options, calculating how much additional lumber is required while trying to minimize costs. The daggerboard is large and I think it's worth the price to keep it light by using Western Red Cedar but I may go with laminated plywood for the rudder. In the meantime here's a look at a couple smaller matters I was able to work on this week...
Dealing with a lot of angles here and it's all under springy tension from the inwale, but I finally got a decent fit for the quarter knees.
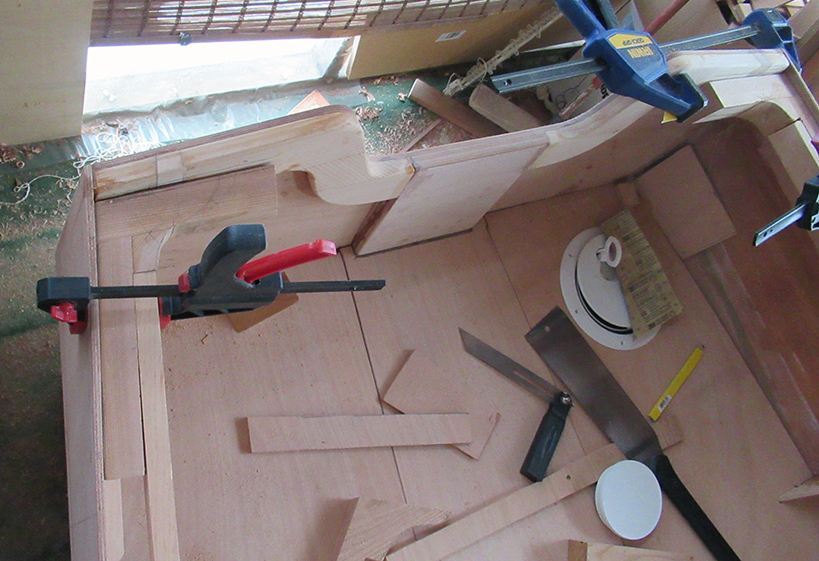
The final positioning will happen when I can epoxy all into place.
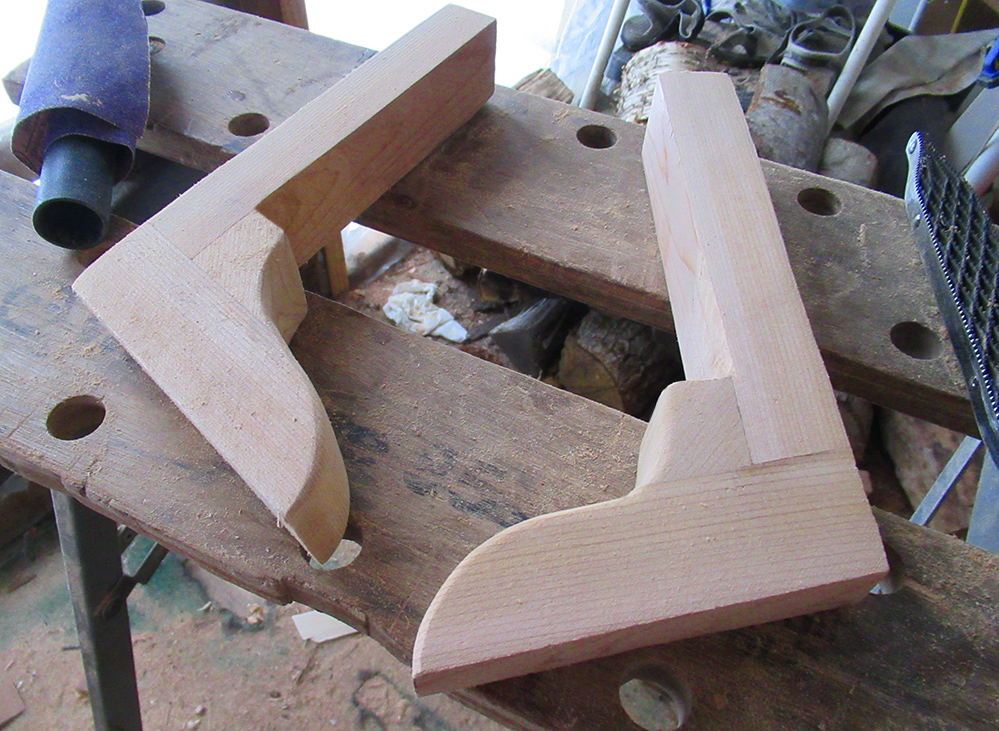
Here are the final pieces. They were completely shaped by hand using the small pull saw, Shinto rasp, file and sandpaper.
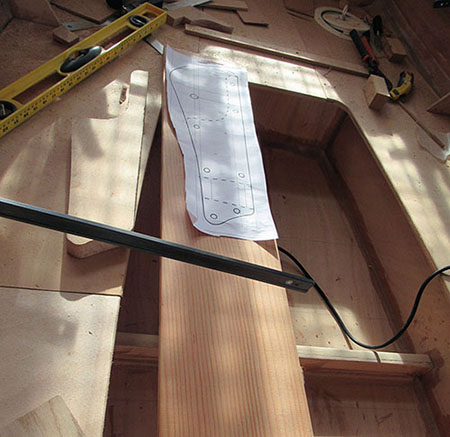
Moving up to the bow, the king plank goes under the front deck to add strength to the mast partner.
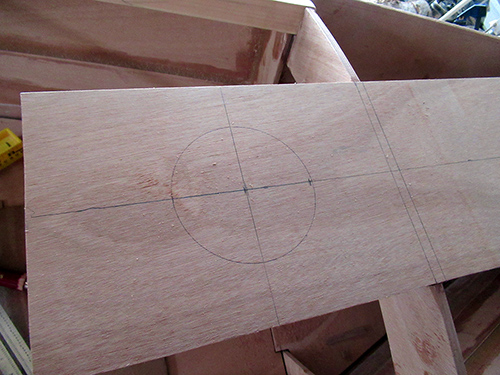
The position of the mast cutout is determined.
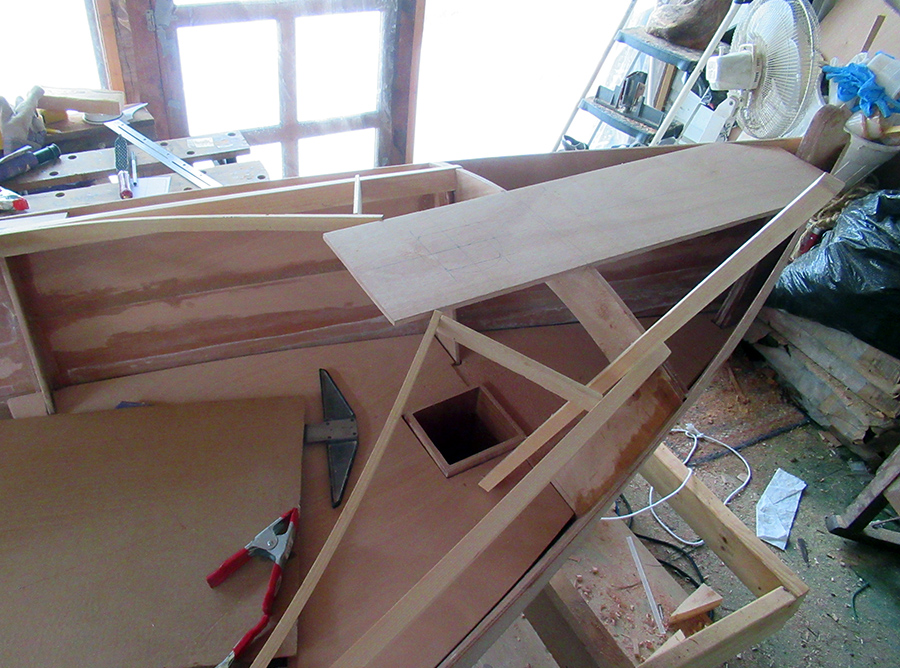
I'm currently mulling over various deck treatments with some temporary framework to help visualize. The current thought is to make a gated slot for the mast partner rather than the circular hole.
I'll be thinking about that issue during the week, but next weekend will bring another trip to the lumberyard and the start of the daggerboard/rudder project.
 January 12, 2020
Change of plans... I was a little bummed because circumstances required postponement of the lumber yard trip until next weekend. But, there was a stroke of luck: two warm days in the 60s (F) this weekend – a golden opportunity to get the epoxy out again!
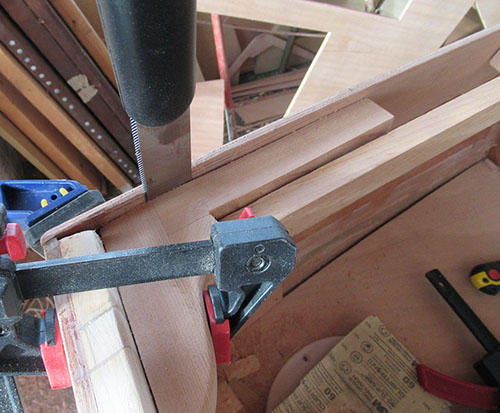
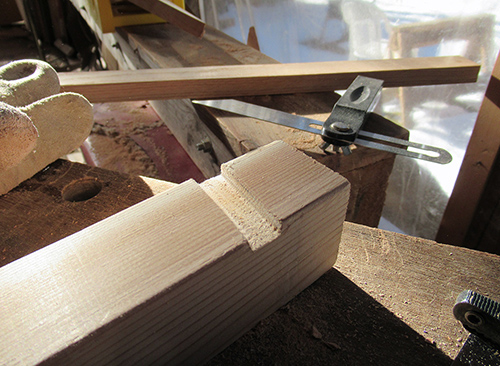
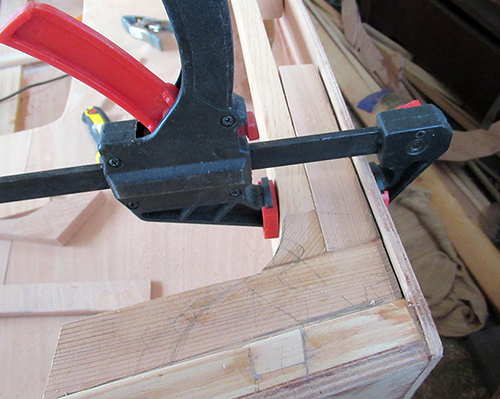
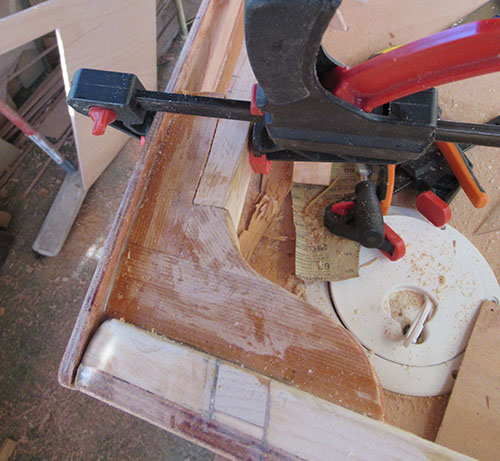
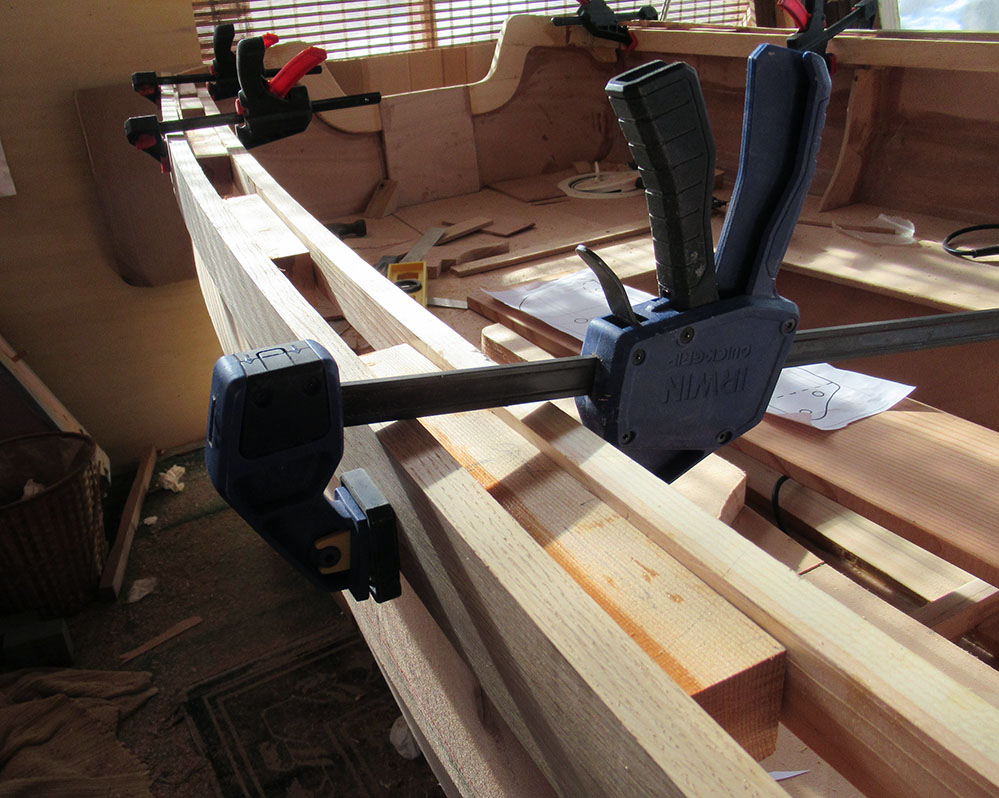
I've been wanting to get those gunwale blocks and quarter knees secured in place. But, always a little cautious when beginning an irreversible procedure, I went around to all the gunwale blocks one more time to fine-tune the fit. Above I'm sawing between the wall and the knee to tighten up the spacing (the inwale is hanging loose).
In this photo, the blocks have all been epoxied to the hull. The inwale is being used as a guide at this point. Once the blocks have set up, it will easier to position the inwale more accurately. Currently, to move it even slightly requires loosening the clamps while miscellaneous blocks tumble into the boat.
I'm also gluing up four scrap pieces of plywood for the rudder housing spacers. The plans call for a width of 30mm so I'm laminating two 9mm and two 6mm pieces.
Wow! Epoxy almost hardened overnight – just like Summertime. I removed the inwale to be sure no epoxy had found its way into the joint. So basically I've just glued the blocks to the hull, but they are perfectly aligned to the top of the inwale. I plan to permanently attach the inwale when I do the rub rail so there is equal pressure from both sides on the still-flexible side wall.
By noon the epoxy had completely hardened. With blocks secured I could more easily maneuver the inwales into place to clean up the joint with the knees. It's not as easy as it may appear because the inwale is being twisted in two directions and the entire setup is under constant tension.
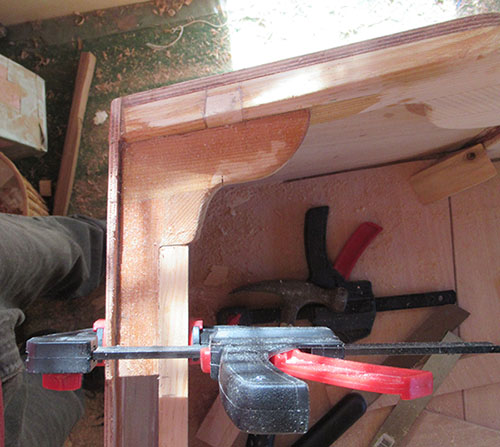
Finally things look pretty good and now that all is in place, I will clean up those curves a bit.
I'll try to transfer the pattern and cut out the rudder housing spacer during the week and I'm still on schedule to pick up the lumber and start on the daggerboard and rudder next weekend.
January 19, 2020
I made it to the lumber yard and back (140 miles) before a pending snowstorm hit in the late afternoon. Above is the reminder I saw every few miles along the highway.
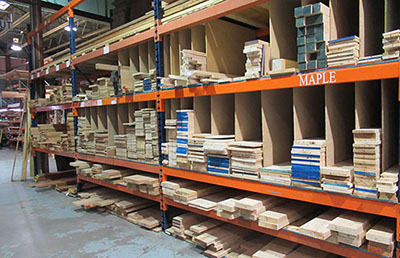
Back at Boulters, I paid a visit to the marine lumber section for some Western Red Cedar, Douglas Fir and White Oak.
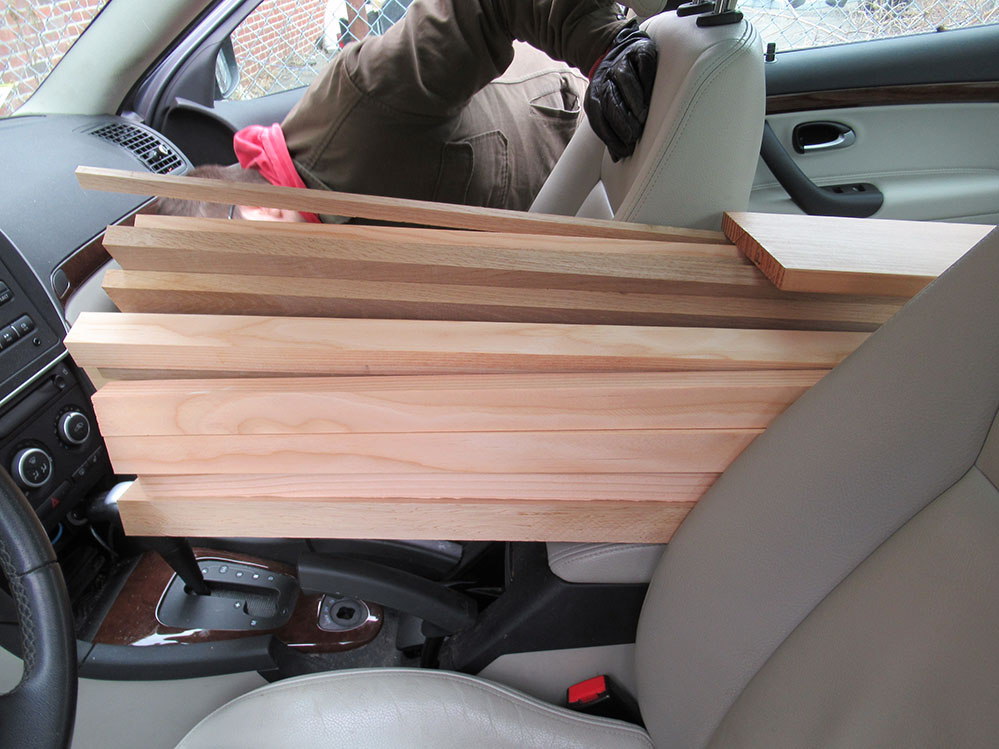
The entire purchase fit conveniently inside the car. Probably not the safest way to travel but everything was tied down and bungeed in the back. Here, my son is checking to see if we've cleared the gear shift.
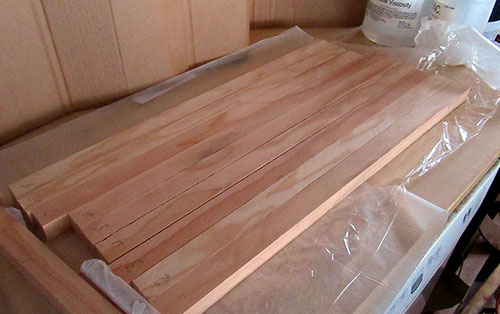
I took advantage of the cutting service at the lumber yard and had the pieces all ripped to size. Yes, there are some advantages to power tools.
The daggerboard stock is on the left and rudder stock on the right. They'll all be cut into shorter lengths to make up the required widths.
I also got some Douglas fir for the rudder case...
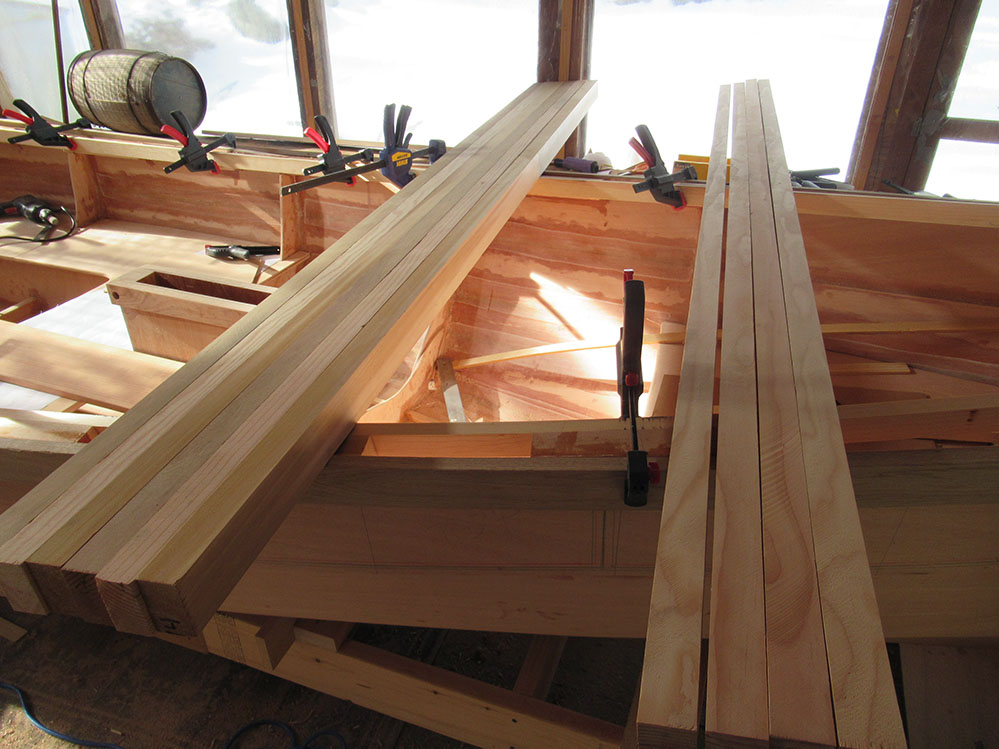
...and some white oak for the outer gunwale. This piece clamped right into place but to get the proper vertical curve is going to take quite an effort.

And now for something completely different...
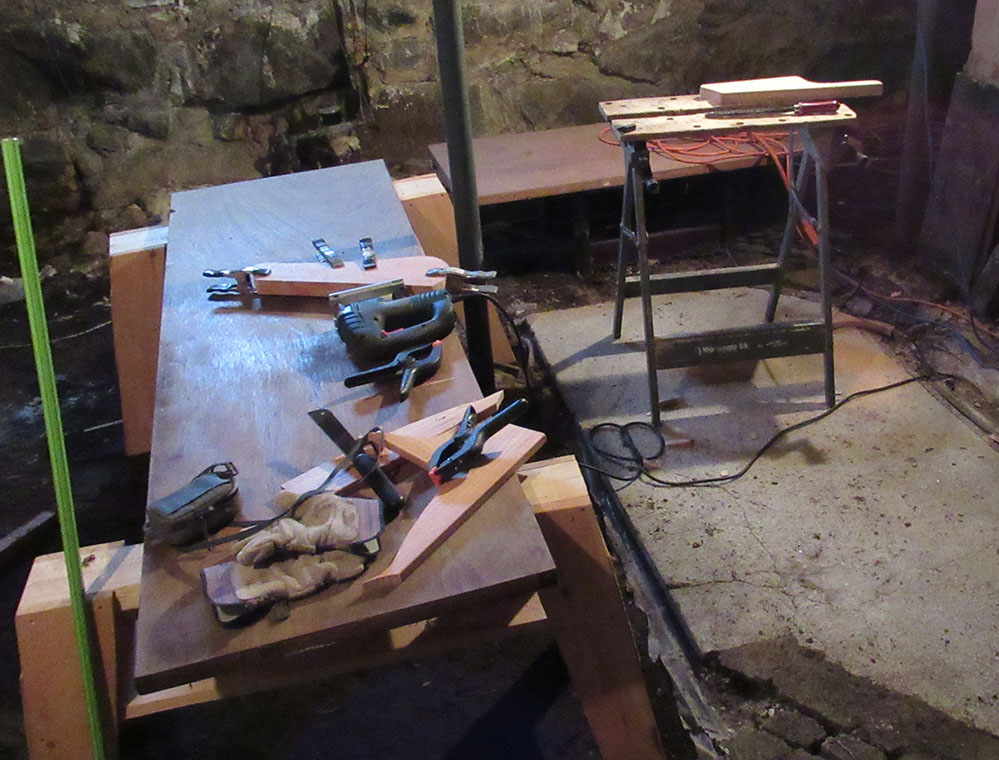
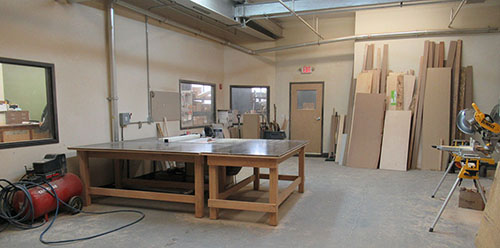
I've set up a temporary workspace deep down in our old New England cellar, far from the light, breezy porch that has been featured on these pages.
The first basement project was the rudder case.
Hopefully I can laminate the daggerboard and rudder here too. It's warm enough for epoxy and I found some large doors I had forgotten about that will serve as a flat work surface. Stay tuned!
January 26, 2020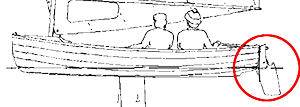
With the basement work area in operation I can go forward with the rudder and centerboard. This week it's all about the rudder.
Ready to laminate the Douglas Fir stock..
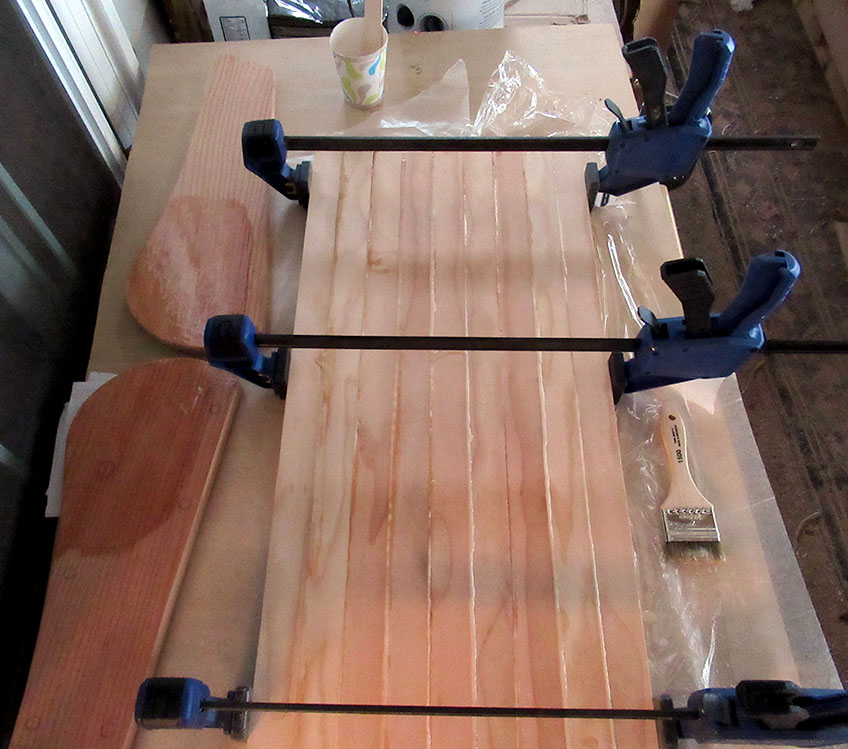
All glued up. I cleaned up the squeeze out, covered the top with plastic wrap and clamped some boards on top to keep it all flat. I also gave the inside of the rudder case a coat of epoxy in the area that will contact the rudder.
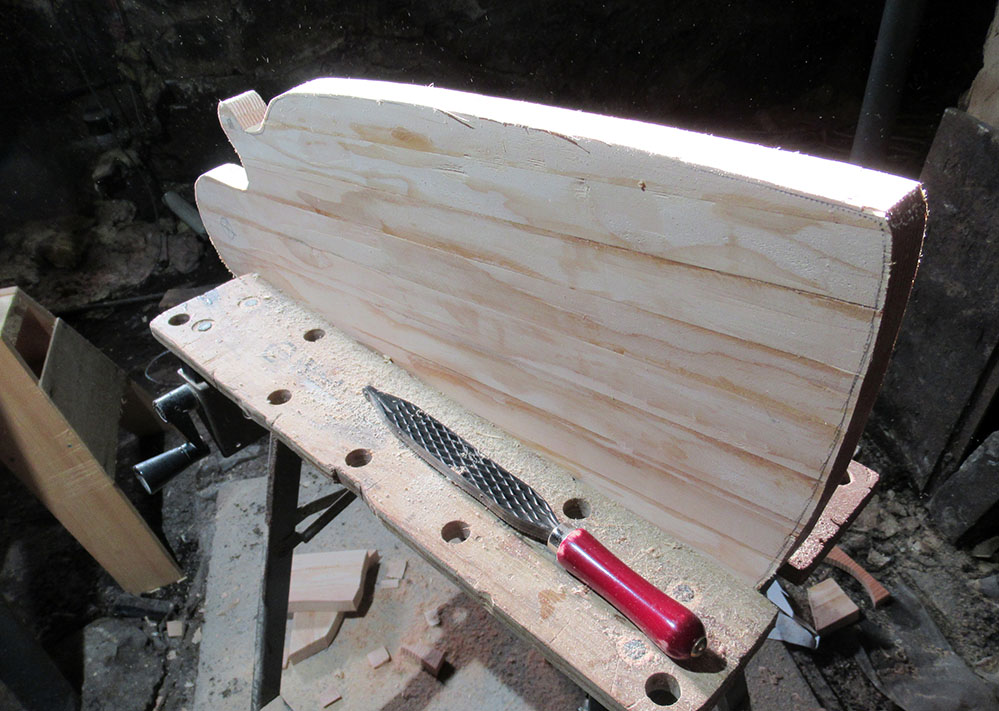
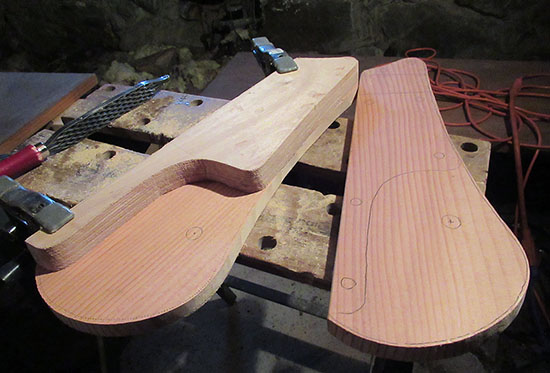
The epoxy cured overnight so the next day I began the shaping process. Here it is after a rough cut with the jigsaw and the top edge planed and filed down to the line.

With a lot of hand shaping work ahead of me, I picked up a new tool to help with those interior curves – it's a circular Stanley Surform.
I also continued to work on the rudder case but left it unassembled. I want to be able to accurately position the rudder, then drill the pivot hole through the entire assembly.