(Fall 2006 - Spring 2007)
Sea Tour Project:
● Intro & Cross Sections● Frame
● Coaming
● Skinning
● Coating
● Accessories
● Launch
● Update
● Reskinning
Related Links:
Yostwerks.orgSea Tour 15 table of offsets
Tom Yost's Building Manual
Gentry Custom Boats
14-minute sawhorses
Skin Boat School
Spirit Line Store
Cornering Tool
Snap Dragon Back Band
SKWOOSH Paddling Cushion
Frame
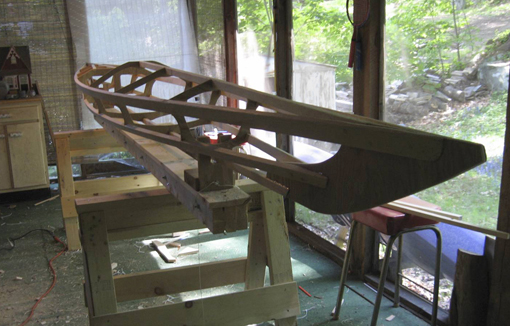
Cross sections 1 and 6 are aligned and fastened to the mounting brackets.

Gunwales are in position and held temporaily with bungee cords.
In just a few minutes the remaining cross sections and chine stringers are slid roughly into place and secured with bungees.
An exciting time because it quickly took the shape of a kayak!
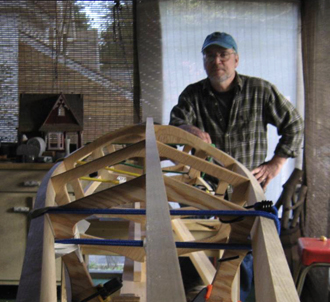
Hey, a good time to stop and take a photo!
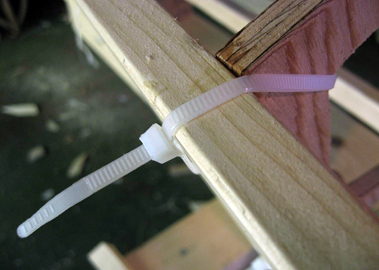
Bungees and clamps were replaced with zip-ties - freeing up the clamps for use elsewhere.
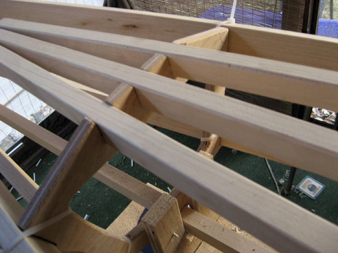
The remainder of the deck stringers are in place (looks like I'll have to raise the nearest one a little).
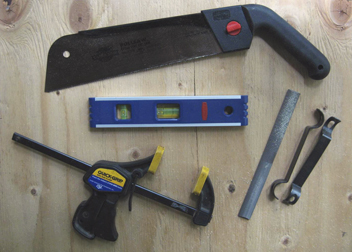
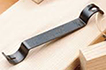
Up to this point, these are the only tools used for the frame (in addition to a power drill and jigsaw).
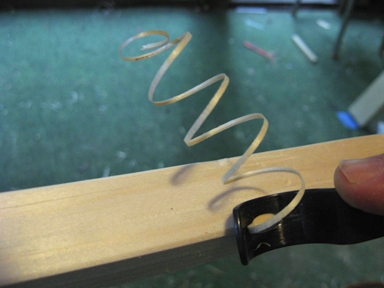
The small corner planes, while not essential, produced some interesting curls.
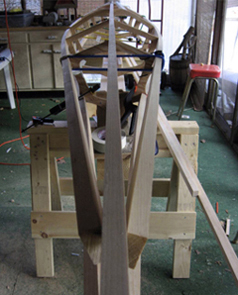
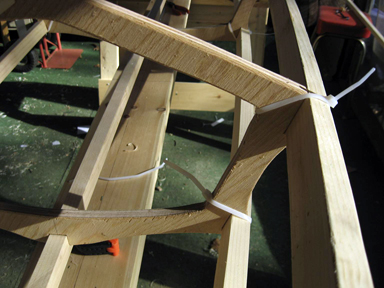
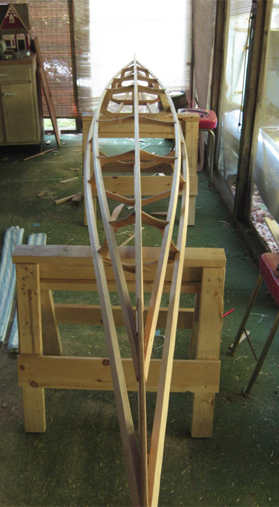
Next come the front and rear end pieces.
I extended both beyond the natural meeting point of the stringers, increasing the overall kayak length to 16 feet.
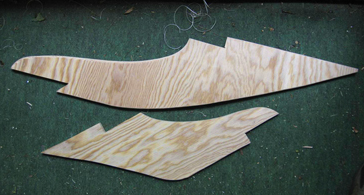
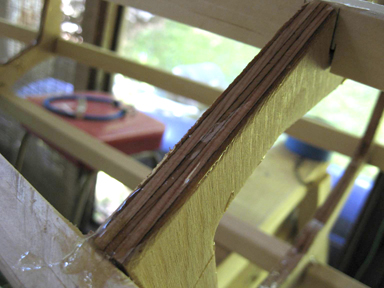
After experimanting with several shapes, the final designs were transfered to plywood from the cardboard templates shown above.

The stringers are beveled to form a smooth transition as they meet the end pieces.
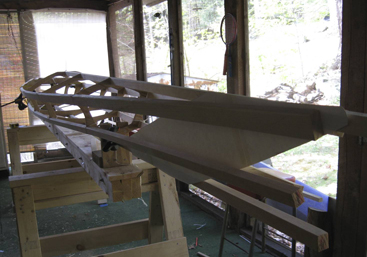
Getting closer...
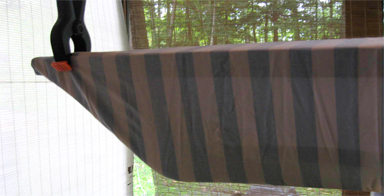
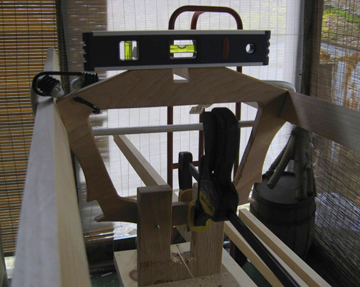
Checking the shape with a sheet draped over the framework.
Here is the final shot of the gunwales meeting the front end piece.
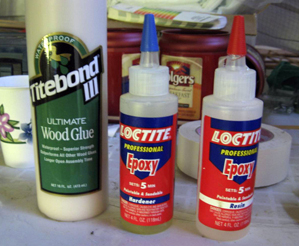
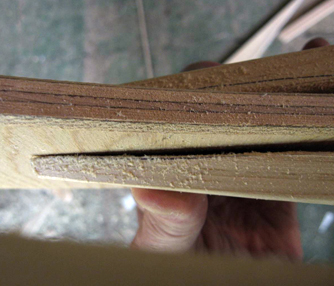
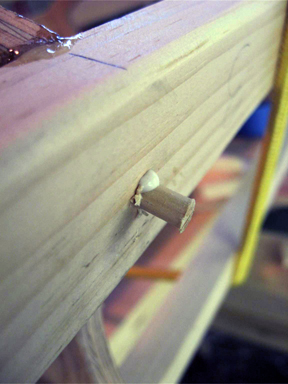
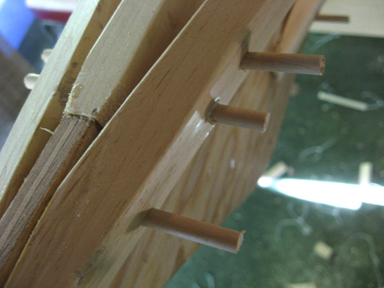
OK, with everything (hopefully) in place, it's time to secure the pieces together. I used glue and dowels.
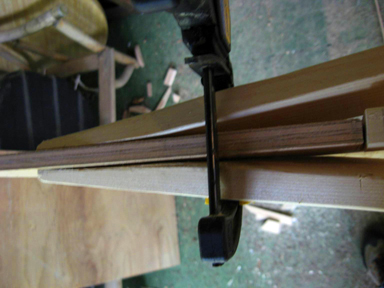
More zip ties held the stringers in place while the epoxy hardened.
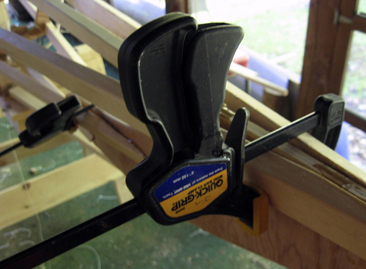
And clamps secured the end pieces.
I added 3/16" dowels at each cross section.
And 1/4" dowels through the bow and stern.

Now just sit back and wait for everything to dry.

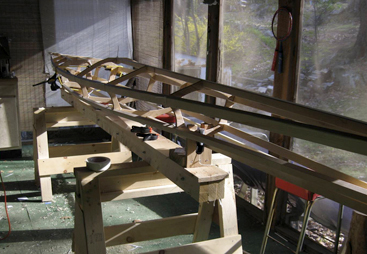
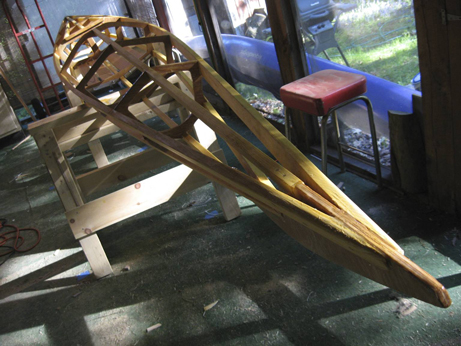
Well, it's finally one solid unit - note, no more clamps or zip-ties!
This was the final photo before the frame was released from the strongback.
Here the frame is flipped over and ready for installation of the cockpit floor.
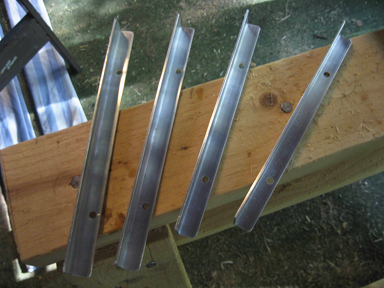
Supports for the floorboards were cut and drilled from aluminum angle bracket material then bolted to the cross sections.
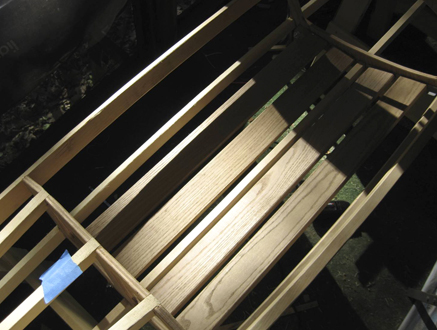
I purchased some additional oak stock for the floor and coaming.
All the plywood was sealed with epoxy.
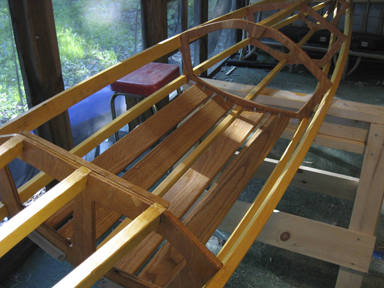
And the remaining wood was coated with Watco Oil.
And here's the completed frame!