(Fall 2006 - Spring 2007)
Sea Tour Project:
● Intro & Cross Sections● Frame
● Coaming
● Skinning
● Coating
● Accessories
● Launch
● Update
● Reskinning
Related Links:
yostwerks.orgSea Tour 15 table of offsets
Tom Yost's Building Manual
Gentry Custom Boats
14-minute sawhorses
Skin Boat School
Spirit Line Store
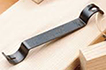
Cornering Tool
Snap Dragon Back Band
SKWOOSH Paddling Cushion
Coating
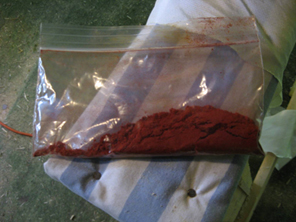
I used a little over 1/2 of this amber dye to get the light yellow color I was looking for.
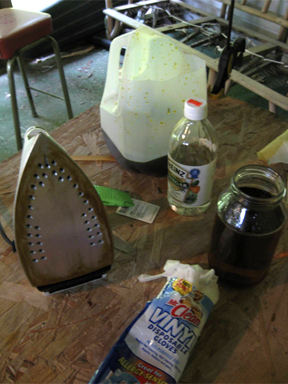
Here are additional dying supplies: rubber gloves, mixing container, vinegar, and an old iron (well, it's an old iron now!).
The color was applied with a folded cotton material. Then while still wet, the skin was ironed to tighten it up. A second coating of dye smoothed the color a bit.
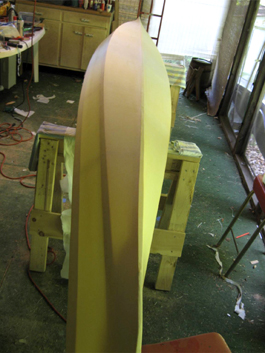
Here's the final color - my wife's comment: "Looks nice, doesn't look like a big bandage anymore."
The dyed skin drying in the breeze.
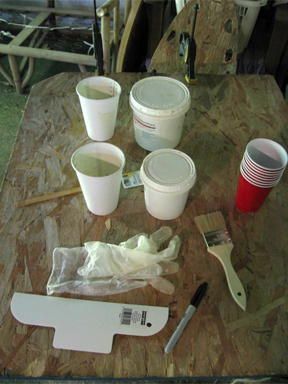
The materials required for the urethane application: plastic spreading card, urethane parts A & B, measuring cups, mixing cups, rubber gloves, stirring stick, disposable paint brush, and a marker I used to darken the measuring lines.
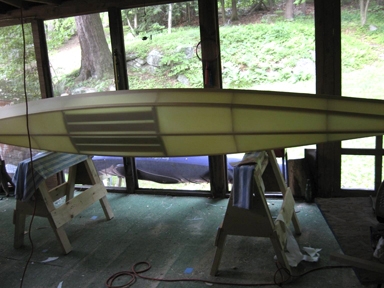
The boat - dyed, dried and ready.
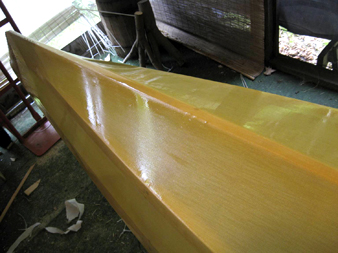
It's not easy to stop and take photos during this process but here are a couple, one after 2 coats...
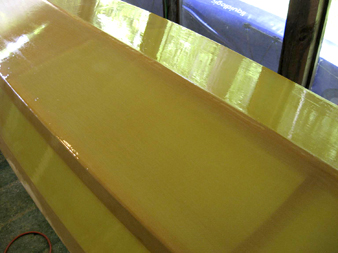
...and one after 3.
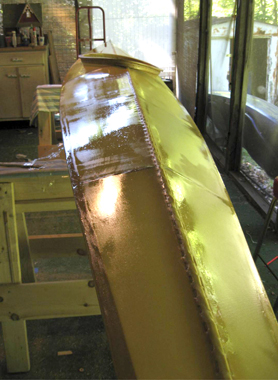
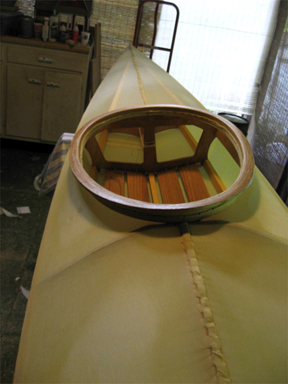
The deck was done the next day. Here it is after about 1-and-a-half coats.
And here it is after the final (third) coat.
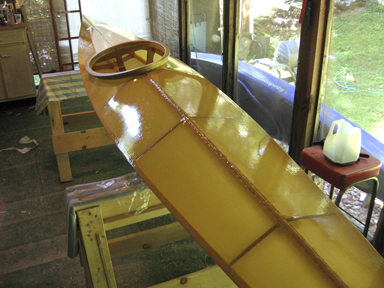
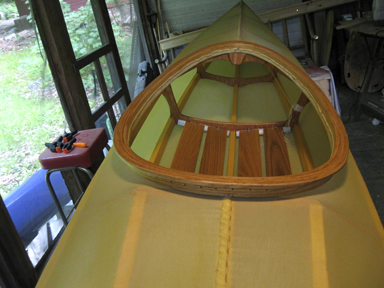
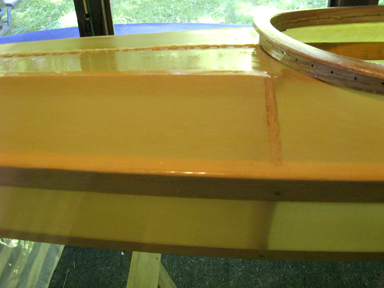
A shot of the finished front deck.
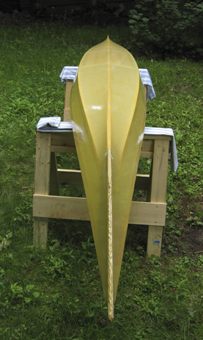
Out drying in the sun.