(Fall 2006 - Spring 2007)
Sea Tour Project:
● Intro & Cross Sections● Frame
● Coaming
● Skinning
● Coating
● Accessories
● Launch
● Update
● Reskinning
Related Links:
yostwerks.orgSea Tour 15 table of offsets
Tom Yost's Building Manual
Gentry Custom Boats
14-minute sawhorses
Skin Boat School
Spirit Line Store
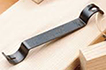
Cornering Tool
Snap Dragon Back Band
SKWOOSH Paddling Cushion
Coaming

To start a laminated coaming, I cut this center form from 1" press board (dimensions are provided with the Sea Tour offsets).
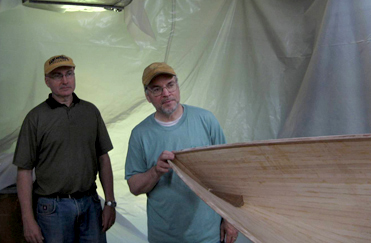
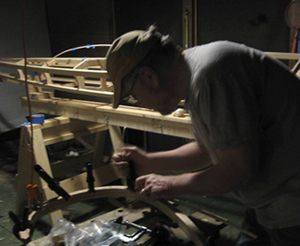
The friend with the table saw offered to help again. Here we are in his shop admiring his wood strip canoe project.
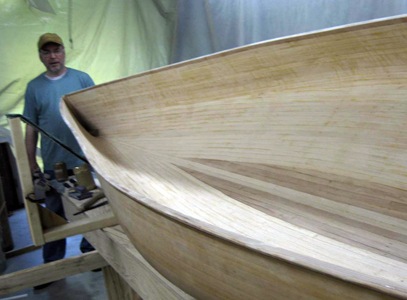
My thoughts at the time: "Wow, after ripping all of those strips, the few strips for my coaming project shouldn't be too hard".
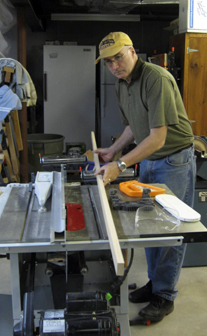
We cut 2 oak boards down to six strips, 1-1/4" x 3/32" x 8' for the coaming, and six strips, 3/8" x 3/32" x 8' for the lip.
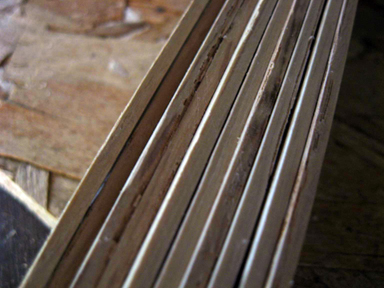
Arriving back home with a stack of strips, I wondered how well they would bend around the form.
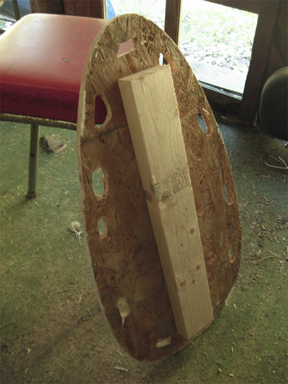
To prepare the form, I cut out some clamping holes and nailed a board to the bottom so it could be held securely in a Workmate.
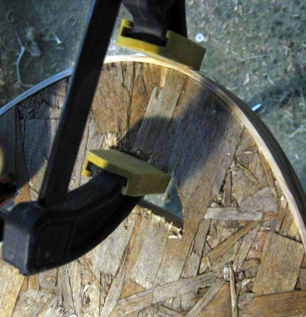
The 3/32" strips required only a short soak in water to bend around the tightest curve at the front of the coaming!
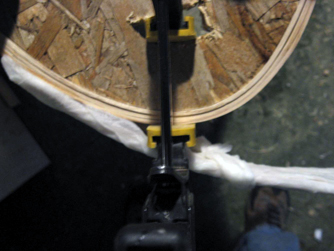
On successive wraps, applying a water-soaked cloth for about 10 minutes did the trick.
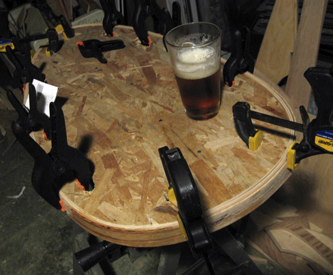
Made a nice "coffee" table while drying too!
Four layers were clamped overnight, then glued the next day with Titebond III.
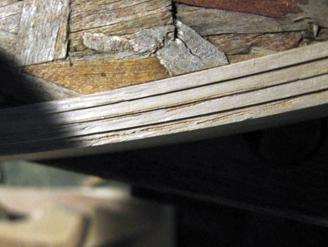
The next night I popped the now 3/8"-wide coaming off the form and went through the same procedure for 6 more laminated layers.

I ended up with ten layers total - five for the coaming and five for the lip.
The inside dimension is 30" x 16". The coaming depth is 1-1/4", and the lip is 3/8" deep.
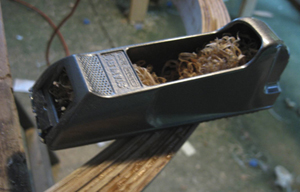
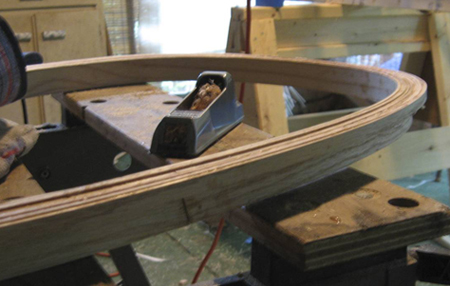
Enter a new tool: A Stanley Surform - worked great for smoothing the rough layers.

Starting to look better.
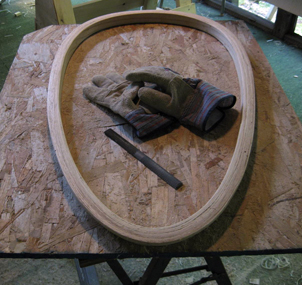
Some finer cleanup with a wood file.
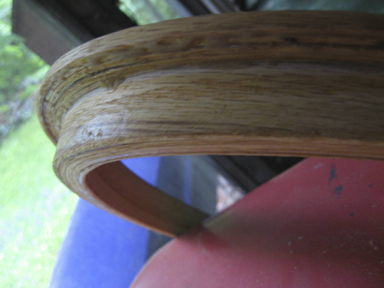
A close-up side view.
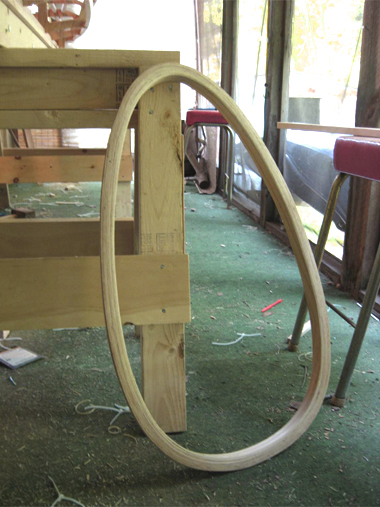
And, the final glamour shot :-)