(Spring 2026)
Rob Roy Cedar Strip Canoe:
● Intro & Station Forms● Building the Strongback
● Cedar Strips
● Stripping the Hull
● Closing up the Hull
● Prepping for Fiberglass
● Fiberglassing the Outer Hull
● Fiberglassing the interior
● Gunwales and Decks
● Finishing Up
Finishing Up
Let's get some final tasks wrapped up and then get out on the water!
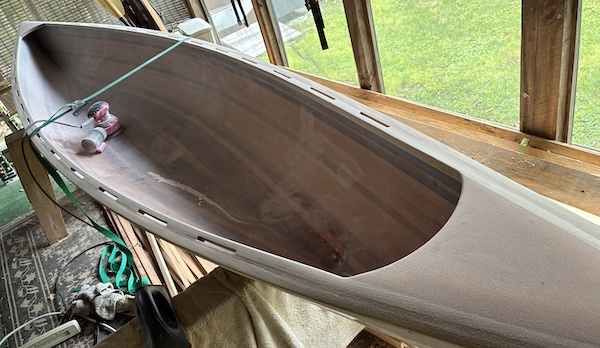
A quick final sanding of the interior…
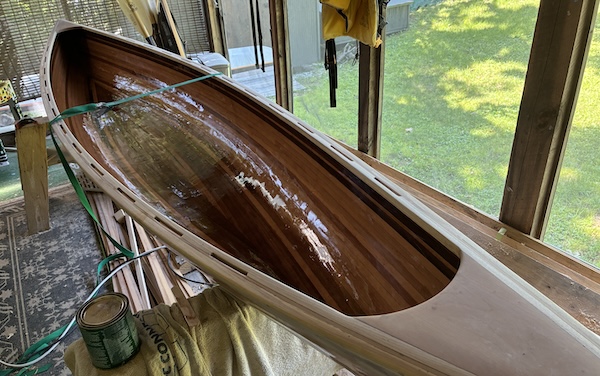
…and the first coat of varnish (later followed with a second gloss coat and a final coat of satin to reduce glare.)
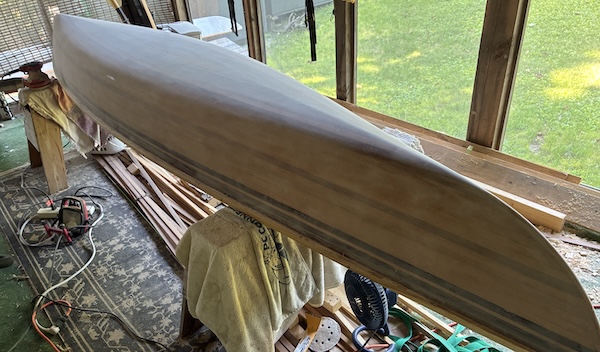
Exterior sanded…
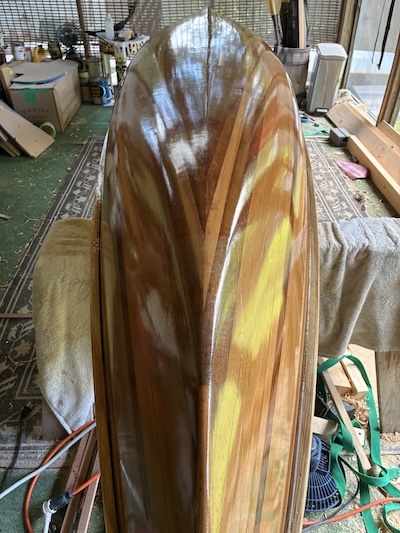
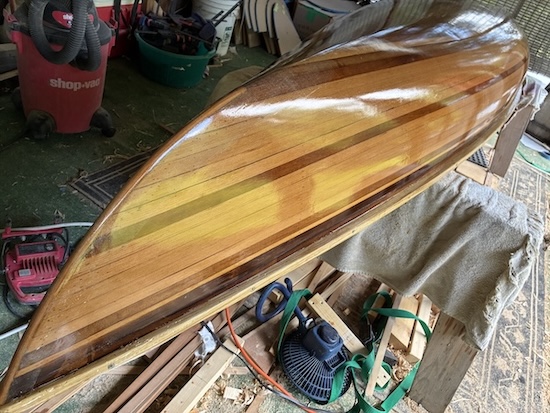
…and several coats of varnish applied.
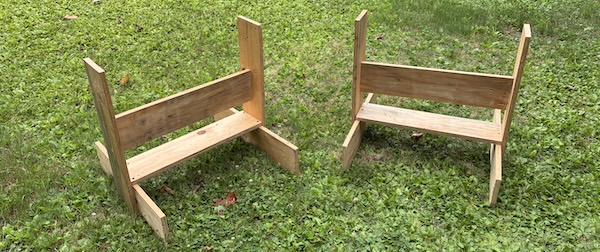
As a quick side project, I built a pair of canoe stands from plans provided in the Bear Mountain instruction manual.
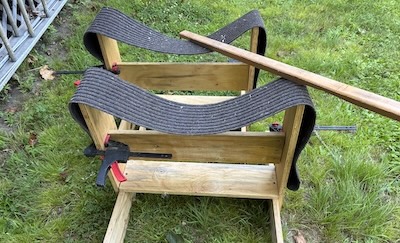
Heavy-duty carpet strips were used to protect the hull from scratches.
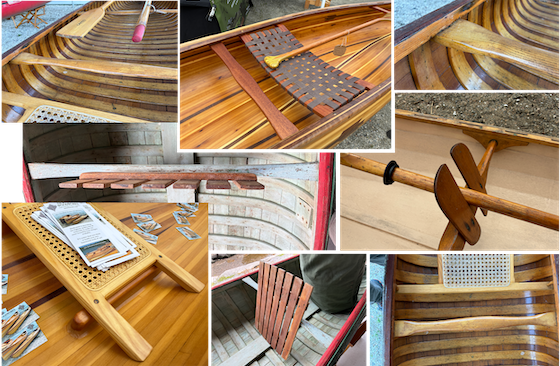
And I took an additional day off to attend the annual Wooden Boat Show at Mystic Harbor where I was able to view and photograph several ideas for the thwarts, seat and footrests.
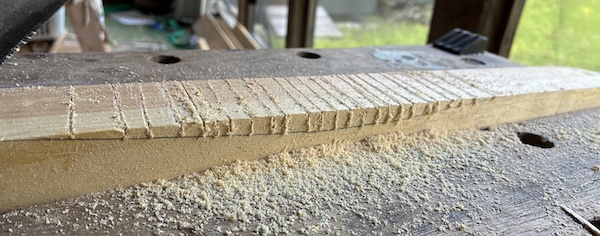
Back home starting on the thwart, I pencilled in a rough shape and began removing excess wood.
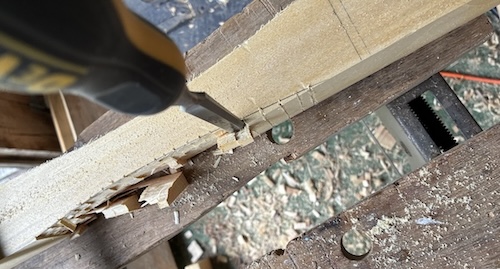
Chiseled to a more finished shape.
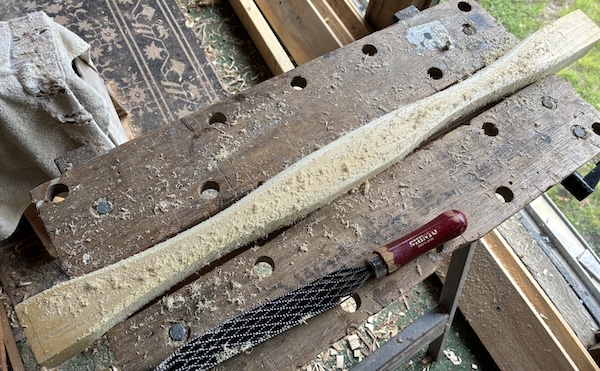
Then used the Shinto rasp for final shaping.
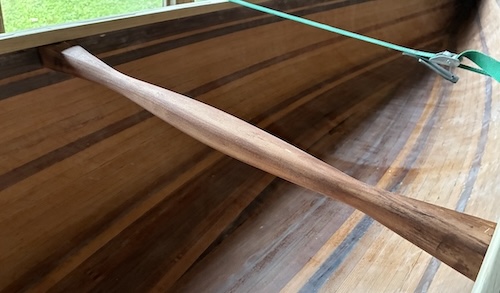
Then a trial-and-error approach to determine the proper width and placement of the thwart.
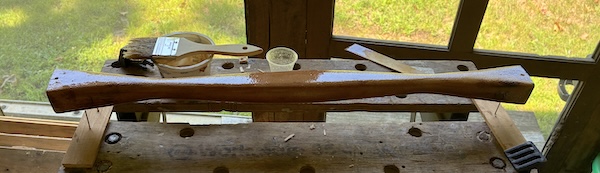
Finished off with some final coats of varnish.
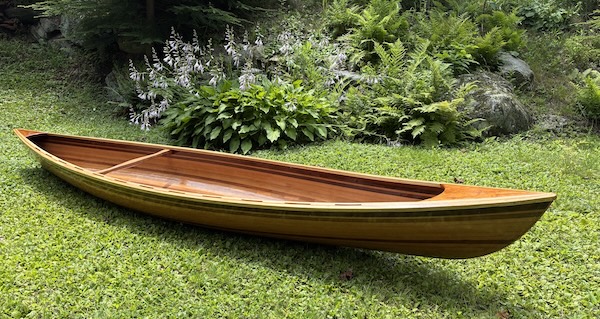
And here it is – out of the shop and in the sunlight!
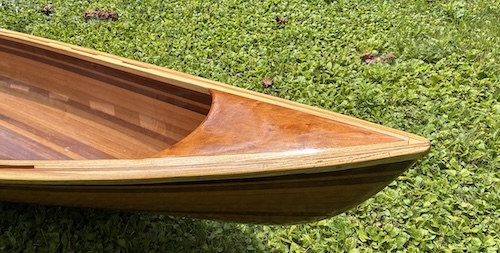
A close-up of the cherry deck.
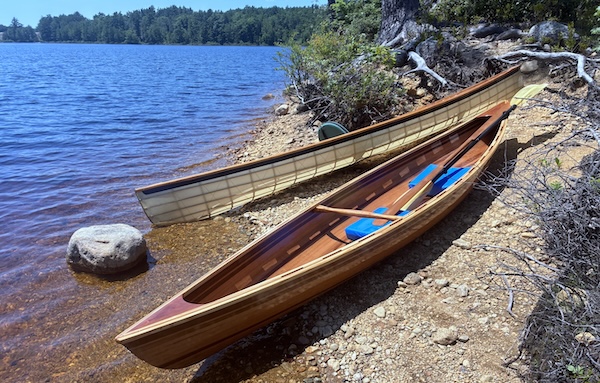
A couple days later my daughter came to visit and we took both canoes to a nearby lake.
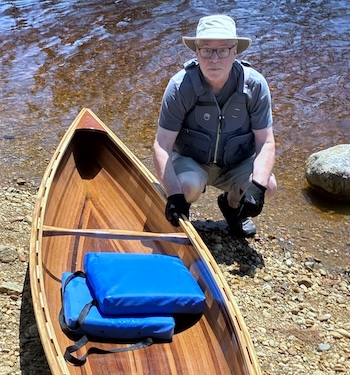
Using two loose boat cushions as a seat, they were moved around and/or stacked until the seating and balance felt comfortable.

I wanted to determine the prime seat location and height before doing any permanent installations.
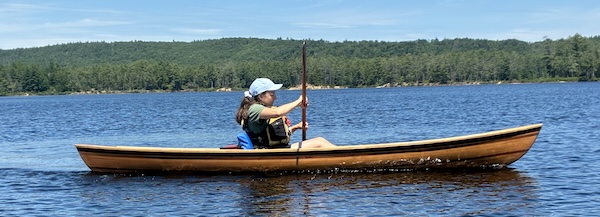
With my daughter at the helm, I was able to observe how it sits in the water.
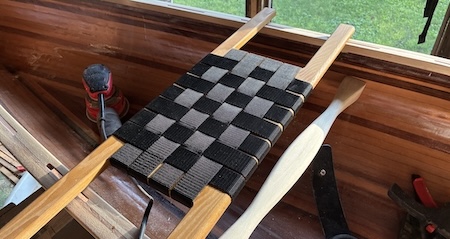
Using the location we had determined, I began the installation of this Amish-made webbed canoe seat from Redfeather Outdoors.
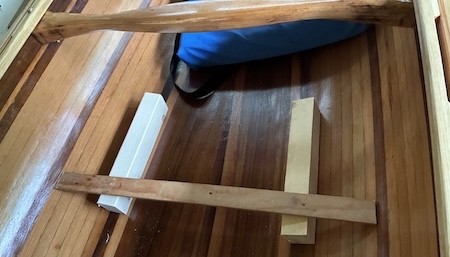
It will be mounted on these two blocks. The flat board is being used to determine the correct width.
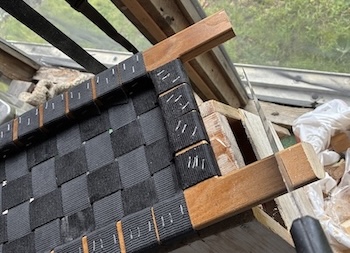
Sawing the seat to size. The ends will be anglesd and slightly rounded to fall about 1/8" away from the canoe's side strips allowing the full weight from the seat to fall on the supporting blocks.
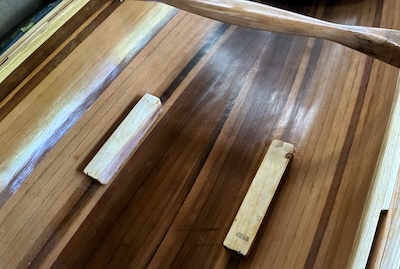
The support blocks were attached to the hull with slightly thickened epoxy.
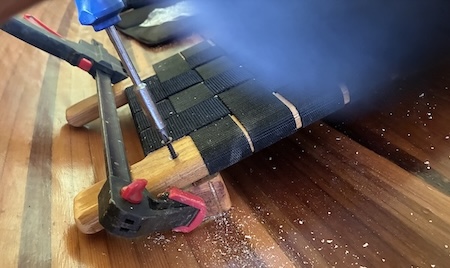
The seat is then screwed to the blocks.
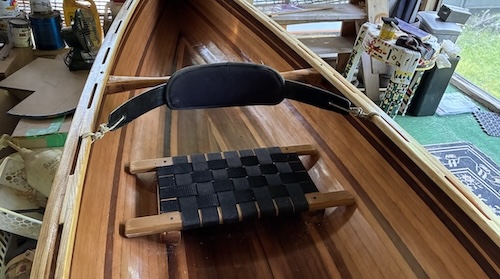
I'm reusing the back-band from my older Sea Tour kayak, easily attached with paracord to the gunwales and thwart.
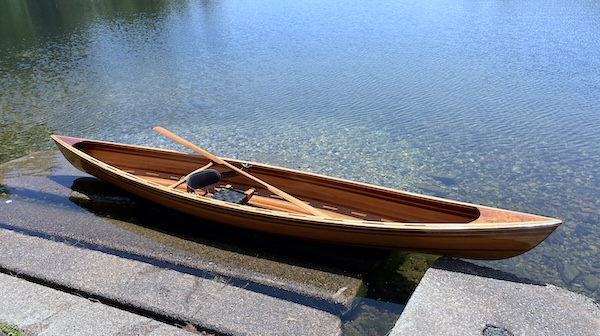
The seat worked well and was as comfy as any canoe seat. I may throw a thin cushion on it for longer trips.
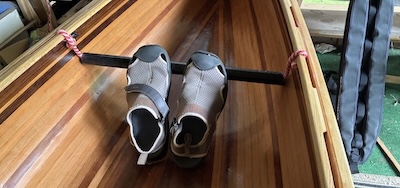
I tried tape-covered PCV pipe as a foot rest but wanted something more secure and permanent. (Water shoes are temporarily leaning against foot rest to gauge height.)
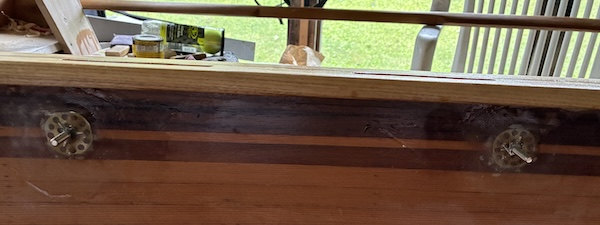
So I got some standard Keepers kayak footbraces and attached them with this mounting kit from Chesapeake Light Craft.
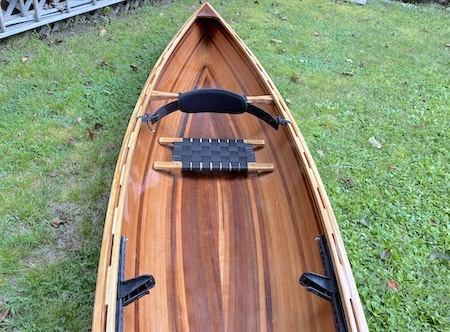
Footbraces installed and that completes the build!
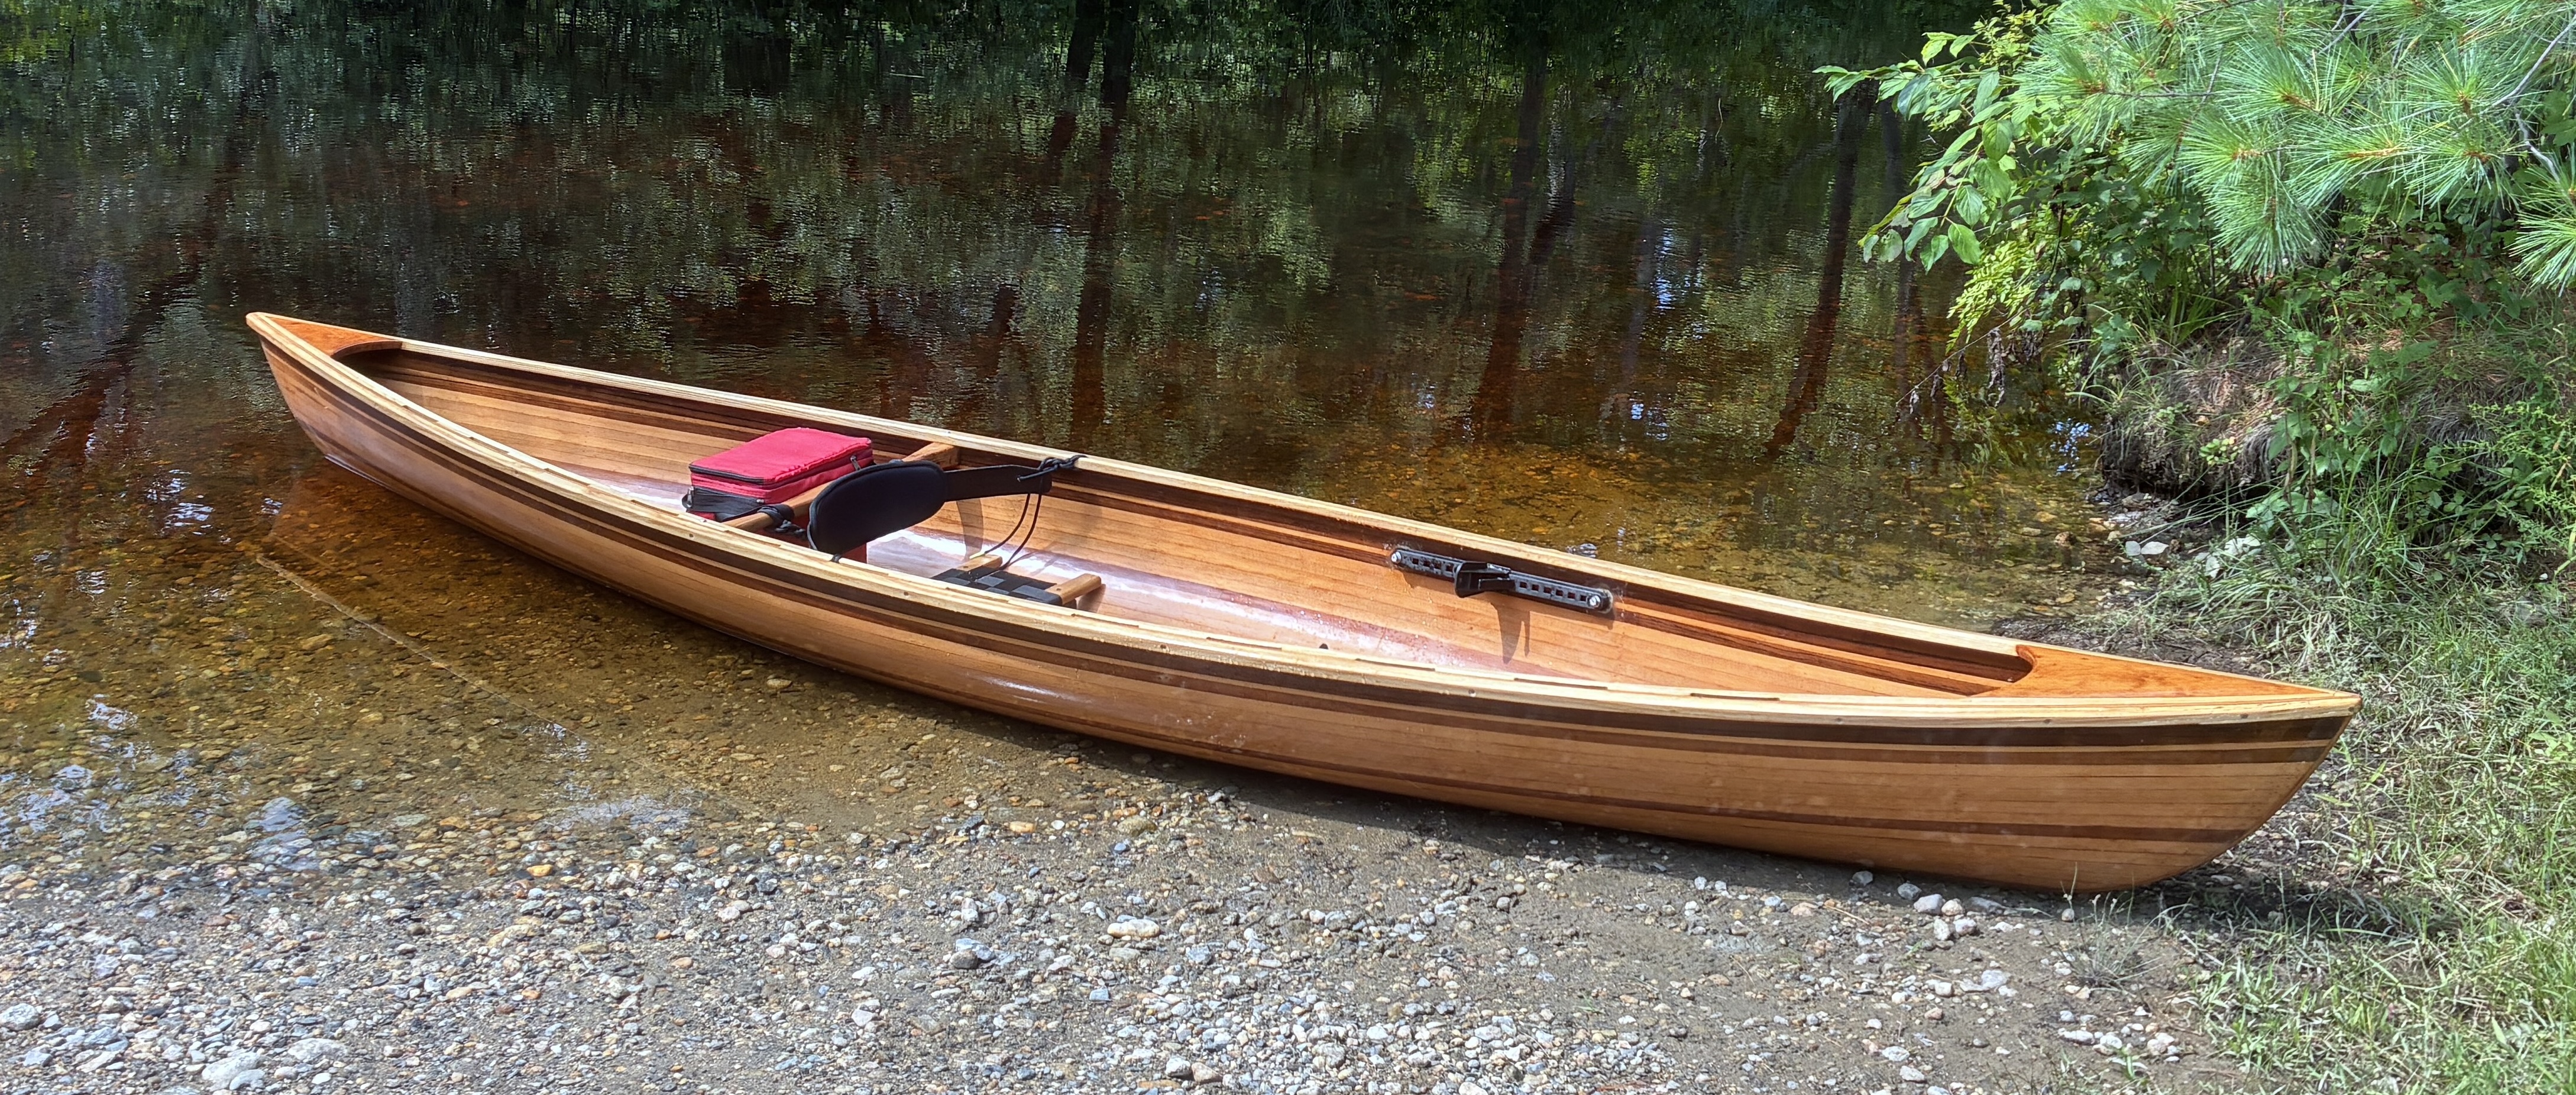
I've had the canoe out a dozen times as of this writing and it has proven to be exactly what I was looking for.
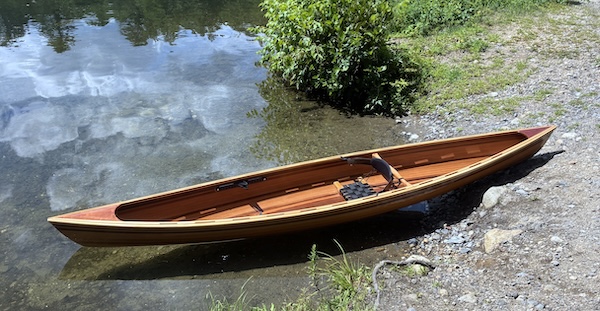
It fits in the back of my truck and is easy to handle (came in at 22 lbs. with seat and footbraces installed). It's very maneuverable, fast and fun to paddle. I average about 3.7 mph and can easily break 5 mph with a little effort. It tracks well while paddling but does drift off center when coasting. Maybe a small skeg or keel would help keep it in line but I don't want to give up the maneuverability.
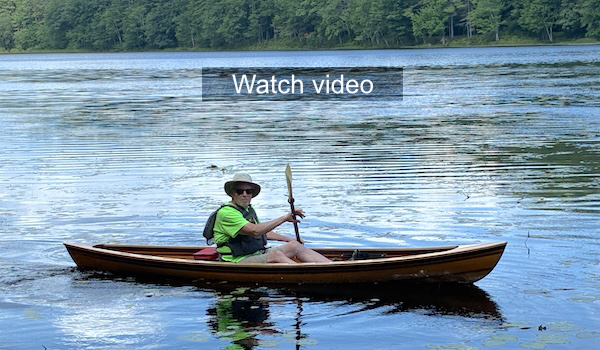
Click the photo to see a short video of some early, on-the-water seat placement testing.