(Spring 2026)
Rob Roy Cedar Strip Canoe:
● Intro & Station Forms● Building the Strongback
● Cedar Strips
● Stripping the Hull
● Closing up the Hull
● Prepping for Fiberglass
● Fiberglassing the Outer Hull
● Fiberglassing the interior
● Gunwales and Decks
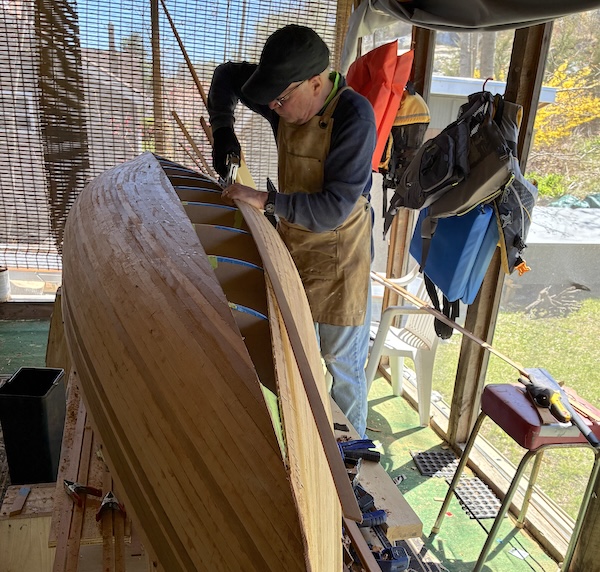
Closing Up the Hull
The strips are nearing the top of the stems at each end…
…and making the sharp turn at the chine area.
So things are getting interesting and a little more difficult.
Rounding the corner from vertical side strips to horizontal bottom strips posed no issues, but at this point a decision has to be made on how to handle the bottom of the canoe.
Nick Shade's book contains some good illustrations showing several common options. I'll be using the straight centerline method. It consists of marking a line down the center of the canoe, stripping up one side until all the strips on that side cross the centerline, trimming the strips off along the centerline, then filling the remaining space by stripping the other side.
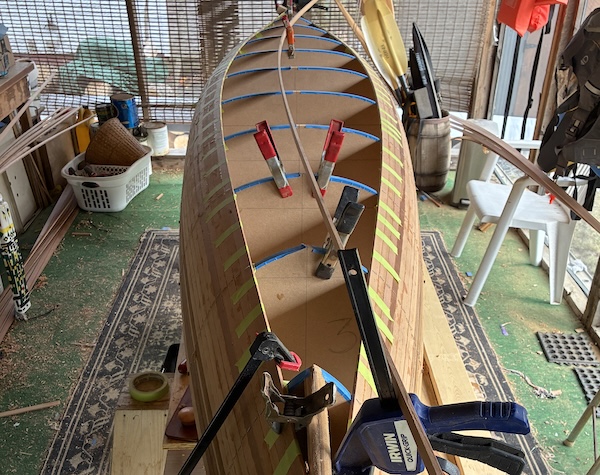
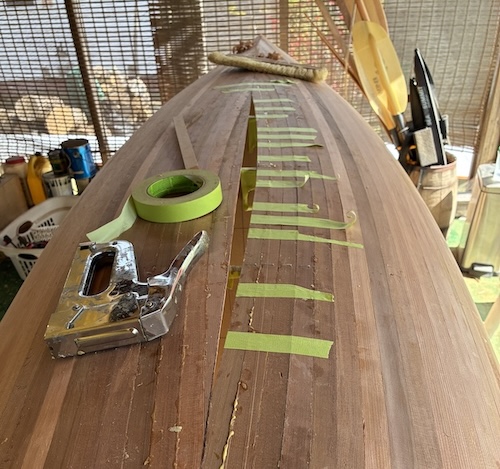
Here you can see I've added a string to mark the centerline and have begun stripping up the first side. This part goes quickly because the strip ends can be left overhanging at any length since they will be trimmed off later.
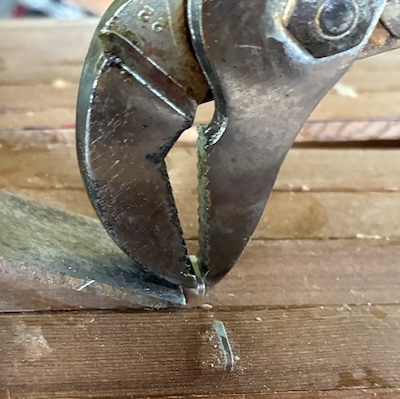
It's mid April now and the weather is still often too cool for gluing. On one cool day I decided to start pulling some staples from the lower strips. This adjustable pliers rotated onto a chisel to protect the wood worked really great.
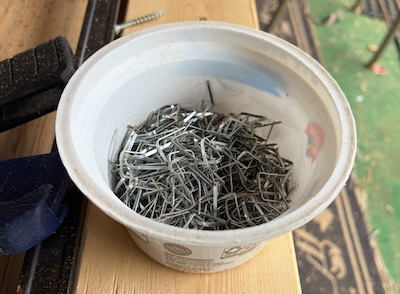
Hmmm… could I reload these into the stapler?
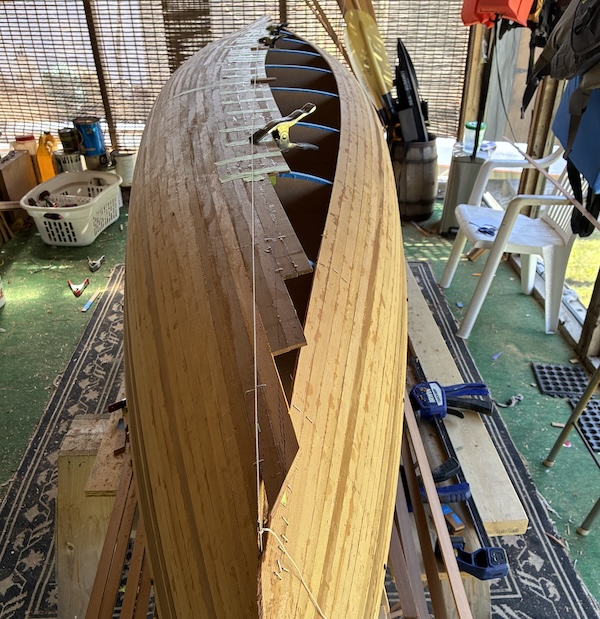
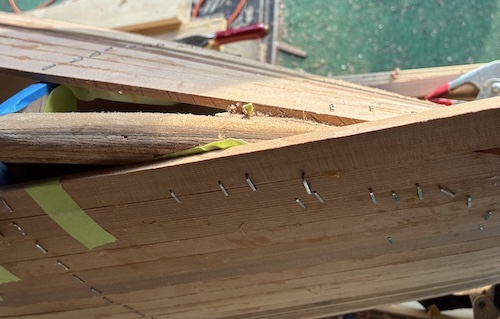
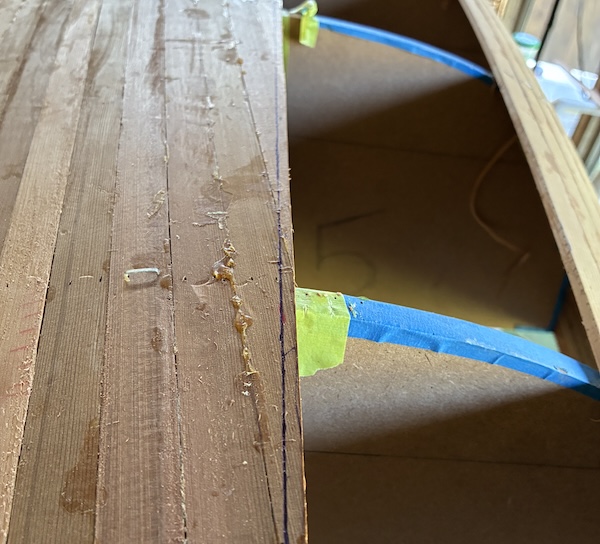
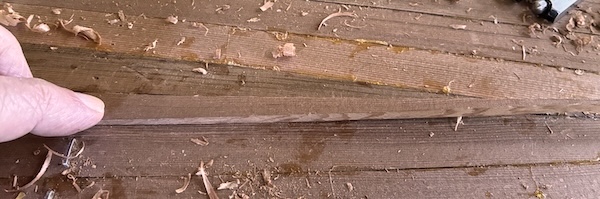
Finally a warm day and I managed to cross the centerline.
I lightly drew a centerline based on the string location but to doublecheck the accuracy, I used this quickly-made guide to transfer the centerline from each form to the top of the strip. The bottom of the guide is aligned to the pencilled centerline on the form and the pointer indicates where that line falls on the top of the strip.

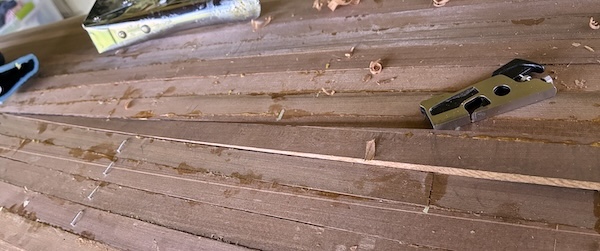
When I was convinced the centerline was accurate and straight, I used one of the strips as a batten to draw the final centerline.
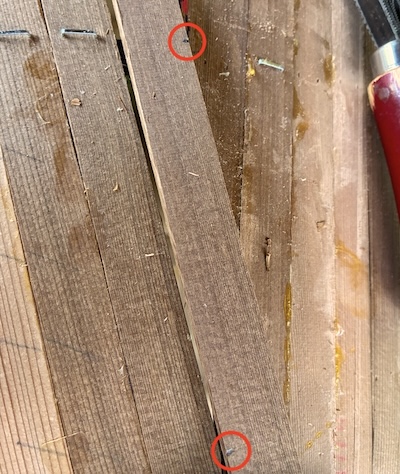
Then used several passes with a utility knife to trim off the overhanging strips.
I left about 3/16" over the line for fine tuning.
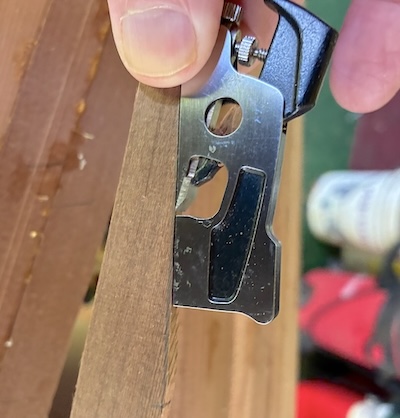
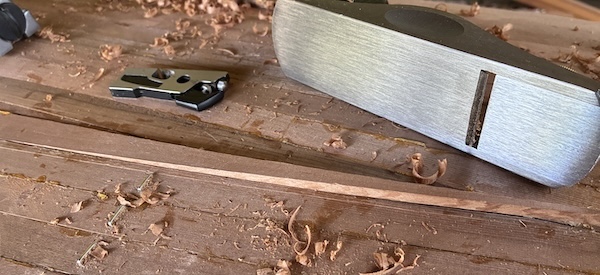
After trying several tools to do the final trimming (Surform, Shinto rasp, block plane, chisel), it turned out the RoboBevel worked the best for me.
Here's the final cut.
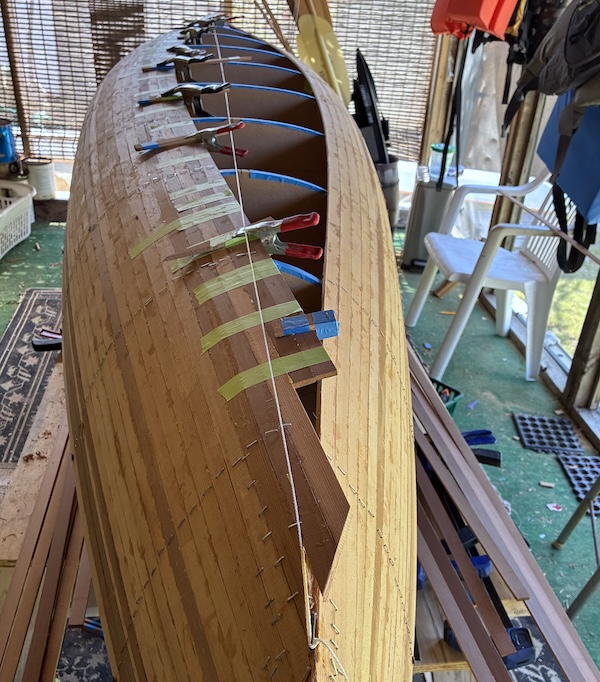
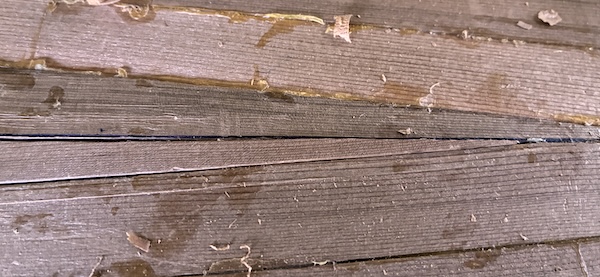
Now we start completing the last section.
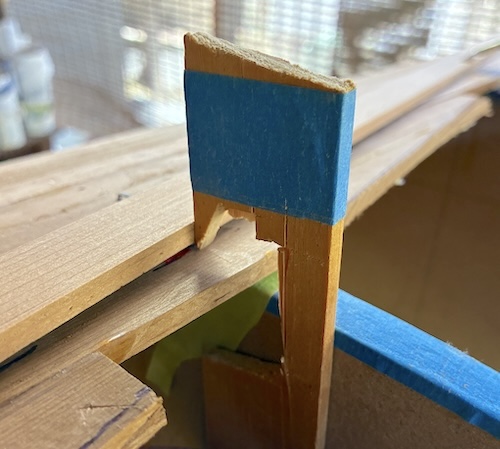
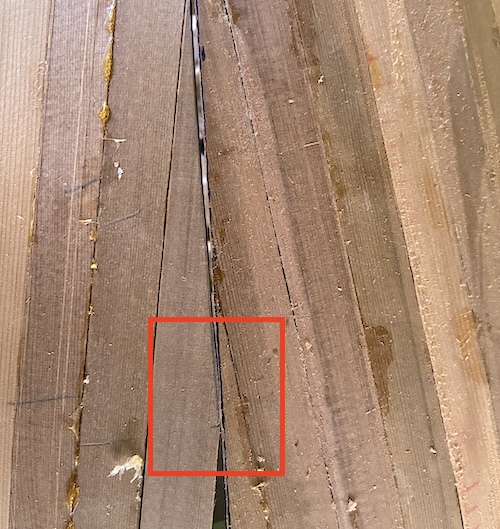
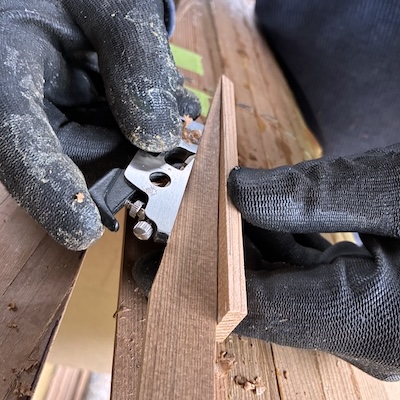
After this strip, the remaining ones have to be carefully shaped at each end rather than having the luxury of just letting them overhang. When each strip is installed along the curve of the previous strip, an angle must be cut at each end so the ends will butt up against the centerline.
To determine the angle, pencil marks are made where the strip intersects the centerline. A straight line connecting the tick marks indicates where a cut must be made.

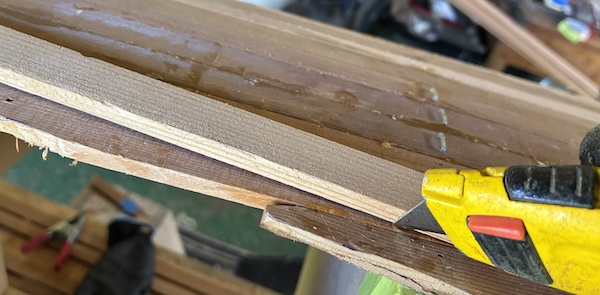
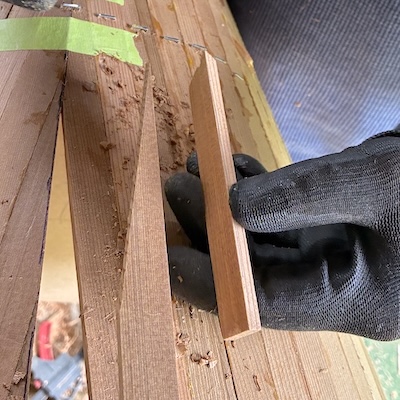
I first roughly trim off the excess material with a utility knife…
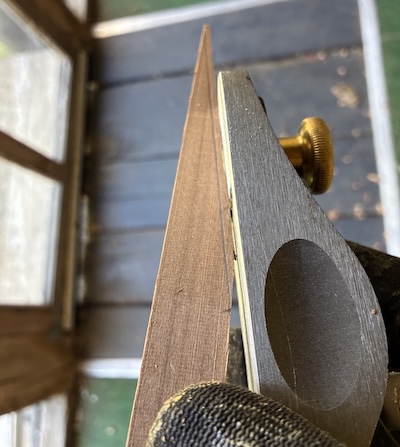
…then trim down to the line with a block plane.
There's a bit of trial and error during this process. Here, the strip to the left of the centerline is being installed and it needs some additional trimming in the indicated area to allow the strip to be inserted further.
I found the mini shoulder plane work well for some of the detailed work.
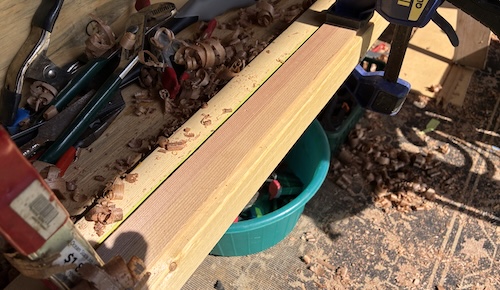
The tip is very fragile so I use a scrap strip as a backing support…
…especially when planing out to the point.

The final fit always feels good!
Of course, now the same process has to be repeated at the other end – a little more difficult because not only does the angle have to be correct but the length of the strip has to be the exact length to fit. An option is to use an over-length strip, cut and shape each of the tips, then cut the strip in half and do a scarf joint near the center of the boat.
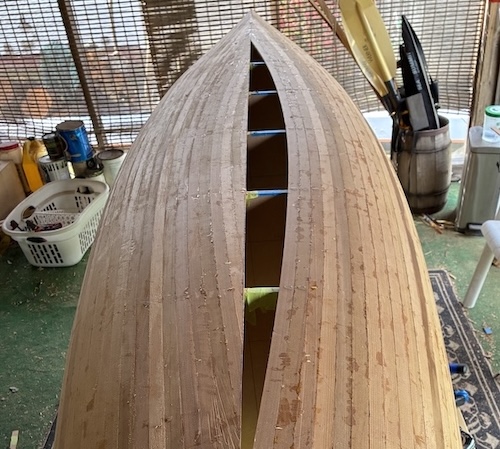
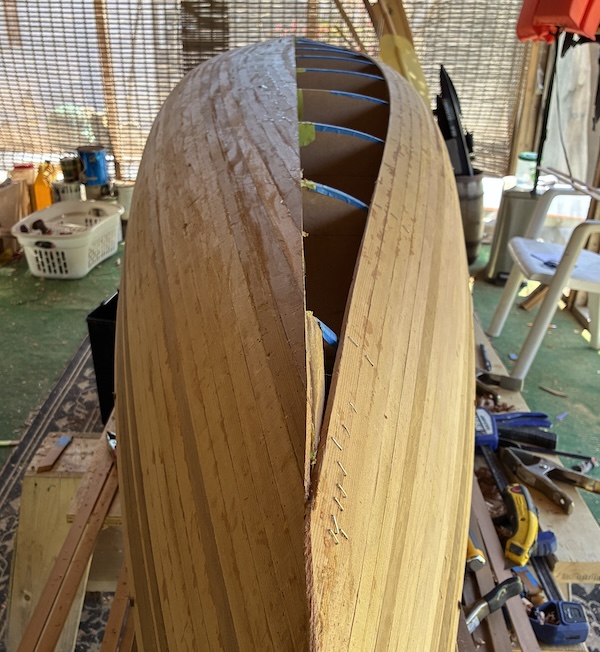
I used the scarf method for the first strip but used a single strip for the remaining ones. As each new strip is added, the opening is gets smaller…
…and smaller.
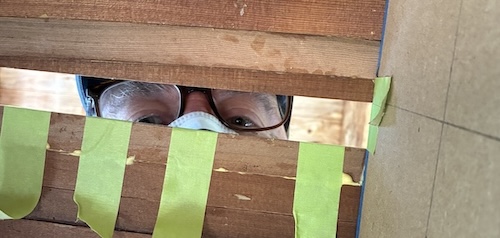
Peering down through the final opening.
The remaining opening is just slightly wider than one strip, so I glued two strips together to have enough material to fill the gap. After the glue set up, I positioned the double-wide strip over the opening and reached up under the canoe with a pencil to scribe the shape onto the bottom of the strip.
Then followed the same procedure as the other strips to do the shaping – trimming first with a utility knife then fine tuning with the plane. A noteable oddity for this piece is that the straight edge of the strip is positioned along the curved side of the opening.
As the strip is bent into place along the edge of the previous strip, the curved side of the current strip becomes straight and aligns with the straight centerline cut of the mating strip.
Just a few more passes with the plane are required…
… and it pops into place!
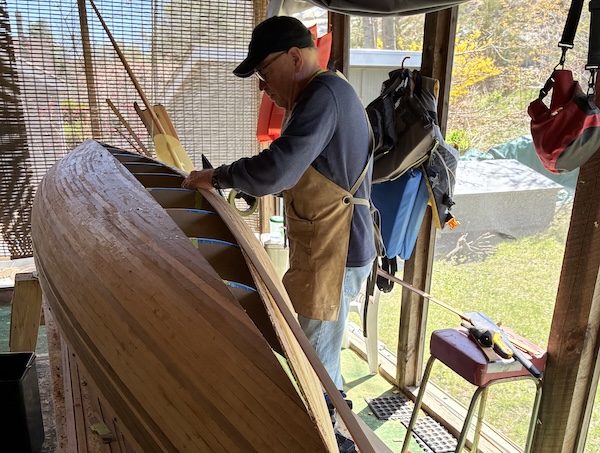
I poked it out from underneath, added glue to the edges and did the final install.
The last "plank" of a boat is traditionally called the whiskey plank and a shot of whiskey is the reward for reaching this milestone. But working with what I have available, a shot of spring water will have to suffice.