(Spring 2026)
Rob Roy Cedar Strip Canoe:
● Intro & Station Forms● Building the Strongback
● Cedar Strips
● Stripping the Hull
● Closing up the Hull
● Prepping for Fiberglass
● Fiberglassing the Outer Hull
● Fiberglassing the interior
● Gunwales and Decks
● Finishing Up
Fiberglassing the interior
While I'm tempted to continue admiring that glossy exterior, it's time to delve into the depths of the interior.
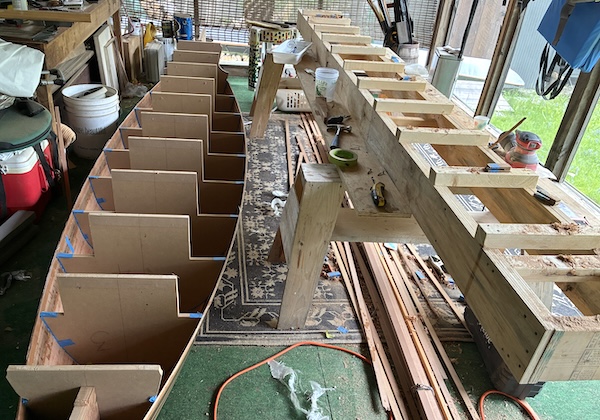
After a quick removal of the screws that secured the forms to the strongback, the canoe was easily removed. Although the forms remained solidly in place and I'm wondering how hard they will be to remove.
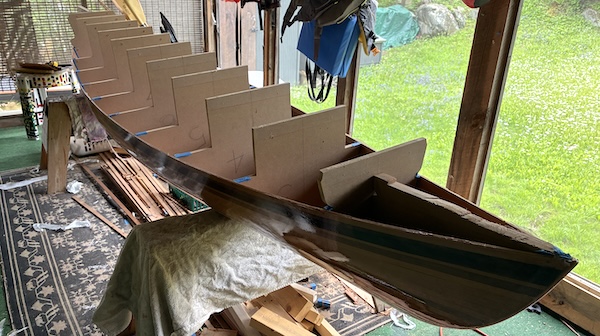
Next the strongback was disassembled and reduced to a pile of lumber in the corner. Then some soft towels were spread over the sawhorses to protect the surface of thecanoe.
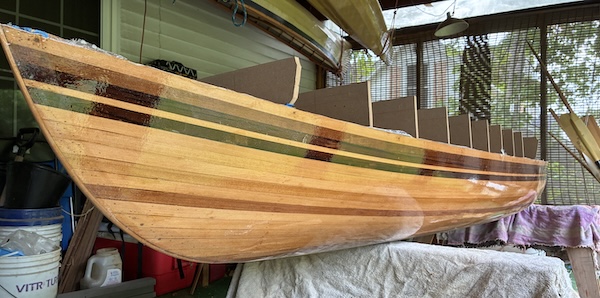
Here's a nice view of the sheer line.
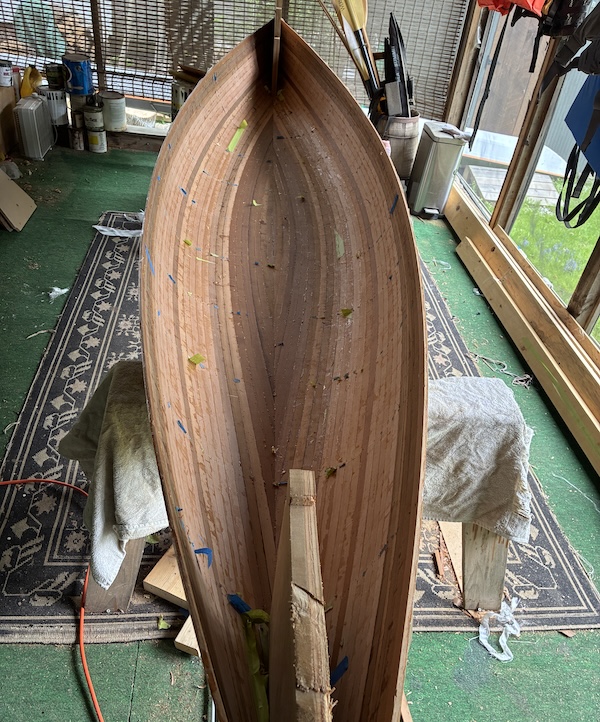
Good news! All the forms easily popped loose with just a few solid taps of a hammer.
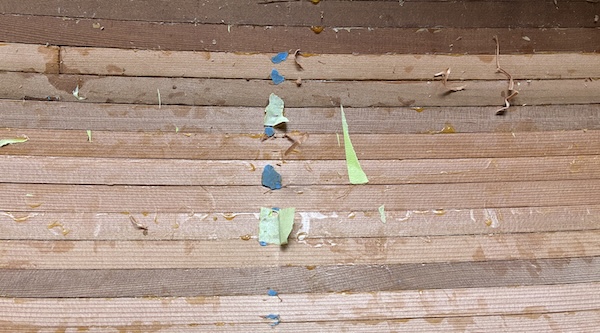
Here's a closer look at the job ahead – cleaning up all the glue and tape and fairing the strips.
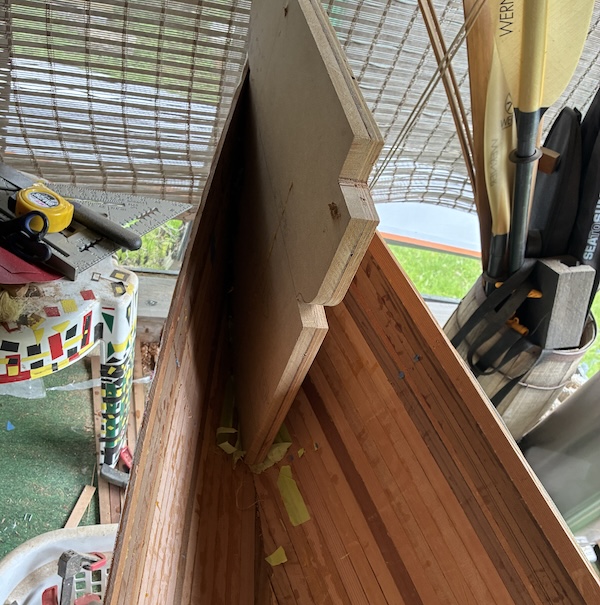
The stem forms were a little harder to remove. This is the aft form which I was finally able to jiggle loose after some fairly heavy hammer whacks from behind on the upper section.
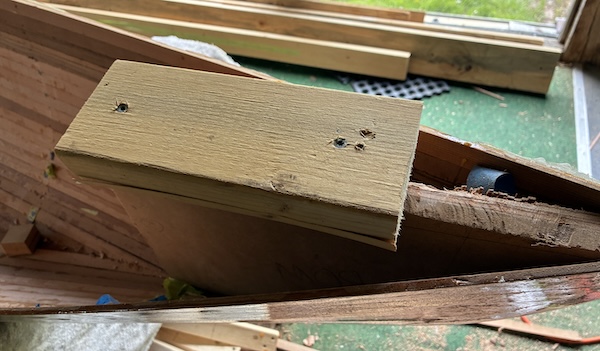
I previously had to saw through this front stem form to detach it from the strongback because I couldn't access the screws that held it in place. As a result, there is now no area above the sheer line to provide leverage or to hammer. To remedy the situation I attached a section of 2x4 to the top and after several sharp horizontal hammer hits from the front…
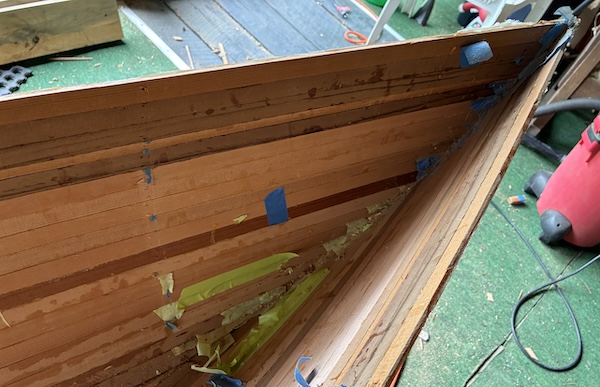
…I was able to remove the form.
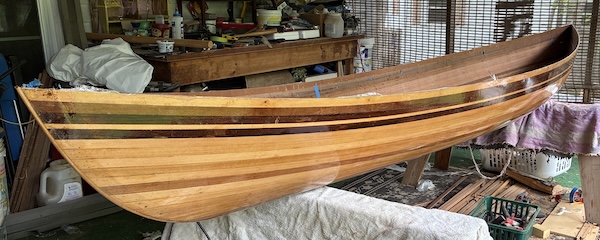
I can't help but admire the simple but elegant lines of this design.
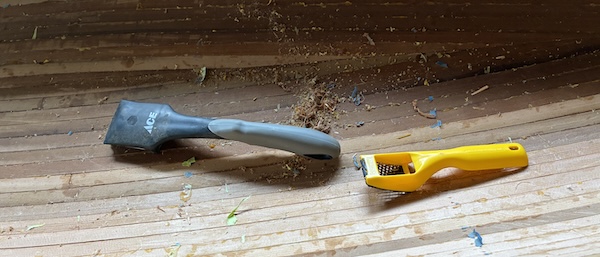
These are the 2 tools I'm hoping to use for the bulk of the cleanup – a modified basic paint scraper (corners rounded off and slight curve to blade) and a curved Surform. So let's get started and see how things work out.
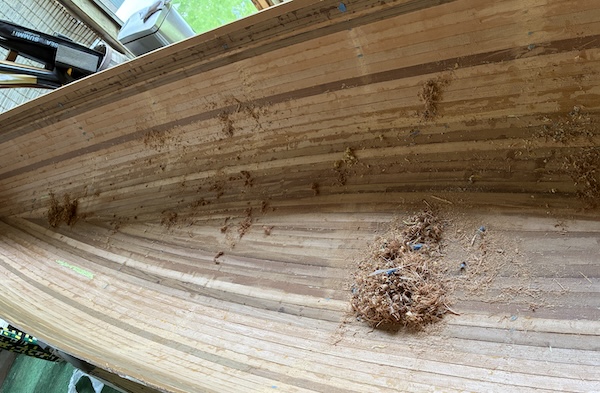
The scrapers are working well. Although I'm finding the remaining bits of masking tape, still semi-glued to the wood, are the hardest things to remove.
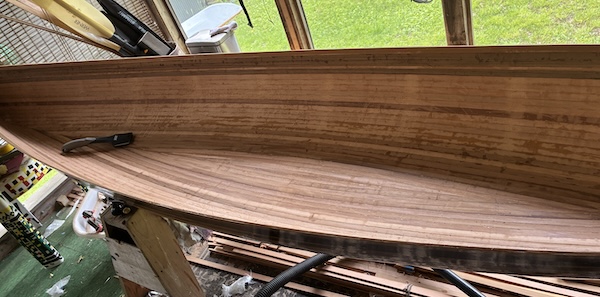
This shot is after a thorough scraping – all tape and glue blobs have been removed.
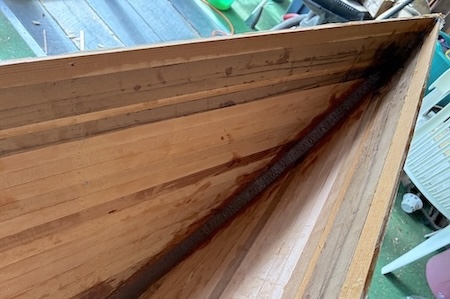
Before moving on to sanding, I added fillets of epoxy mixed with cedar sawdust to fill and strengthen both stem ends then used the remaining mixture to fill a few spaces and holes.
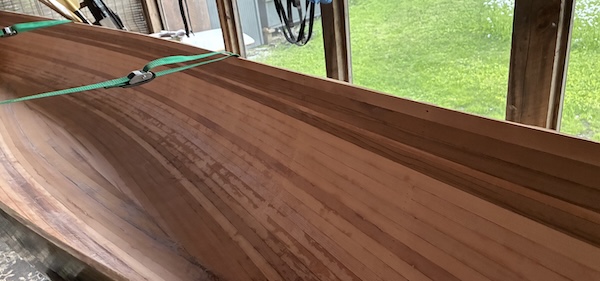
A very hot day today. I waited until evening and used the rotary sander to do a first pass along the flat areas of the sides and center of the floor.
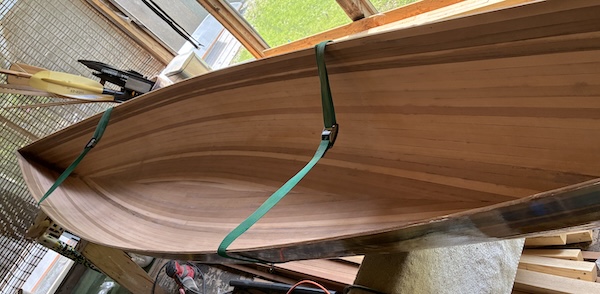
The next day I did some manual sanding then hit everything hard with the random orbital. That eliminated the glue mark and cleaned everything up well except the ends which were too narrow to reach into.
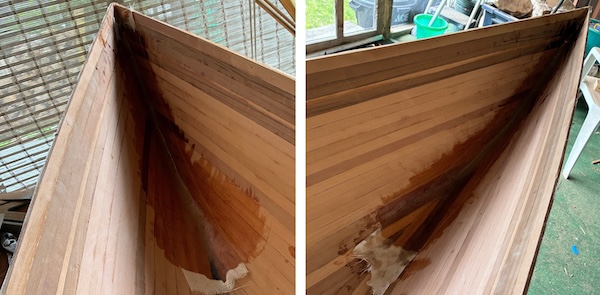
I added some additional thickened epoxy in the stems to smooth out the fillets, then overlaid a strip of fiberglass tape. The tape ends will get trimmmed after the epoxy hardens a bit.
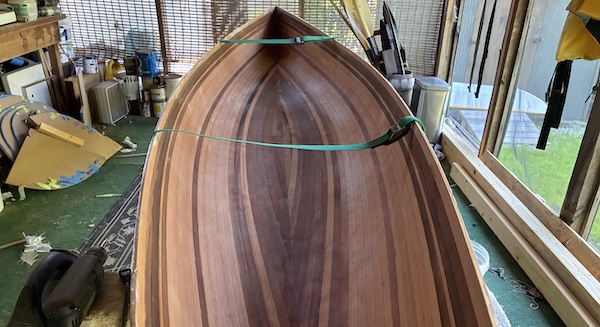
After another sanding I wetted the surface to raise the grain (shown here) then a quick hand sanding with 120 grit paper.
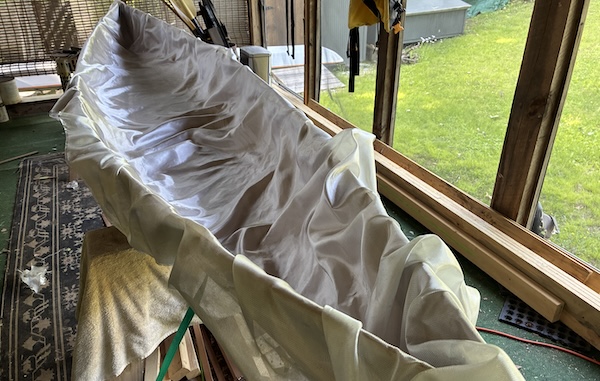
Working alone, I loosely positioned the fiberglass cloth.
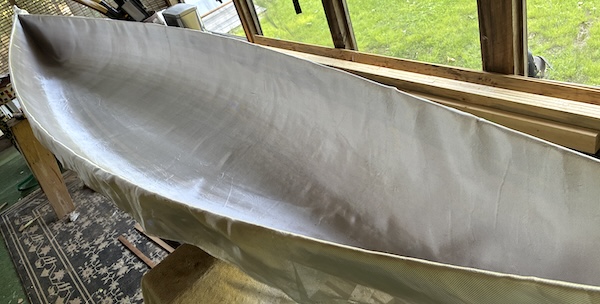
Then carefully smoothed it out with a gloved hand and large drafting brush.
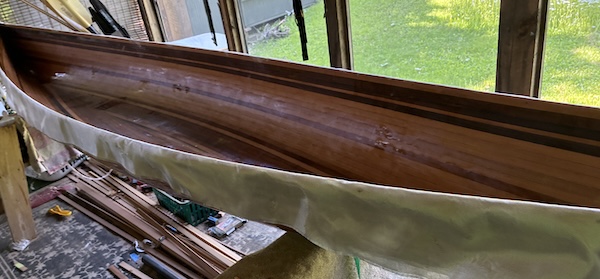
This photo was taken after one coat of epoxy.
I gave it another coat of epoxy and trimmed the overhang but I guess I forgot to take photos.
So, it's on to the gunwales and decks and another visit to my friend's workshop!