(Spring 2026)
Rob Roy Cedar Strip Canoe:
● Intro & Station Forms● Building the Strongback
● Cedar Strips
● Stripping the Hull
● Closing up the Hull
● Prepping for Fiberglass
● Fiberglassing the Outer Hull
● Fiberglassing the interior
● Gunwales and Decks
● Finishing Up
Gunwales and Decks
Yes, back at my friend Matt's place where he once again dipped into his wood supply and magically produced the perfect board for each required component.
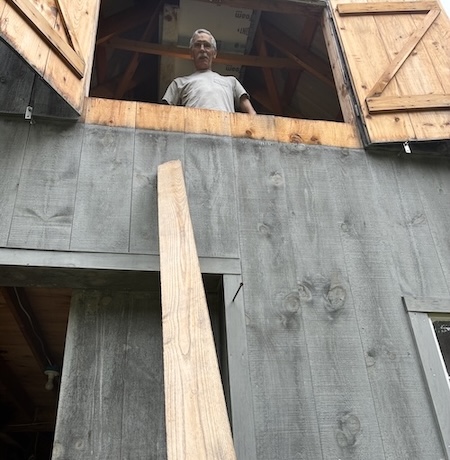
Here we are passing down some more lumber from the second floor.
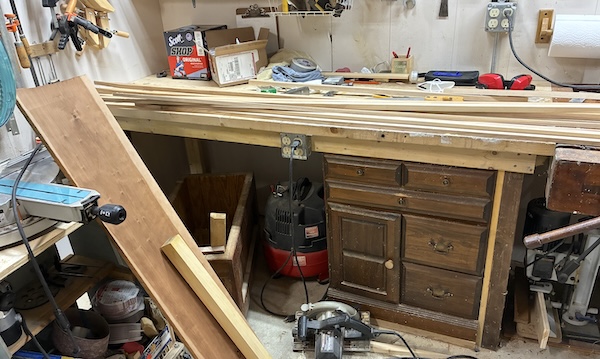
Included was some white ash for the inwales, white oak for the outwales, some beautiful cherry for the decks and a possible thwart piece.
And giving credit where credit is due, Matt is also kindly doing the edging, planing and cutting on all these rough-stock pieces. His assistance was invaluable in this project and I am very grateful for his help.
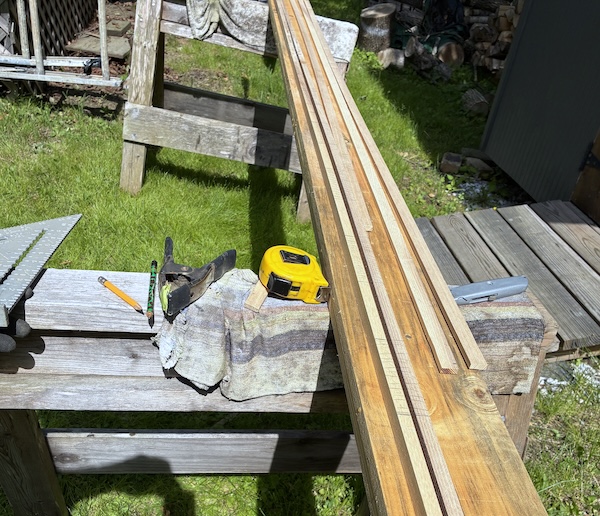
Back home preparing the gunwales for scarfing.
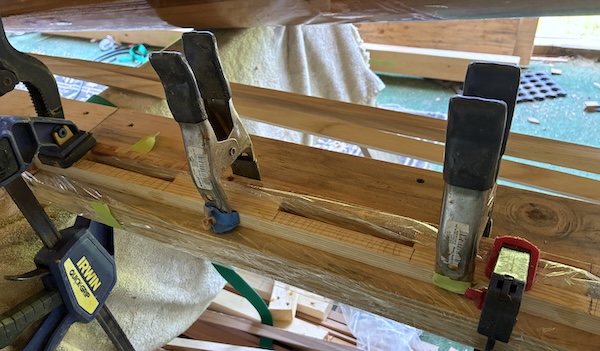
Here I'm glueing up the scupper blocks – doing port and starboard side-by-side to ensure alignment. Plastic wrap is usedto keep them separated.
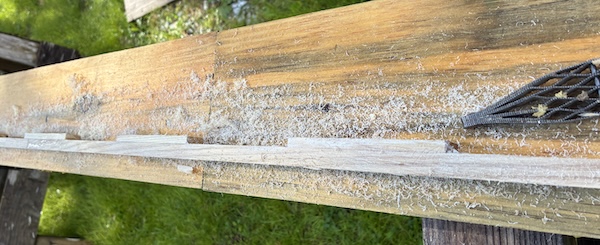
Cleaning up the inwales.
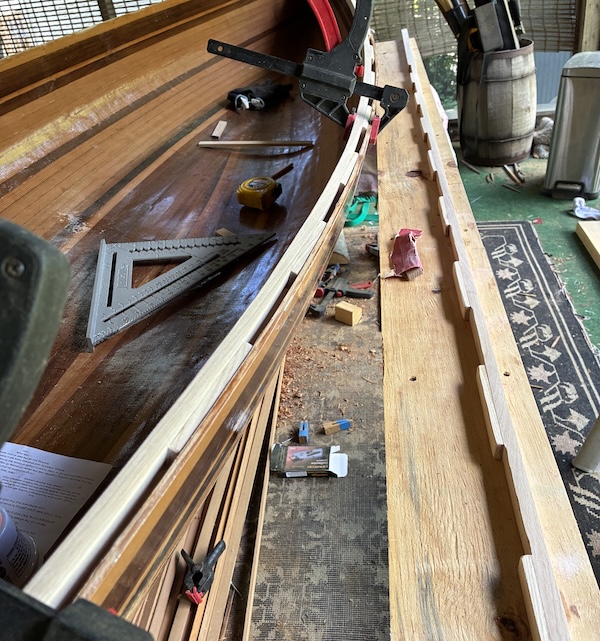
Doing the initial dry fit.
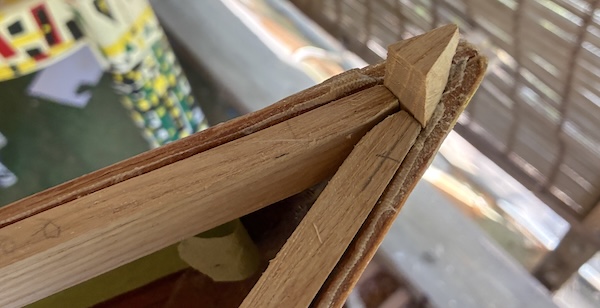
It's a bit tricky to get these to fit at the ends. Rather than trying to extend the ends out to the point, I found it easier to cut them short and add a triangular block to fill in the gap.
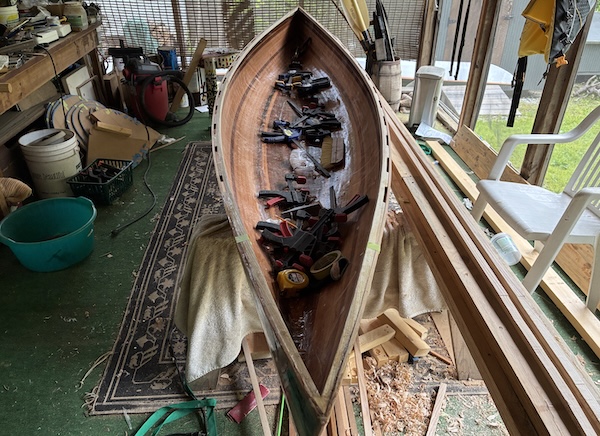
The inwales were epoxied then clamped into place.
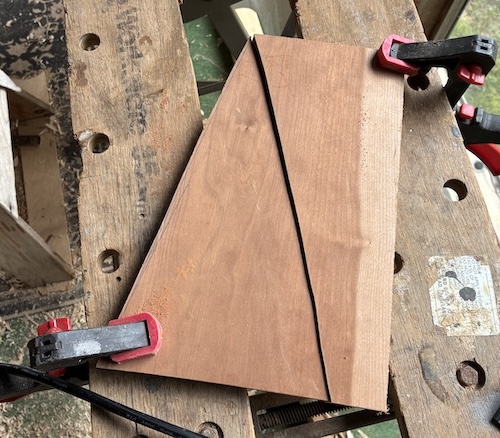
Now onto the deck and that beautiful piece of cherry stock.
To get an accutrate outline, the stock was placed upside down in position on the canoe and a line was traced up from the bottom along the inwales onto the board providing the cut line for the top edge. Using a bevel gauge, I picked up the vertical inward angle of the inwales and set my jigsaw at the same angle to make the edge cuts.
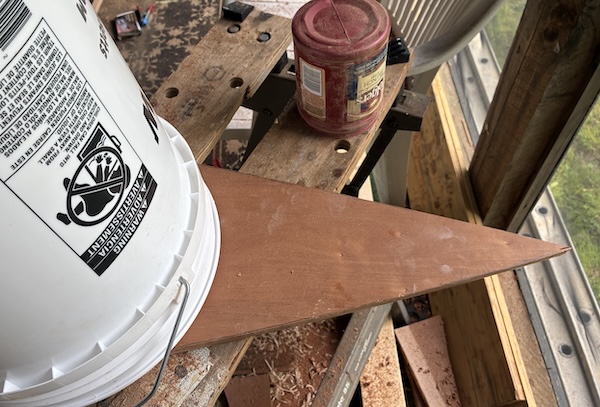
A large bucket provided the perfect curve to trace for the front deck.
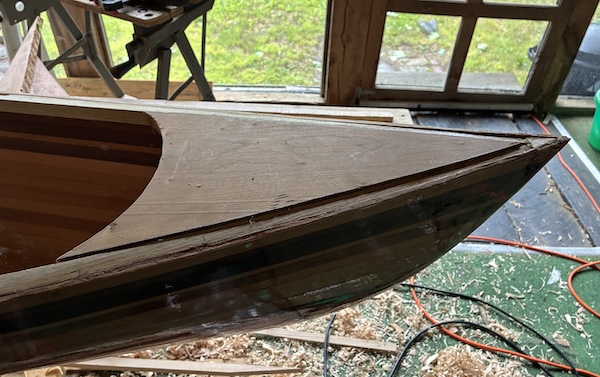
Here's the rough fit. I'm mounting it a little high to allow for sanding and shaping.
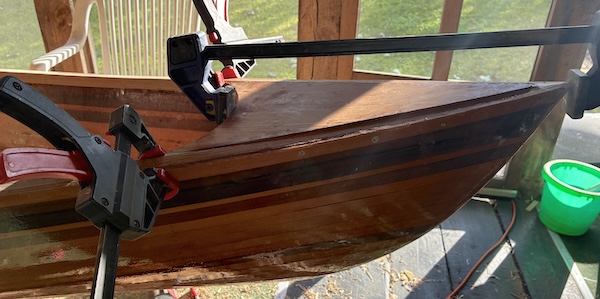
In this photo it's epoxied and clamped in place. Screws on each side helped to secure it in place.
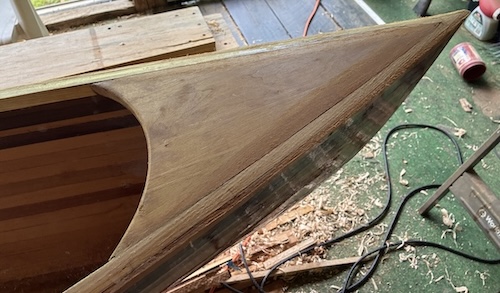
I started off rough shaping with a shinto rasp.
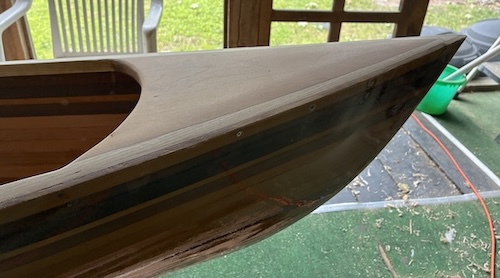
Then a random orbit sander with 80 grit paper smoothed things out.
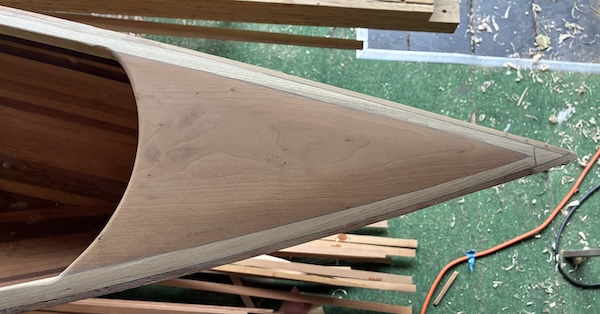
A top view. Additional sanding will be done along the curved edge and the inwales.
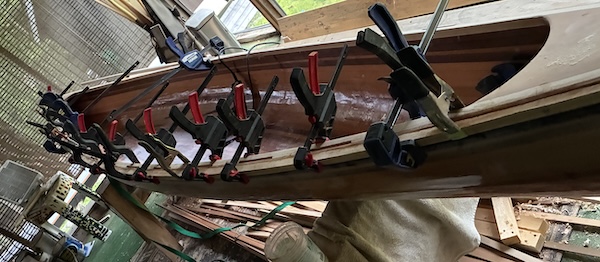
I dry fitted the outwales and drilled pilot holes for 9 evenly-spaced screws on each side, then unclamped the outwale, coated the mating surfaces with epoxy, added some thickened epoxy and clamped and screwed it back into place – had to do one side at a time because all the clamps were needed.
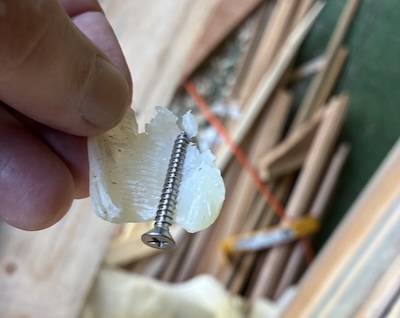
Each screw was coated with soap to help it go in easily while having to simultaneously deal with the long, slippery, epoxy-coated outwales.
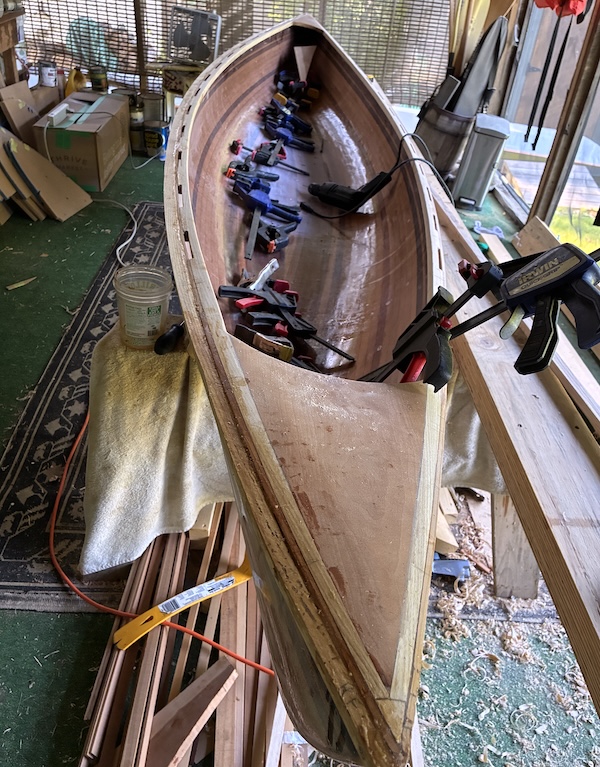
One side completed.

The same procedure was repeated on the other side.
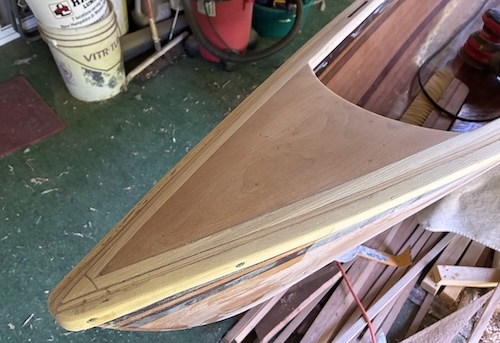
The completed front deck.
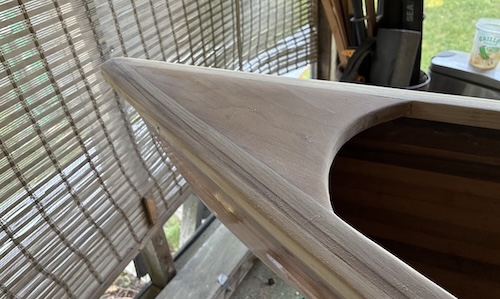
And a quick look at the aft deck.